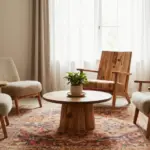
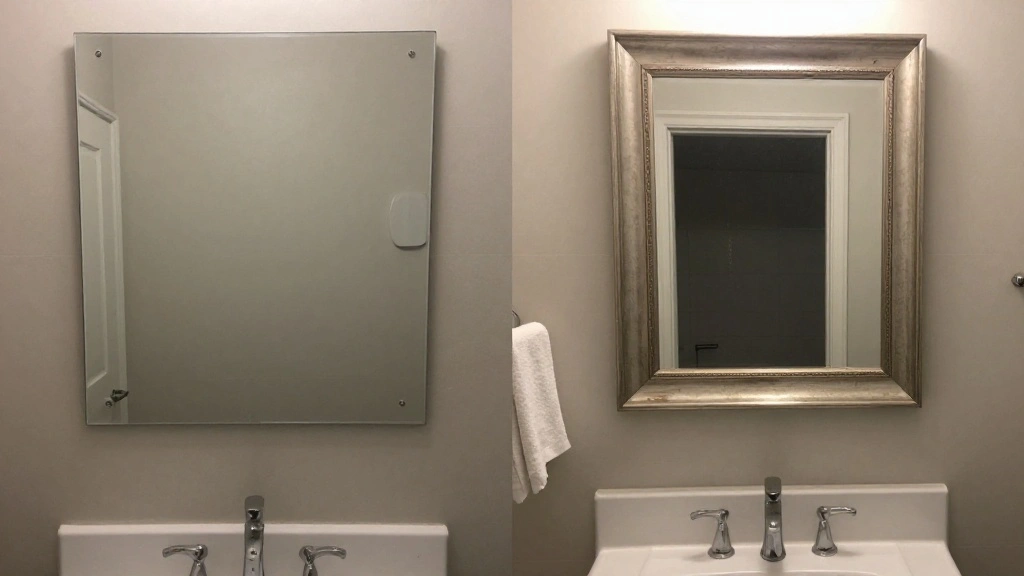

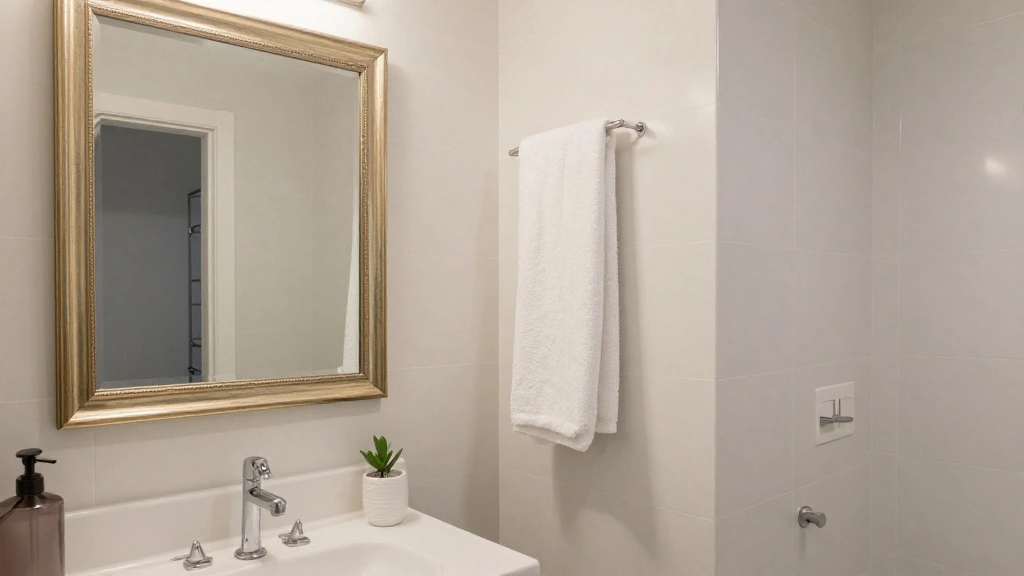
Are you tired of looking at a plain, builder-grade bathroom mirror? A simple, unframed mirror can make your bathroom feel dated and dull. By framing your bathroom mirror, you can easily add a touch of elegance and style to your space without breaking the bank.
In this guide, you’ll learn how to transform your bathroom mirror into a chic centerpiece that enhances the overall aesthetic of your bathroom.
You’ll accomplish a stunning mirror frame that suits your style while gaining skills in DIY home improvement. Expect to learn about materials, tools, and step-by-step instructions to achieve your goal.
This project is rated as beginner level, making it accessible for anyone looking to update their home.
You’ll need approximately 2-3 hours to complete the entire project, depending on your pace.
Let’s get started and turn that ordinary mirror into a statement piece!
TL;DR Summary
- Upgrade your bathroom with a stylish framed mirror.
- Follow seven simple steps for a DIY makeover.
- Use basic materials and tools to complete the project.
- Enjoy a chic, personalized look in just 2-3 hours!
Prerequisites/Materials Needed
- Materials:
- Wood or molding for the frame (length depends on mirror size)
- Wood glue
- Paint or stain (optional)
- Mirror adhesive or silicone glue
- Tools:
- Miter saw or handsaw
- Measuring tape
- Level
- Paintbrush (if painting/staining)
- Clamps (optional)
Skill Level & Time Estimate
Skill Level: beginner.
Total time estimate: 2-3 hours.
Here’s a breakdown of time by major steps:
– Gather materials: 30 minutes
– Measure and cut the frame: 1 hour
– Assemble the frame: 30 minutes
– Attach the frame to the mirror: 30 minutes
– Finishing touches: 30 minutes
Step 1: Gather Your Materials
Before starting the project, ensure you have all the necessary materials and tools. This preparation saves time and keeps your work area organized.
1. Check your list of materials and tools.
2. Visit your local hardware store if you need to purchase anything.
3. Make sure to choose a wood or molding that matches your bathroom decor.
Warning: Ensure the adhesive you choose is safe for mirrors to avoid damaging your glass.
Completing this step takes approximately 30 minutes, depending on your shopping needs.
Knowing that you have everything ready will make the process smoother and more enjoyable.
Step 2: Measure the Mirror
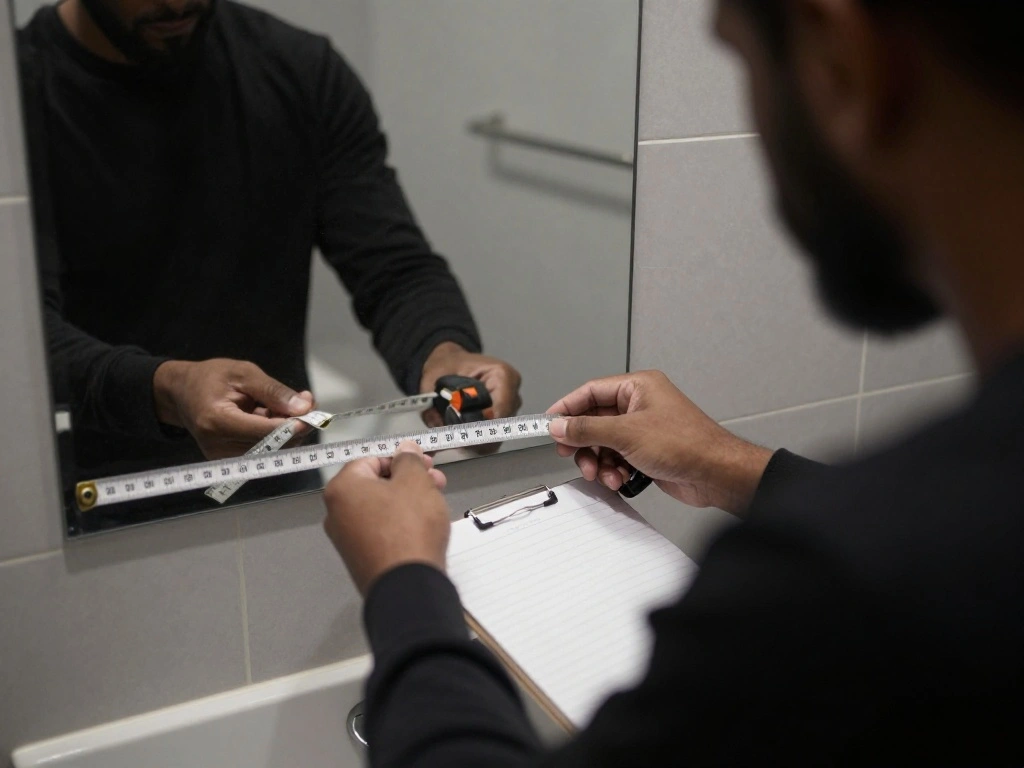
Accurate measurements are crucial for a well-fitted frame. Follow these steps to measure your mirror properly:
1. Use a measuring tape to find the height and width of the mirror.
2. Write down the measurements to avoid errors.
3. Consider adding a small allowance for the frame overlap.
Pro Tip: Measure at multiple points to ensure accuracy, especially if the mirror isn’t perfectly rectangular.
This step should take about 15 minutes and is essential to ensure that your frame fits perfectly around the mirror, enhancing its look.
Step 3: Cut the Frame Material
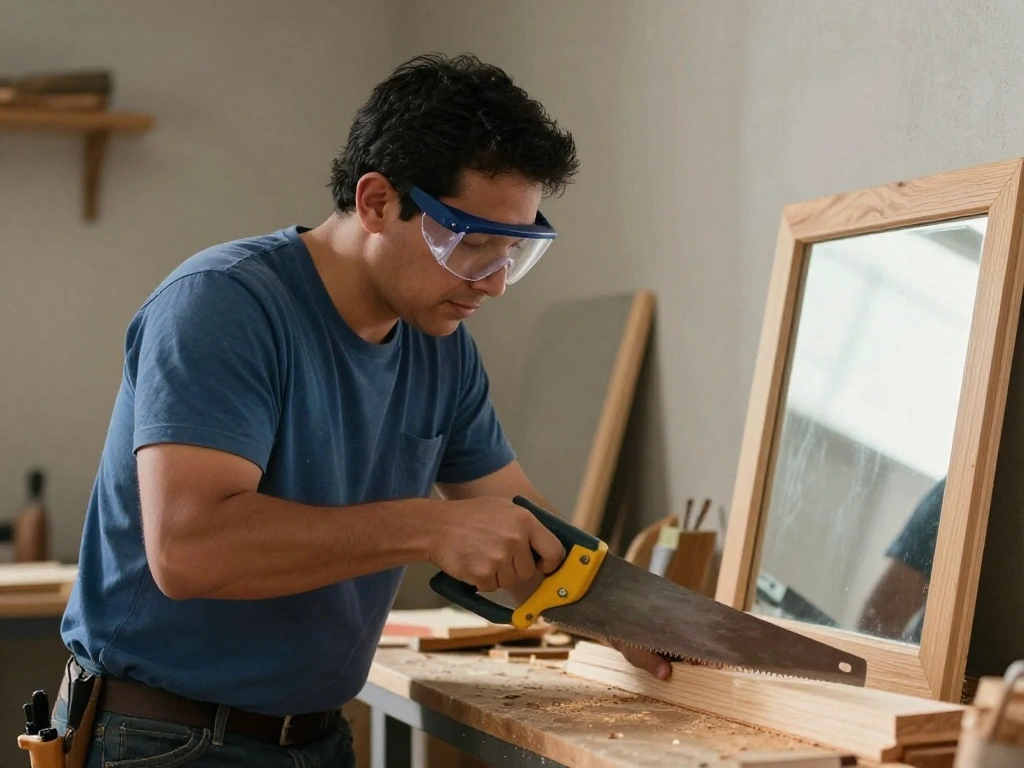
Now it’s time to cut your frame material to size! Follow these steps carefully:
1. Use your measurements to mark where you’ll cut on the wood or molding.
2. Set up your miter saw or handsaw.
3. Cut the wood at a 45-degree angle for corners if using molding.
4. Smooth the edges with sandpaper for a clean finish.
Warning: Always wear safety goggles when using power tools.
Completing this step will take approximately 1 hour, depending on your skill level with cutting tools.
Proper cuts will ensure a professional look when you assemble your frame.
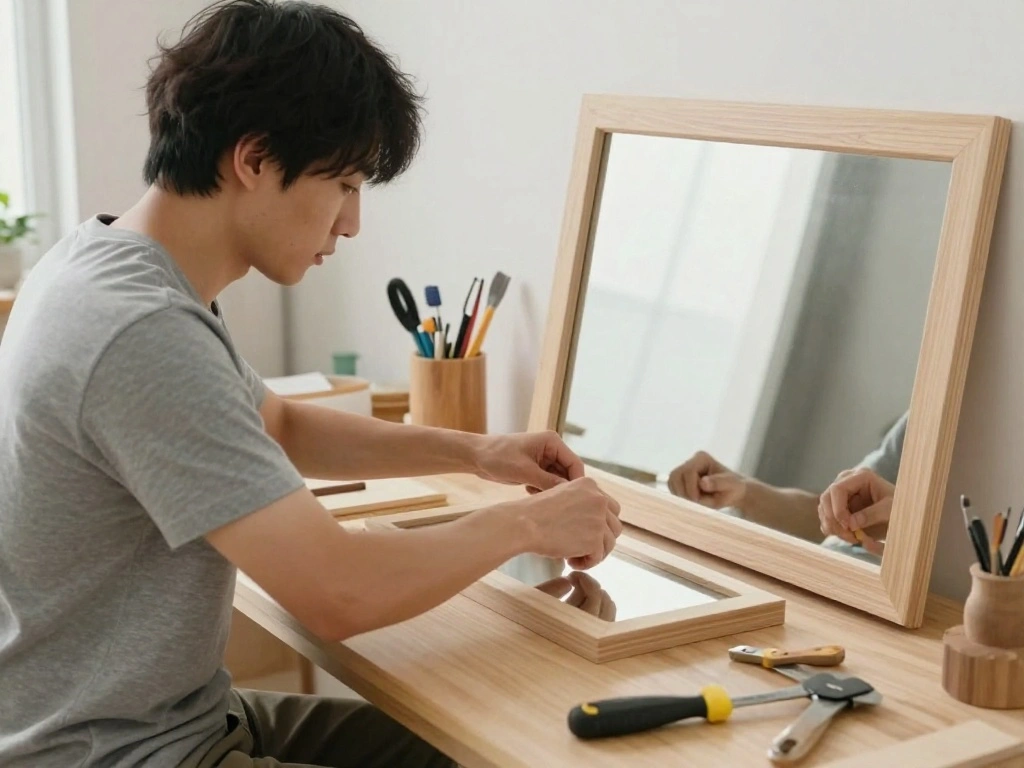
Step 4: Assemble the Frame
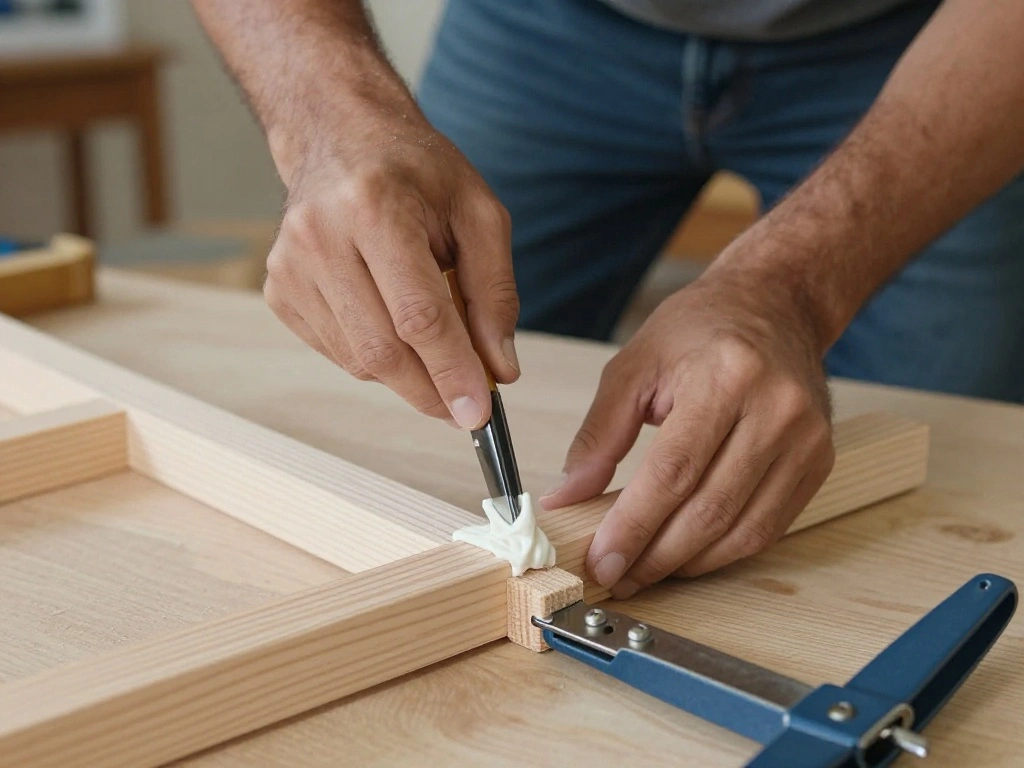
With your pieces cut, it’s time to assemble the frame. Follow these steps:
1. Lay out the cut pieces on a flat surface to visualize the frame.
2. Apply wood glue to the edges where pieces meet.
3. Press the pieces together and hold them in place for a few seconds.
4. Use clamps to secure the corners if needed.
Pro Tip: Ensure the frame is square by checking diagonally from corner to corner.
This process should take about 30 minutes. Proper assembly is crucial to ensure your frame is sturdy and looks good when hung.
Step 5: Paint or Stain the Frame
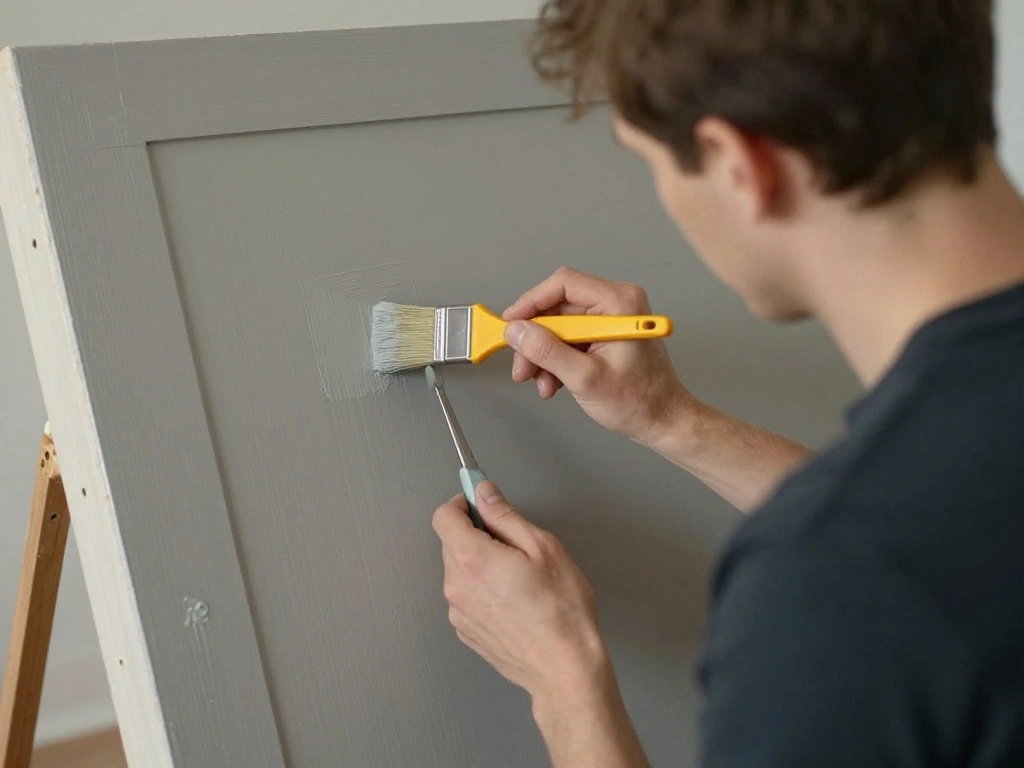
Enhancing your frame with paint or stain can add a polished look. Here’s how to do it:
1. Choose a color or stain that complements your bathroom.
2. Use a paintbrush to apply an even coat.
3. Allow the paint or stain to dry completely before proceeding.
Warning: Make sure to do this step in a well-ventilated area to avoid inhaling fumes.
This step should take about 30 minutes, including drying time. A well-finished frame will elevate the style of your bathroom.
Step 6: Attach the Frame to the Mirror
Now, it’s time to attach the frame to the mirror. Follow these steps:
1. Apply a line of mirror adhesive or silicone glue along the back of the frame.
2. Carefully position the frame around the mirror, making sure it’s aligned.
3. Press firmly to secure the frame to the mirror.
4. Use painter’s tape to hold the frame in place while the adhesive sets.
Pro Tip: Check that the frame is level using a level tool before the adhesive dries.
This step will take around 30 minutes. Proper attachment ensures your frame stays securely in place and looks seamless.
Step 7: Finishing Touches
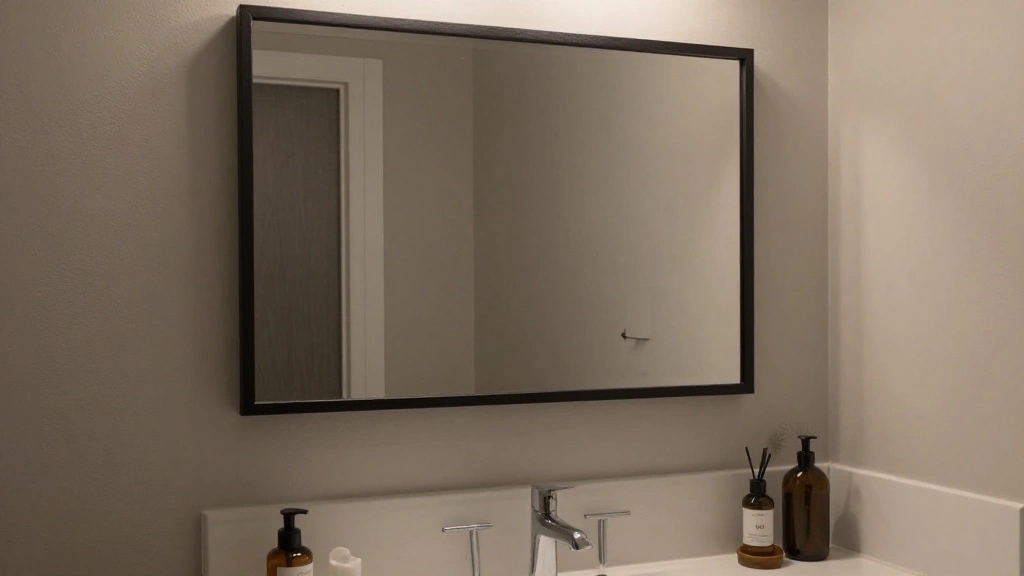
Your framed mirror is almost complete! Here’s how to finish up:
1. Remove any excess glue that may have squeezed out from the edges.
2. Clean the mirror surface with glass cleaner for a spotless finish.
3. Step back and admire your work!
4. Consider adding decorative elements around the mirror for extra flair.
Warning: Make sure the adhesive is fully cured before hanging the mirror if it was removed from the wall.
This final touch should take about 30 minutes. Celebrating your completed project will inspire you to take on more DIY tasks!
Pro Tips
- Choose the Right Wood: Opt for moisture-resistant wood to prevent warping in humid bathroom conditions.
- Use the Right Adhesive: Ensure your adhesive is specifically designed for mirrors for the best hold.
- Consider Lighting: Install lighting around the mirror for added ambiance and functionality.
- Match Your Decor: Choose a frame style that complements your bathroom’s existing decor for a cohesive look.
- Practice First: If you’re nervous about cutting, practice on scrap wood to build confidence.
Common Mistakes to Avoid
Warning: Not measuring the mirror accurately can lead to an ill-fitting frame. Always double-check measurements before cutting.
Warning: Using the wrong adhesive can cause the frame to detach from the mirror. Make sure to select mirror-safe adhesive.
Warning: Forgetting to smooth edges can lead to splinters. Always sand the edges of the wood after cutting.
Troubleshooting Section
Problem: The frame doesn’t align properly.
Solution: Loosen the adhesive and reposition it carefully, ensuring it is level before it sets.
Problem: The adhesive isn’t holding.
Solution: Check that you used the correct adhesive, and consider reapplying with more for a stronger bond.
Problem: Paint or stain looks uneven.
Solution: Sand down the uneven areas and apply a new coat, ensuring an even application this time.
Variations/Alternative Methods
- Metal Frame: Use metal instead of wood for a modern look. Metal frames are often more durable.
- Vinyl Wrap: For a quick update, consider using a vinyl wrap instead of a traditional frame.
- Floating Frame: Create a floating effect by attaching the frame slightly away from the mirror.
FAQs
What if I don’t have a power saw? You can use a handsaw for smaller projects, or ask your hardware store to cut the wood for you.
How long should I wait for the adhesive to cure? Typically, 24 hours is recommended for a strong bond, but check the adhesive instructions.
Is it safe to use regular wood in a bathroom? It’s best to use moisture-resistant wood to avoid warping and damage over time.
Conclusion
Congratulations! You’ve successfully framed your bathroom mirror, giving it a chic makeover that enhances your space.
Now that you’ve completed this project, consider exploring other DIY home improvements that can further elevate your home’s aesthetic. Whether it’s redoing cabinets, adding new fixtures, or simply redecorating, the possibilities are endless.
Enjoy your beautifully framed mirror and the satisfaction of your handiwork every time you step into your bathroom!