

Clean bedroom walls in about an hour with nothing more than mild dish soap, warm water, and a soft sponge. The catch is the paint finish: flat and eggshell surfaces will lift pigment or watermark if your sponge holds too much water, while glossier paints forgive actual scrubbing. I learned that the hard way on a rental with older flat paint, where skipping a two-minute spot test cost me two hours of touch-up work.
1. Dust the Walls
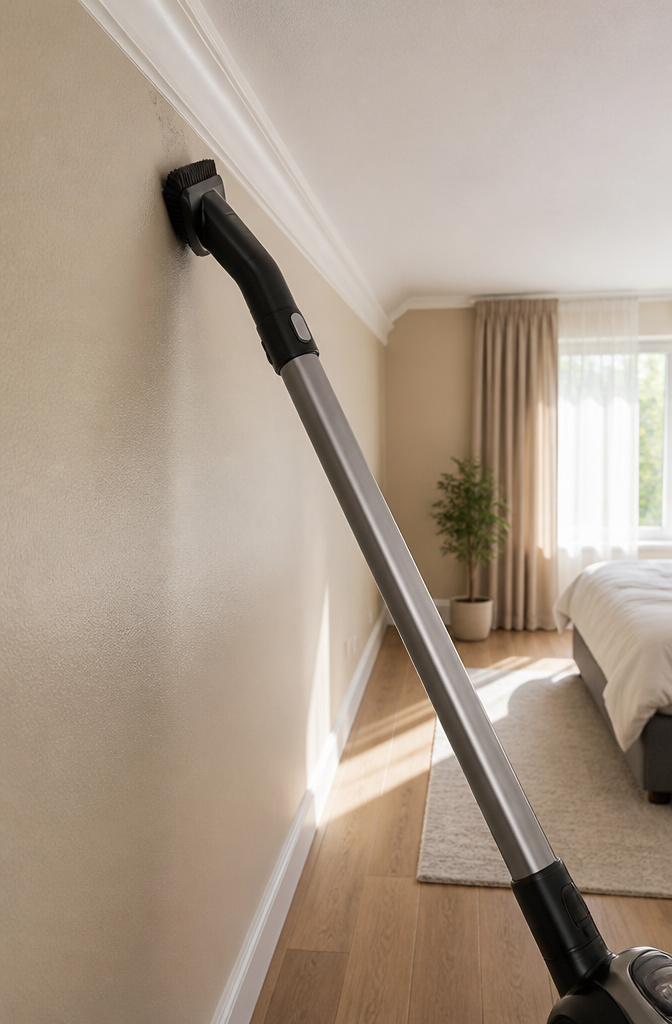
Start with dry dusting before any liquid touches the wall. A vacuum with a dust brush attachment pulls down cobwebs and loose dust faster than you’d expect, especially along ceiling edges and baseboards. Work top to bottom in sections so nothing falls onto ground you’ve already cleared. A microfiber cloth works too, though it takes more reaching and bending.
Skipping this step means pushing wet dust into streaks that look worse than the original dirt. The brush attachment on your vacuum is the easier choice if you already own one. Tack cloths are another option, particularly if you want a lint-free finish, but for a standard bedroom cleanup they’re overkill. Once the surface dust is gone, you’re ready for water.
2. Prepare the Cleaning Solution
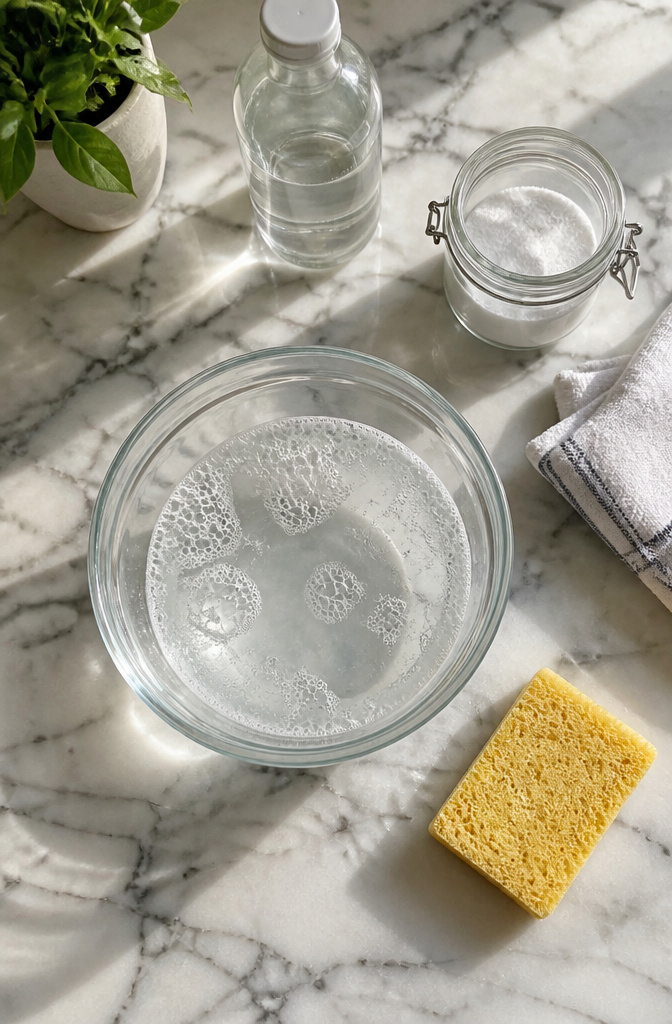
Warm water and a few drops of mild dish soap is my usual starting point. It handles the dusty film that collects on bedroom walls without much fuss. If the walls need something stronger, I swap in a gentle all-purpose cleaner at the same dilution. White vinegar cuts through the grime that soap alone won’t touch, and I add it when I’m dealing with fingerprints near light switches or the odd grease mark. For scuffs or crayon that won’t budge, a paste of baking soda and water works as a mild abrasive that won’t chew through the paint.
Flat paint needs a lighter hand: one part white vinegar, two parts laundry detergent, three parts water. That ratio came from a method I kept seeing for the most delicate finishes, and it makes sense. Flat paint has no sheen to hide micro-scratches, so the cleaner has to do the work without elbow grease behind it. I mix it fresh each time; sitting on the shelf doesn’t do it any favors.
3. Test a Small Area

Paint finish changes everything about how a wall can handle water and scrubbing. Gloss and semi-gloss tolerate more moisture and friction, while flat and eggshell finishes are softer and more likely to show a water ring or lose pigment if your solution sits too long. That difference is why always testing in an inconspicuous spot matters more than the exact recipe you mixed.
I use the wall behind the bedroom door, low near the baseboard, or a spot hidden by furniture. Dab on your solution, wait for it to fully dry, then check for dulling, color lift, or a watermark that lingers. One time I skipped this on a rental with older flat paint and spent an afternoon touching up a pale streak that the cleaning left behind. The test takes two minutes; the fix took two hours.
4. Wash the Walls

A soft sponge or cloth dipped in your soapy water should be damp, not dripping. Wring it out well before it touches the paint, then work in gentle circular motions from the top of the wall downward. Gravity is doing you a favor here: any dirty water runs toward the floor instead of back over the area you just cleaned, which keeps streaking to a minimum.
Flat and matte finishes are the ones to watch. They look beautiful on bedroom walls, but they do not handle water the way glossier paints do. Oversaturating the sponge or pressing too hard can leave water marks, soften the paint film, or lift pigment right off the surface. Light pressure and a barely-damp cloth are the safer bet here. If the wall starts looking wet rather than just cleaned, your sponge is too wet. Rinse it, wring it tighter, and keep moving.
5. Rinse the Walls

Any cleaner left on the wall is going to cause more problems than the dirt you just removed. Soap residue acts like a magnet for dust and grime, and over time it can leave paint looking flat and chalky rather than the finish you started with.
I keep a second bucket of plain warm water next to my wash bucket for this exact reason. A clean sponge or cloth, wrung out well, gets rung over the section I just washed before moving on. Working bottom to top helps here too, since dirty water dripping down a clean wall defeats the whole purpose. Rinse as you go rather than washing the whole room first, or you will be chasing dried streaks later.
A soft, lint-free towel takes care of any standing water. Skip anything textured or fuzzy that might leave fibers behind. Ventilation speeds the dry time, so crack the window if you have one. The wall should feel clean to the touch, not slick or soapy, before you call it done.
6. Dry the Walls

Grab a clean, dry cloth and pat the walls until no moisture is left behind. A soft, lint-free towel works best here since it won’t leave behind fibers or streaks on the paint. I usually go over the surface twice, once with a gentle pressing motion and again with a lighter pass to catch anything I missed the first time.
Air circulation matters more than most people expect. Bedrooms tend to have less airflow than kitchens or living rooms, especially if the door stays closed or the window only cracks open a few inches. A fan pointed at the wall speeds things up, but even just leaving the door open helps. Lingering dampness in a poorly ventilated room can leave water spots or, worse, invite mildew into corners where the paint meets the trim. If the wall still feels cool to the touch after an hour, it needs more time.
Five Cleaning Methods Compared

Most bedroom walls only need mild dish soap and warm water, the gentlest option and the one that won’t hurt painted surfaces. For dirt stains or light mold, white vinegar mixed with water works well, though the smell lingers a bit. Baking soda paste handles crayon marks and stubborn spots, but you have to be gentle rubbing it in. Magic Erasers are convenient for small smudges, yet they can dull the finish if you scrub too hard, so test them somewhere hidden first. All-purpose cleaners like Method or Simple Green tackle tougher stains, though they are not always necessary for a basic refresh.
| Method | Best For | Caution |
|---|---|---|
| Mild soap and water | General grime, regular upkeep | None; safest starting point |
| Vinegar and water | Dirt stains, light mold/mildew | Strong odor; dilute properly |
| Baking soda paste | Crayon, stubborn spots | Abrasive; rub gently |
| Magic Eraser | Small, isolated smudges | Can dull paint finish; test first |
| All-purpose cleaner | Grease, heavier stains | Stronger than needed for light cleaning |
Paint Finish and What It Means for Cleaning
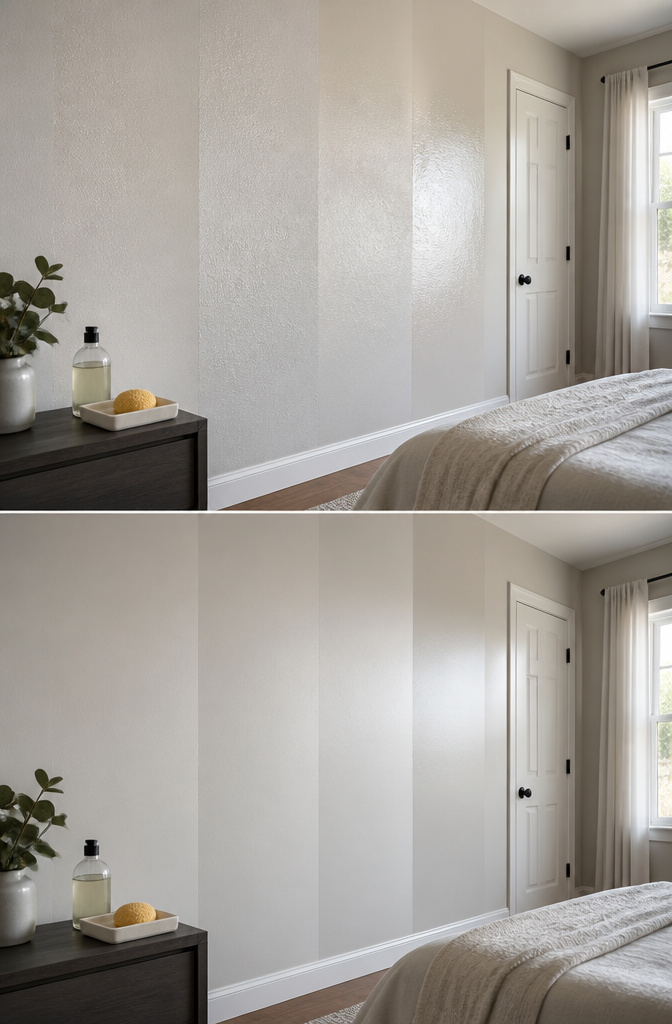
Flat paint has almost no shine, which makes it great at hiding wall imperfections, but that same quality leaves it the least durable of the bunch. A soft sponge and barely any pressure are all it can handle before the color starts lifting off.
Eggshell steps up slightly with a low, velvety sheen. It holds up better than flat in a bedroom, though you’ll still want to avoid anything abrasive.
Satin carries more gloss and can take a real wipe-down without complaint. Most bedroom walls live in this middle ground, where a damp cloth and mild cleaner do the job.
Semi-gloss is the toughest of the four, with enough surface hardness to survive actual scrubbing. Bedrooms rarely need it unless you’re cleaning trim or a kid’s high-traffic corner, but higher gloss always means more forgiveness when you’re working out a stubborn mark.
The rule runs in one direction: less shine, gentler touch. Start softer than you think you need, then match your pressure to what the wall can give back.
How Often to Clean Bedroom Walls
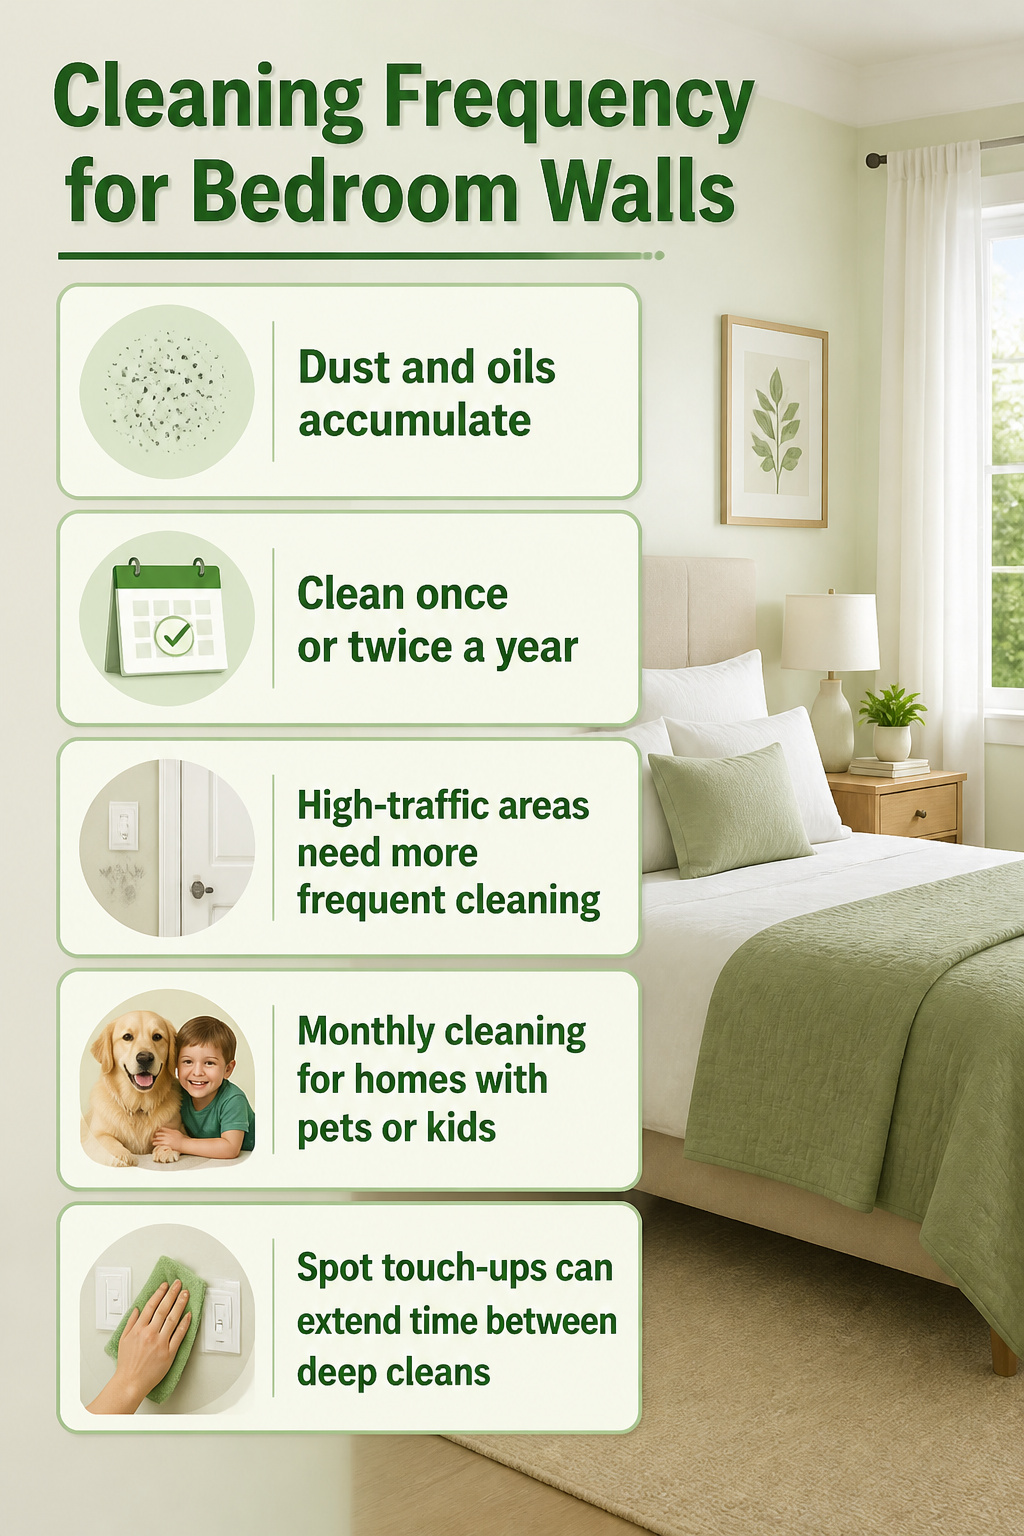
Painted walls collect dust and oils whether you notice or not, and once or twice a year is the baseline for a full cleaning in a bedroom. High-traffic areas, homes with pets, or households with children will need more frequent attention, sometimes as often as monthly, since little handprints and fur oils wear paint down faster than you’d think.
Kitchens are a different animal entirely, with grease settling into walls quarterly or more, but a bedroom’s slower pace means you can often get away with spot touch-ups between annual deep cleans. A damp cloth on a smudge near the light switch buys you time and keeps the paint looking newer longer.
Specific Stains and How to Treat Them

Most bedroom wall stains fall into three camps, and each wants a different treatment.
Crayon marks are the one I’ve actually dealt with. Half a cup of baking soda mixed with a quarter cup of water makes a paste that lifts wax without stripping paint. Let it sit a minute, then rub gently in circles with a soft cloth. The mild grit does the work so your elbow doesn’t have to.
Red wine and grease show up less often on bedroom walls, but they’re memorable when they do. For wine, a cleaning cloth with a drop of hydrogen peroxide pressed against the spot for five minutes will usually pull it. Grease responds to the iron method: paper towel over the stain, low heat on top for one minute, the oil wicks up into the towel. Both of these are worth testing in a hidden corner first. Paint finishes vary, and what saves one wall can spot another.
Tools That Make It Easier

You do not need much to clean bedroom walls without leaving streaks or taking paint with you. The right tools keep the job short and prevent the damage that sends you to the paint store mid-afternoon.
- A vacuum with a dust brush attachment removes loose dust and cobwebs before any water touches the surface. Skip this step and you will push wet dirt around instead of lifting it.
- Soft cloths, preferably white or light-colored, let you see the dirt coming off and avoid dye transfer onto lighter paint.
- Mild dish soap cut with room-temperature water handles most bedroom grime. Harsher cleaners are for kitchens and bathrooms, not sleeping spaces.
- A non-abrasive sponge works the soapy water into marks without scouring the finish. Rinse it often so you are not re-depositing dirt.
That is the whole kit. Everything here is probably in your closet already, which keeps the prep to about five minutes and the budget at zero.
When Walls Need More Than Cleaning

Bedroom walls in city apartments collect grime faster than most of us notice. Pollution, pollen, and plain old dust settle on vertical surfaces the same way they coat windowsills, just more quietly. If someone in your home has allergies, that buildup becomes more than an eyesore; it is a reservoir for irritants that vacuuming the floor never touches. Every two to four months is a realistic rhythm for these spaces, not the annual wipe-down that works in quieter rooms.
The real work is in the habits that stretch the time between scrubs. Spot-cleaning handprints or the occasional scuff when you see it keeps grime from baking into the paint over months of neglect. I keep a microfiber cloth in the nightstand drawer for this; it takes thirty seconds and means the wall stays presentable without a full washing circuit.
Spot clean walls once a month and deep clean them once a year, hitting high-traffic areas for hand prints, scuffs, scratches, and splashes.
For renters especially, that monthly check is the difference between getting your deposit back and arguing over whether a stain is "normal wear." White or light paint tightens the schedule further; dirt shows early and builds fast. Darker colors hide more, which is a kind of freedom, but do not let that camouflage lull you into skipping checks entirely. The grime still accumulates; you just stop seeing it.
Frequently Asked Questions
How do I clean matte walls without removing paint?
Use a barely-damp cloth and light pressure, since flat paint has no sheen to hide micro-scratches. Wet the sponge less than you think you need, wring it tight, and stop if the wall starts looking wet rather than just cleaned. A mix of one part white vinegar, two parts laundry detergent, and three parts water works well for flat finishes because the cleaner does the lifting without force behind it.
What is the best solution to clean walls?
Mild dish soap and warm water is the safest starting point for painted bedroom walls. It handles the dusty film that builds up without risking damage to the finish. If you need more strength, white vinegar cuts through grime and fingerprints, and a baking soda paste tackles crayon or stubborn marks.
How often should I clean my walls?
Once or twice a year is the baseline for a full cleaning in a bedroom, though spot cleaning once a month keeps grime from setting in. Homes with pets, children, or city pollution may need more frequent attention, sometimes monthly for high-traffic areas. Bedrooms in apartments with less airflow or allergy sufferers benefit from cleaning every two to four months instead of waiting for an annual deep clean.