

Cleaning your bedroom walls may not seem like a priority, but over time, dust, stains, and scuff marks can build up, making your space feel neglected and uninviting. If you’ve noticed that your walls look dull or dirty, it’s time to take action! A clean bedroom not only enhances aesthetics but also improves your overall mood and well-being.
In this guide, you will learn simple and effective techniques to clean your bedroom walls, making them look fresh and new again. You’ll discover the materials needed, step-by-step instructions to follow, and tips to maintain your walls in the long run. By the end of this guide, your bedroom will feel rejuvenated and welcoming.
This is a beginner level project and will take approximately 1-2 hours to complete. Grab your cleaning supplies, roll up your sleeves, and let’s get started on transforming your space!
TL;DR Summary
– Clean your bedroom walls to enhance your living space.
– Gather materials like a sponge, bucket, and cleaner.
– Follow the step-by-step guide for effective cleaning.
– Enjoy a refreshed and inviting bedroom atmosphere.
Prerequisites/Materials Needed
- Cleaning solution (all-purpose or mild detergent)
- Warm water
- Bucket
- Soft sponge or cloth
- Magic eraser (optional)
- Step ladder (if necessary)
- Vacuum with brush attachment
- Microfiber cloth
Skill Level & Time Estimate
Skill Level: beginner
Estimated Time: 1-2 hours
Step Breakdown:
– Gather materials: 10 minutes
– Dust and prep walls: 15 minutes
– Clean walls: 30 minutes
– Dry and finish: 15 minutes
Step 1: Gather Your Cleaning Supplies
Start by collecting all necessary cleaning supplies to ensure a smooth process.
1. Locate your cleaning solution and warm water.
2. Get a bucket for mixing the solution.
3. Grab a soft sponge or cloth for scrubbing.
4. Don’t forget the vacuum with a brush attachment for dusting.
Pro Tip: Ensure your cleaning solution is suitable for your wall type to avoid damage.
Why this matters: Having everything on hand will save you time and make your cleaning session more efficient. You won’t have to stop midway to hunt for supplies.
Time estimate: 10 minutes.
Step 2: Dust the Walls
Before applying any cleaning solution, dust the walls to remove loose dirt and debris.
1. Use the vacuum with a brush attachment to gently go over the walls.
2. Pay special attention to corners and edges, where dust tends to accumulate.
3. Alternatively, you can use a dry microfiber cloth.
Warning: Avoid using a rough cloth, as it may scratch the paint or finish.
Why this matters: Dusting first will prevent dirt from turning into mud when you apply the cleaning solution, ensuring a more effective clean.
Time estimate: 15 minutes.
Step 3: Prepare the Cleaning Solution
Mix your cleaning solution to effectively clean the walls.
1. Fill your bucket with warm water.
2. Add the recommended amount of your chosen cleaning solution (usually a few capfuls).
3. Mix gently to create suds without excessive foam.
Pro Tip: If your walls are particularly dirty, consider adding a bit of vinegar to the solution for extra cleaning power.
Why this matters: A well-mixed cleaning solution ensures that you have the right balance of cleaning agents to tackle dirt without damaging surfaces.
Time estimate: 5 minutes.
Step 4: Test the Solution
Before cleaning the entire wall, always test the solution on a small area.
1. Dip your sponge or cloth into the cleaning solution.
2. Choose a discreet spot on the wall and apply the solution.
3. Wait a few minutes to observe any adverse reactions (color fading or paint peeling).
Warning: If you notice any negative reactions, stop and choose a milder solution.
Why this matters: Testing ensures you protect your walls from damage and ensures the cleaning solution is effective.
Time estimate: 10 minutes.
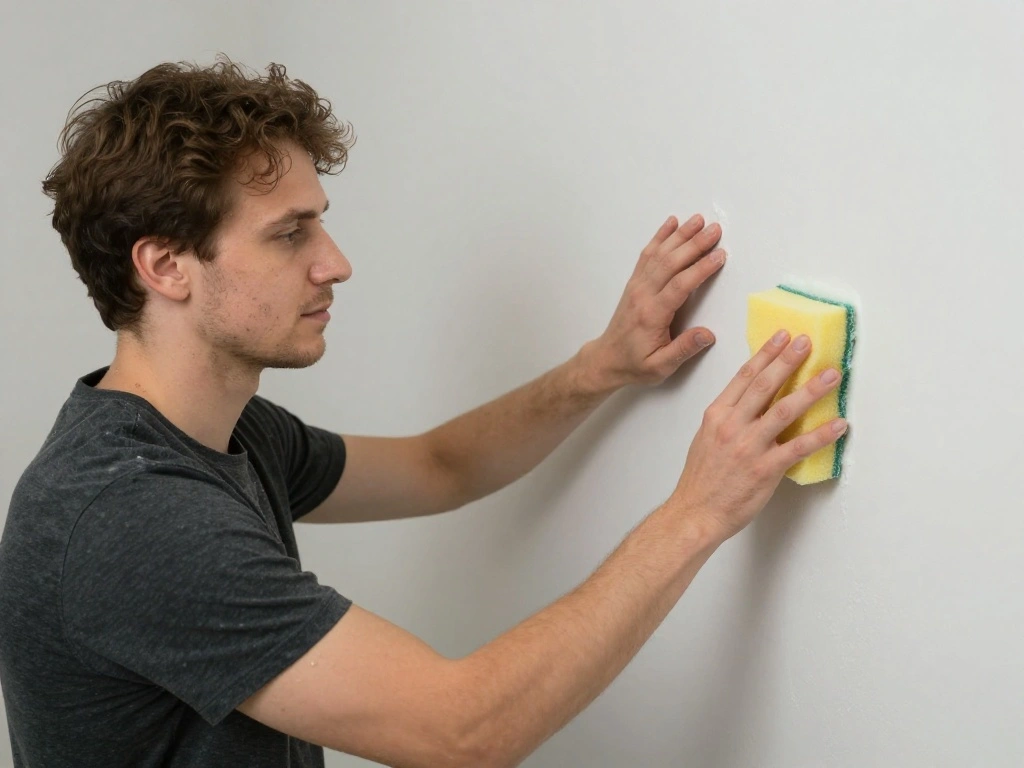
Step 5: Clean the Walls
Now it’s time to start cleaning your walls!
1. Moisten your sponge or cloth in the cleaning solution.
2. Start at the top of the wall and work your way down to avoid streaks.
3. Use circular motions and light pressure to avoid damaging the paint.
4. Rinse the sponge regularly to avoid spreading dirt.
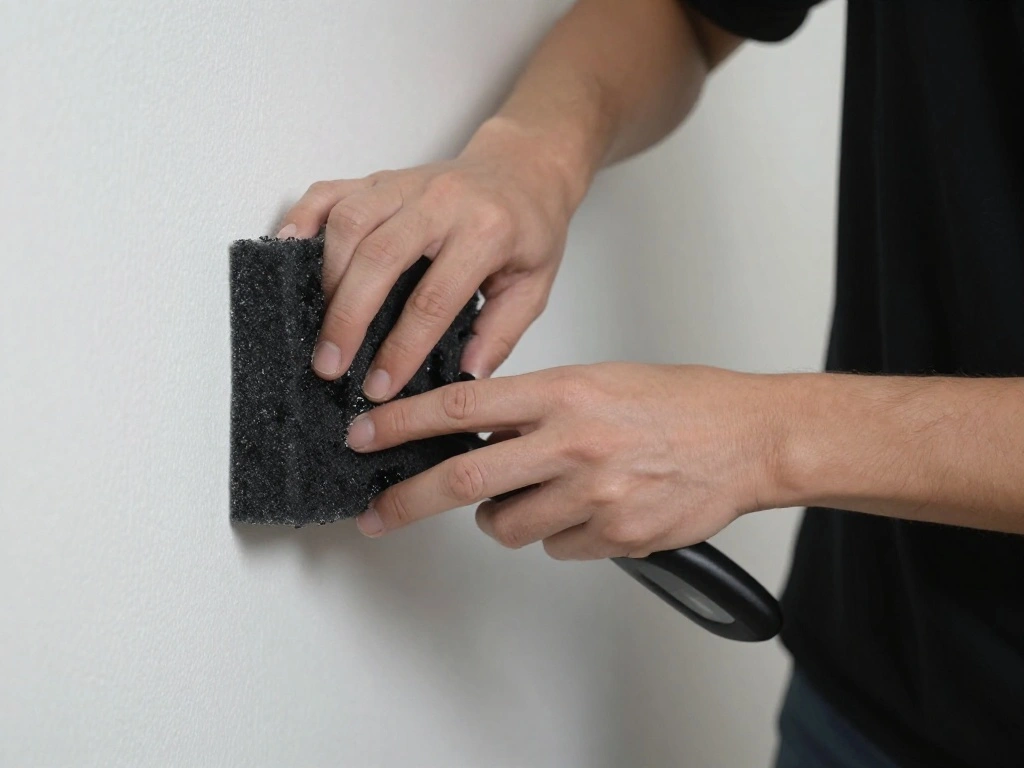
Pro Tip: For stubborn stains, use a magic eraser.
Why this matters: Cleaning from top to bottom prevents dirty water from dripping onto areas you have already cleaned, ensuring a consistent clean.
Time estimate: 30 minutes.
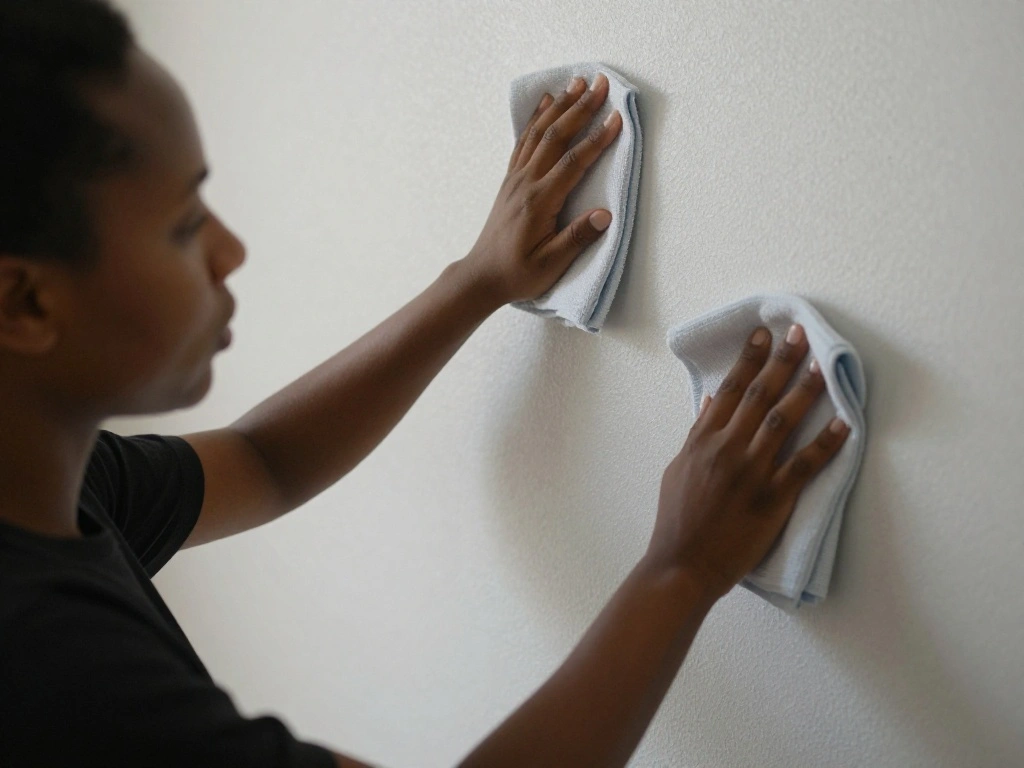
Step 6: Rinse the Walls
After cleaning, it’s crucial to rinse off the cleaning solution to prevent residue build-up.
1. Empty the bucket and fill it with clean, warm water.
2. Dampen a clean sponge or cloth in the water.
3. Wipe down the walls again to remove any soap residue.
Warning: Avoid soaking the walls, as excess moisture can cause damage.
Why this matters: Rinsing helps maintain the appearance of your walls and prevents any potential damage from leftover cleaning products.
Time estimate: 15 minutes.
Step 7: Dry the Walls
To finish, it’s essential to dry the walls properly.
1. Take a dry microfiber cloth or towel.
2. Wipe down the walls to remove any remaining moisture.
3. Ensure there are no damp spots left, especially in corners.
Pro Tip: Open windows or turn on fans to speed up the drying process.
Why this matters: Allowing walls to dry fully prevents mold growth and keeps your bedroom fresh.
Time estimate: 15 minutes.
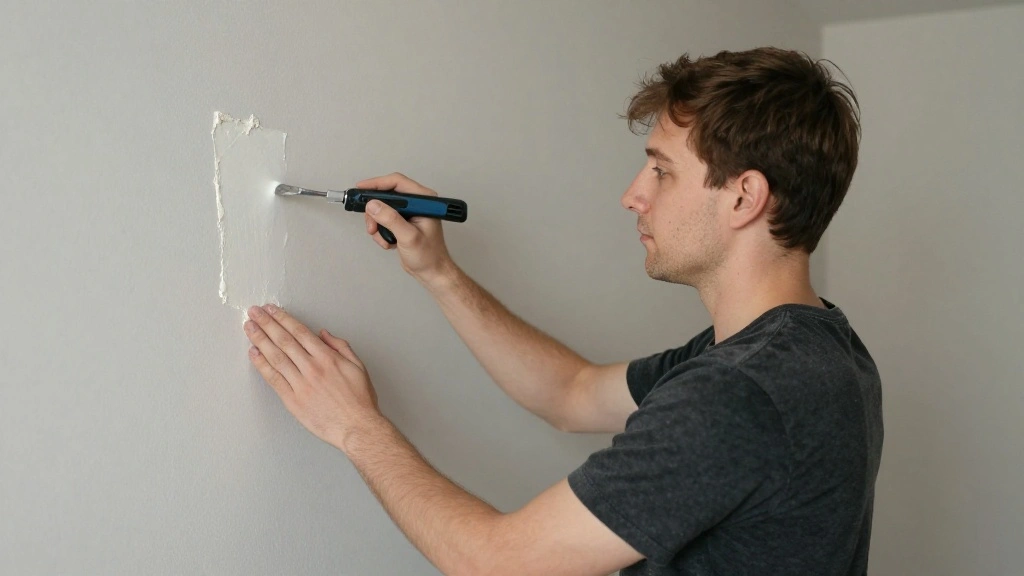
Step 8: Inspect and Touch Up
After cleaning, inspect the walls for any spots that may need touch-ups.
1. Look for remaining stains or scuff marks.
2. Use a magic eraser for stubborn marks or touch-up paint for small imperfections.
3. Make sure to follow the same technique used for cleaning.
Warning: Ensure the touch-up paint matches the wall color to avoid visible patches.
Why this matters: Touching up imperfections maintains the clean look of your walls and enhances the overall appearance of your bedroom.
Time estimate: 15 minutes.
Step 9: Maintain Your Clean Walls
To keep your walls looking fresh, establish a maintenance routine.
1. Dust your walls monthly to prevent dirt build-up.
2. Spot clean any stains as soon as you notice them.
3. Consider using a protective wall finish if you have children or pets.
Pro Tip: Regularly wipe down high-traffic areas to keep them looking new.
Why this matters: Proactive maintenance can significantly extend the time between deep cleans, keeping your bedroom inviting year-round.
Time estimate: Ongoing, 5-10 minutes monthly.
Pro Tips
- Use the Right Tools: Invest in good-quality sponges and cloths for better cleaning results.
- Choose the Right Time: Clean on a cloudy day to avoid direct sunlight causing streaks as walls dry.
- Protect Your Floors: Lay down a drop cloth to catch any drips or dirt.
- Be Gentle: Avoid scrubbing too hard to prevent paint damage.
- Keep a Cleaning Schedule: Regularly clean walls to maintain a fresh look.
Common Mistakes to Avoid
Warning: Skipping the dusting step can lead to muddy walls.
Always dust before washing to ensure a proper clean.
Warning: Using harsh chemicals can damage paint.
Stick to gentle solutions for best results.
Warning: Over-saturating the walls can cause peeling.
Use damp, not wet, cloths for cleaning.
Troubleshooting Section
Problem: Walls still look dirty after cleaning.
Solution: Ensure you used enough cleaning solution and rinse thoroughly.
Problem: Paint is coming off during cleaning.
Solution: Stop immediately and switch to a milder solution.
Problem: Stains remain after multiple cleanings.
Solution: Use a magic eraser specifically for tough stains.
Variations/Alternative Methods
Alternative Method 1: For textured walls, consider using a soft-bristle brush to reach into crevices.
Alternative Method 2: For painted walls, a diluted vinegar solution can effectively clean without harsh chemicals.
Pros: Gentle on paint and effective against grime.
Cons: May require more scrubbing.
FAQs
What if I don’t have a magic eraser?
You can use a damp sponge with a bit of baking soda for similar results.
How long should I wait after cleaning before using the room?
Wait at least 30 minutes to ensure walls are completely dry.
Is it safe to use vinegar on painted walls?
Yes, but always dilute it to prevent damage.
Conclusion
Congratulations on successfully cleaning your bedroom walls! You’ve taken a significant step towards creating a more inviting and pleasant atmosphere in your space. Now that your walls are fresh and clean, consider decluttering or rearranging furniture for an even bigger change. Remember to maintain your clean walls through regular dusting and spot cleaning.
For more home improvement tips and DIY projects, check out our related resources. Keep up the great work, and enjoy your refreshed bedroom!