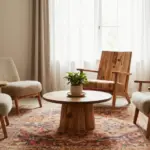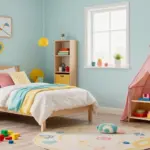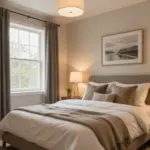

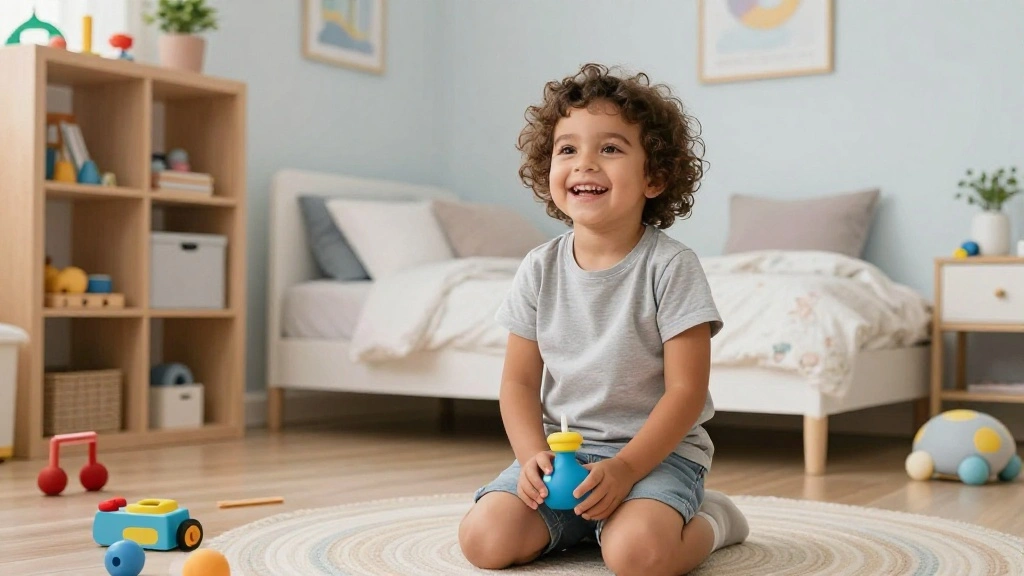
Every parent knows that a kid’s bedroom can quickly turn from a stylish retreat into a chaotic play area. With toys strewn everywhere, mismatched furniture, and walls in desperate need of color, it often feels overwhelming to create a space that is both functional and aesthetically pleasing. Yet, transforming your child’s bedroom into a stylish and playful haven doesn’t have to be a daunting task. By implementing a few simple strategies, you can create a room that nurtures creativity while providing a cozy atmosphere.
In this guide, you’ll learn how to balance style with playfulness, ensuring that your child’s room is a reflection of their personality and interests. From choosing the right colors and themes to incorporating smart storage solutions, you’ll discover how to make the most of the space available. By the end of this guide, you will have a beautifully designed room that your child will love and that you can be proud of.
This project is rated as beginner level and can be accomplished in an estimated 2-4 hours. Ready to dive in? Let’s create a magical space that will inspire your child’s imagination!
TL;DR Summary
- Transform your kid’s bedroom into a stylish and playful space.
- Learn how to select colors, themes, and furniture that inspire creativity.
- Incorporate smart storage solutions to keep the room organized.
- This project is beginner-friendly and can be completed in 2-4 hours.
Prerequisites/Materials Needed
- Paint: 1-2 cans of vibrant color paint (size depending on room)
- Furniture: Bed, dresser, desk (sizes based on room dimensions)
- Storage Bins: 3-5 colorful bins for toys
- Decor: Wall art, rugs, curtains (choose playful designs)
- Lighting: Fun lamp or fairy lights
Skill Level & Time Estimate
Skill Level: beginner
Total Time Estimate: 2-4 hours
This time can be broken down as follows:
- Planning and shopping: 1-2 hours
- Painting and setup: 1-2 hours
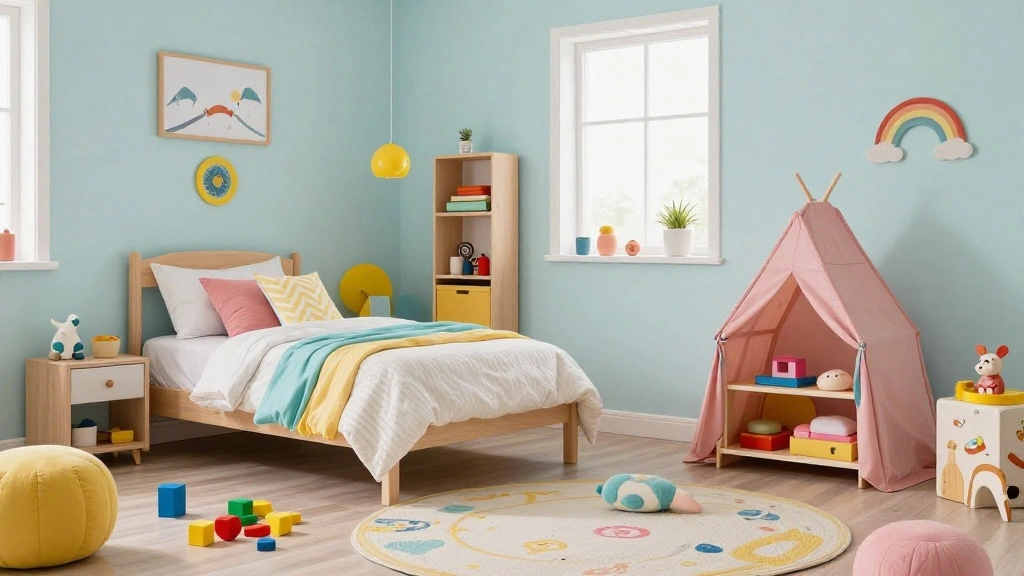
Step 1: Choose a Color Scheme
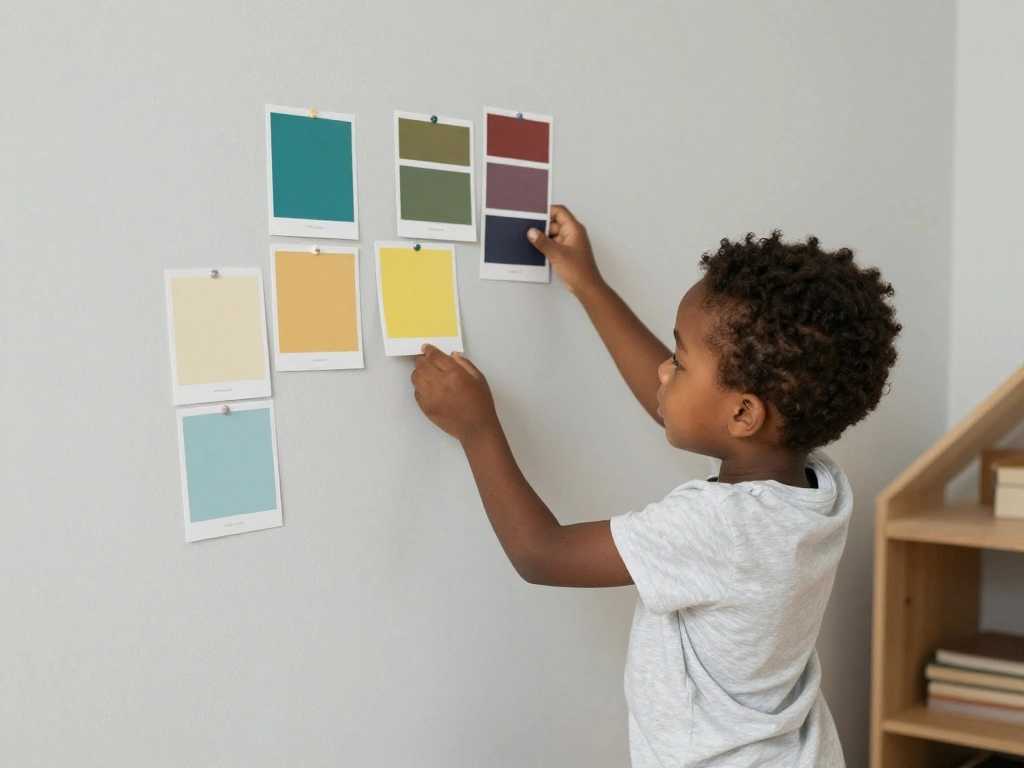
Start by selecting a color scheme that reflects your child’s personality. Consider their favorite colors and how they can influence the room’s mood. Follow these steps:
- Observe your child’s favorite colors and themes.
- Pick 2-3 main colors that complement each other.
- Consider adding an accent color for depth.
Pro Tip: Use color samples to visualize how the colors will look on the walls and furniture.
Why this matters: A well-chosen color scheme sets the tone for the entire room, making it both inviting and vibrant. This step should take about 30-45 minutes.
Step 2: Select a Theme
Once you’ve chosen a color scheme, it’s time to select a theme that your child loves. This could be based on their favorite cartoon, hobby, or even a nature-inspired theme. Here’s how:
- Discuss with your child what themes they enjoy (e.g., space, animals, or fantasy).
- Brainstorm ideas together, listing elements they want to include.
- Choose a theme that can be easily integrated with the color scheme.
Warning: Avoid overly complex themes that can make the room feel cluttered. Keep it simple and fun!
Why this matters: A theme personalizes the space and makes your child feel more connected to their room. This step typically takes about 30-60 minutes.
Step 3: Declutter and Organize

Before you start decorating, decluttering is essential. A clean slate allows for a more stylish design. Follow these steps:
- Remove all items from the room.
- Sort through toys and clothes; decide what to keep, donate, or toss.
- Organize any remaining items into categories for easier access.
Pro Tip: Use this time to involve your child in decision-making, helping them learn about organization.
Why this matters: A clutter-free environment enhances creativity and play. This step should take approximately 1-2 hours.
Step 4: Paint the Walls

With the theme and colors decided, it’s time to paint! This step will bring life to the room and make it feel fresh. Here’s how to do it:
- Prepare the room by moving furniture and covering surfaces with drop cloths.
- Use painter’s tape to mask off edges and trim.
- Start painting from the top down, using a roller for larger areas and a brush for edges.
Warning: Ensure proper ventilation and wear protective gear when painting.
Why this matters: A fresh coat of paint transforms the room and sets the foundation for the rest of your design. This step typically takes about 1-2 hours.
Step 5: Choose Functional Furniture
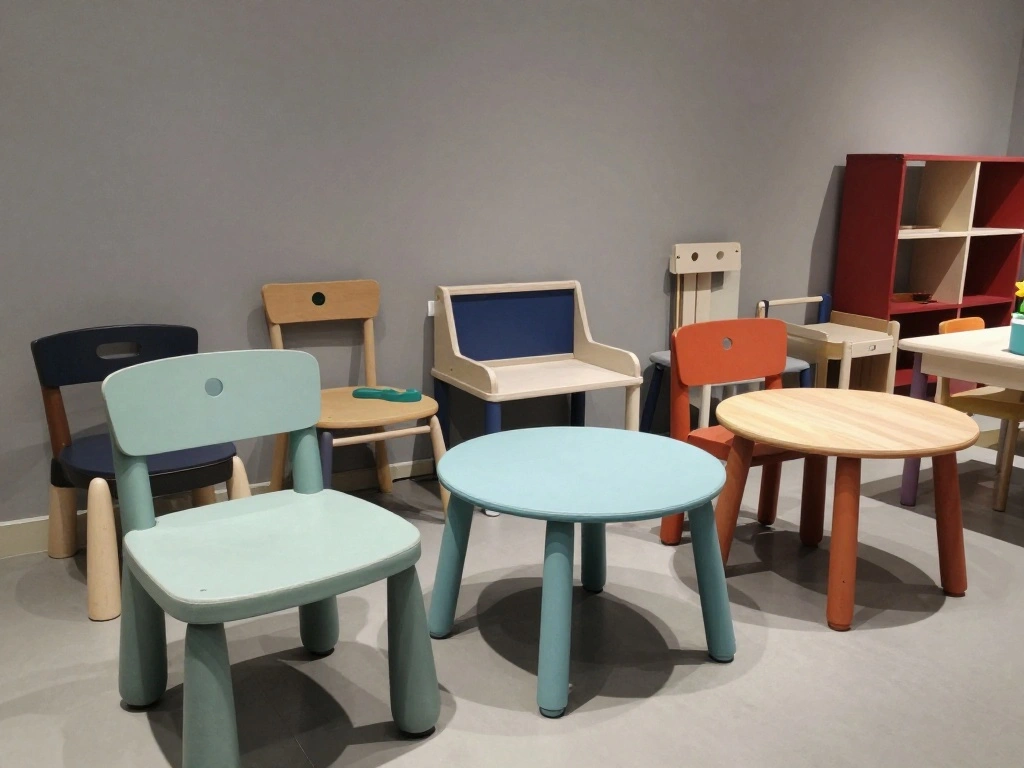
Select furniture that complements the theme while being functional. Consider these tips:
- Choose a bed that fits the room size; loft beds can save space.
- Look for multi-functional furniture like desks with storage.
- Select a dresser that matches the color scheme and theme.
Pro Tip: Measure the room before purchasing to ensure everything fits well.
Why this matters: Functional furniture maximizes space and enhances usability for your child. This step should take around 1-2 hours.
Step 6: Add Storage Solutions
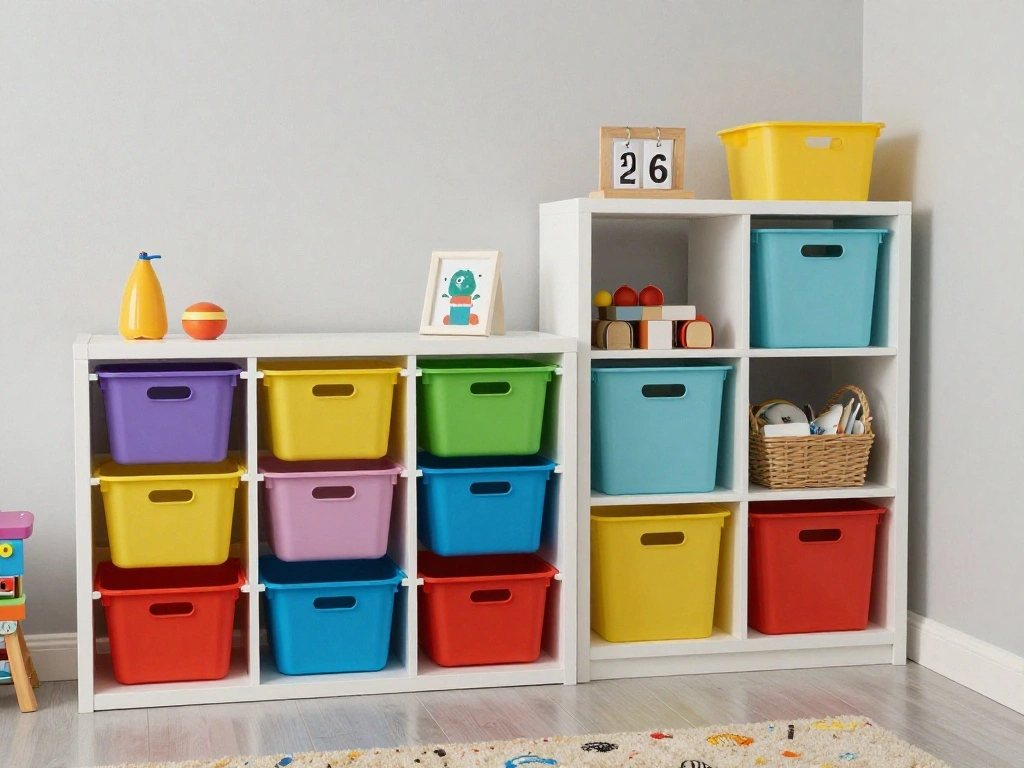
To keep the room organized, incorporate fun storage solutions. Here’s how to do it:
- Choose colorful bins or baskets for toys and clothes.
- Install shelves for books and decorative items.
- Consider under-bed storage for extra items.
Warning: Ensure storage solutions are safe and accessible for your child.
Why this matters: Effective storage keeps the room tidy and encourages your child to take responsibility for their space. This step will take approximately 30-60 minutes.
Step 7: Incorporate Playful Decor
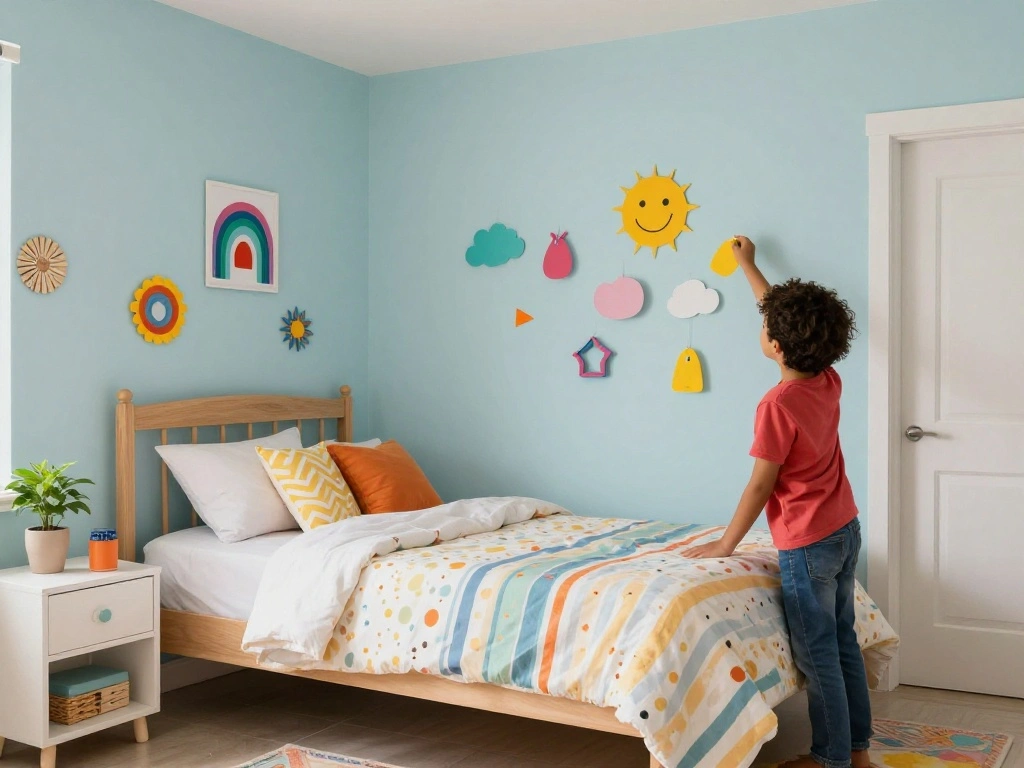
Now it’s time to add those playful touches that reflect your child’s personality. Follow these steps:
- Choose wall art that matches the theme.
- Add fun pillows and blankets for comfort.
- Include a rug that ties the room together.
Pro Tip: Involve your child in selecting decor items for a personal touch.
Why this matters: Decor adds character and warmth to the room, making it feel like a personal sanctuary. This step typically takes about 1 hour.
Step 8: Create a Cozy Reading Nook
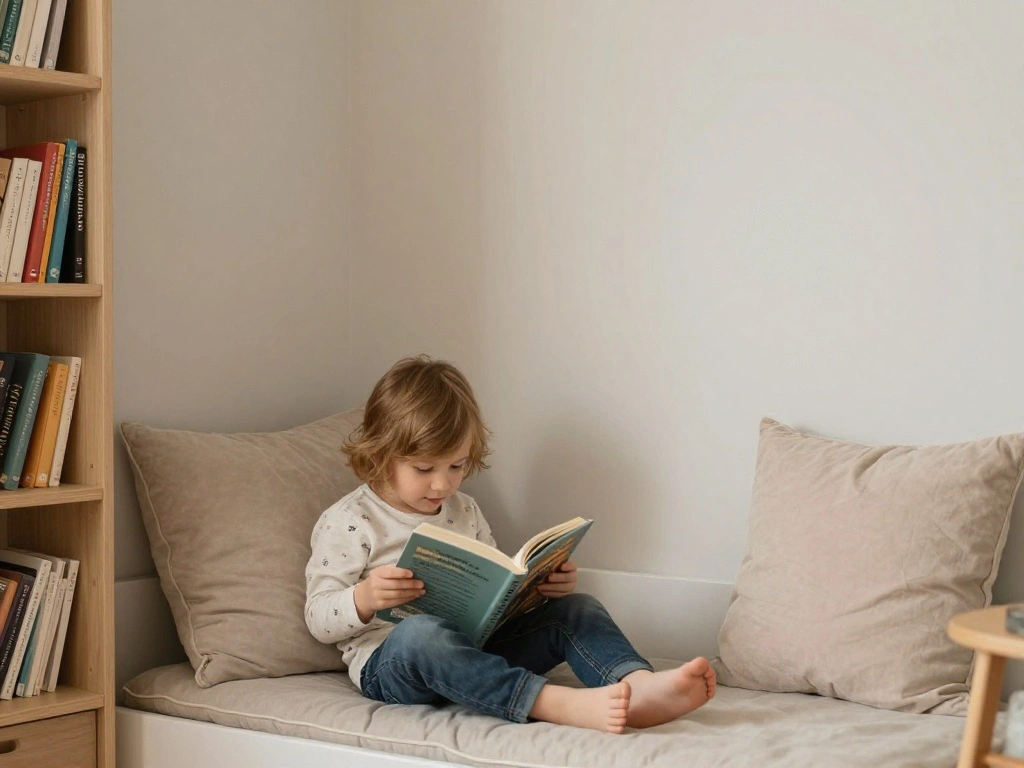
A reading nook encourages your child to enjoy books. Here’s how to create one:
- Choose a quiet corner of the room.
- Add a small bookshelf with favorite books.
- Include a comfy chair or cushions for seating.
Pro Tip: Decorate the nook with fairy lights for a magical touch.
Why this matters: A dedicated reading nook fosters a love for reading and provides a peaceful space. This step should take around 30 minutes.
Step 9: Personalize with Photos and Memories
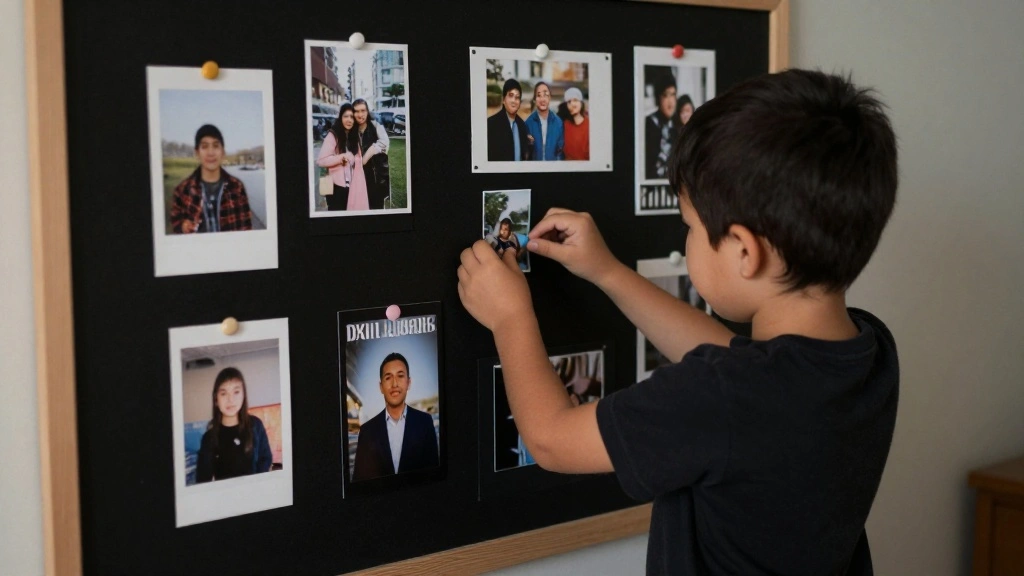
Finally, add personal touches that reflect your child’s life. Follow these steps:
- Display family photos in fun frames.
- Include artwork or crafts your child has made.
- Hang a bulletin board for them to showcase new creations.
Pro Tip: Change out pictures and artworks regularly to keep the space fresh.
Why this matters: Personal items make the room feel special and loved, creating a welcoming atmosphere. This step typically takes about 30-45 minutes.
Pro Tips
- Involve Your Child: Make design decisions together to ensure the room reflects their personality.
- Consider Future Changes: Use removable wall decals for easy updates as interests change.
- Mix and Match: Don’t be afraid to combine different patterns and textures for a playful look.
- Use Vertical Space: Maximize storage and display by utilizing wall space effectively.
- Keep it Fun: Incorporate elements that stimulate creativity, like a chalkboard wall or craft area.
Common Mistakes to Avoid
Warning: Avoid over-decorating, which can create a cluttered feel. Stick to a few key pieces that enhance the theme.
Warning: Do not neglect safety; ensure all furniture is anchored and items are age-appropriate.
Warning: Avoid choosing colors that are too dark, as they can make the space feel smaller and less inviting.
Troubleshooting Section
Problem: The room feels cluttered after organizing.
Solution: Reassess storage solutions and declutter again if necessary. Consider more bins or shelves.
Problem: Paint color looks different than expected.
Solution: Use a sample on the wall before committing to a full paint job. Test under different lighting.
Problem: The theme feels unbalanced.
Solution: Adjust decor elements to create harmony—remove or add items as needed.
Variations/Alternative Methods
Consider these alternatives
- Wall Decals: Use removable decals instead of paint for a less permanent solution.
- DIY Furniture: Upcycle old furniture using paint or fabric to match the theme.
- Theme Rotation: Change decor with the seasons or your child’s changing interests for a fresh look.
FAQs
What if I don’t have enough space for all the toys?
Use vertical storage solutions like shelves and wall-mounted bins to maximize space.
How long should I wait before repainting?
Generally, wait 3-5 years unless your child’s preferences change significantly.
Is it safe to use paint in a child’s room?
Yes, just choose non-toxic paints and ensure proper ventilation while painting.
Conclusion
Congratulations! You’ve transformed your kid’s bedroom into a stylish and playful haven that reflects their personality. With thoughtful planning and creativity, you’ve created a space that encourages imagination and comfort.
Now that the bedroom is complete, consider involving your child in regular updates to keep it fresh. Explore related resources on home decor and organization to maintain the space. Enjoy every moment in this beautifully designed room!