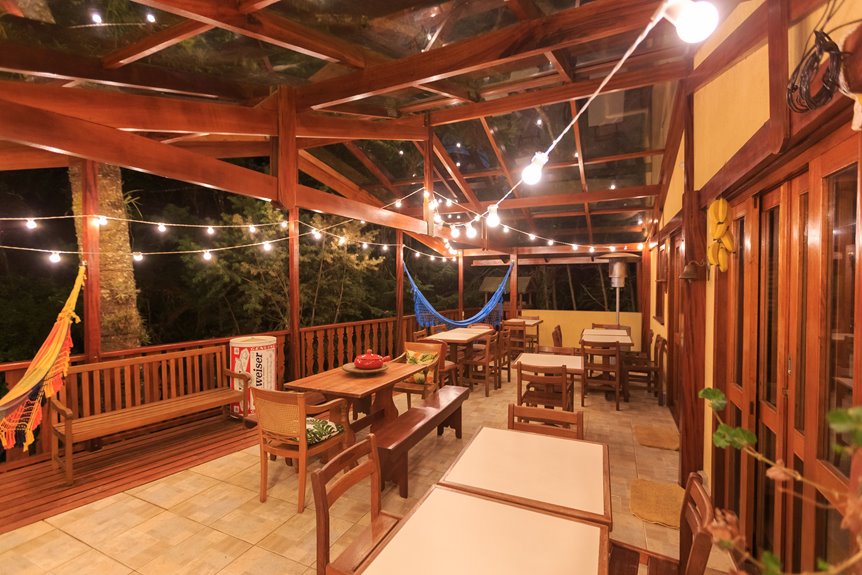

I’ve hung lights on every kind of deck without drilling, and these six methods never fail me. I use adhesive hooks on railings, gutter clips for overhead swag, wrap posts and balusters for structure, zip-tie across beams for that café drape, plant weighted poles when there’s nothing else to grab, and keep removable hooks handy for quick takedowns. Each trick keeps surfaces clean, and I’ve tested them through storms and scorching summers. The right approach depends on your deck’s bones, and I have specifics on all six that will prevent costly mistakes and installation failures.
Hook String Lights to Deck Railings Without Drilling
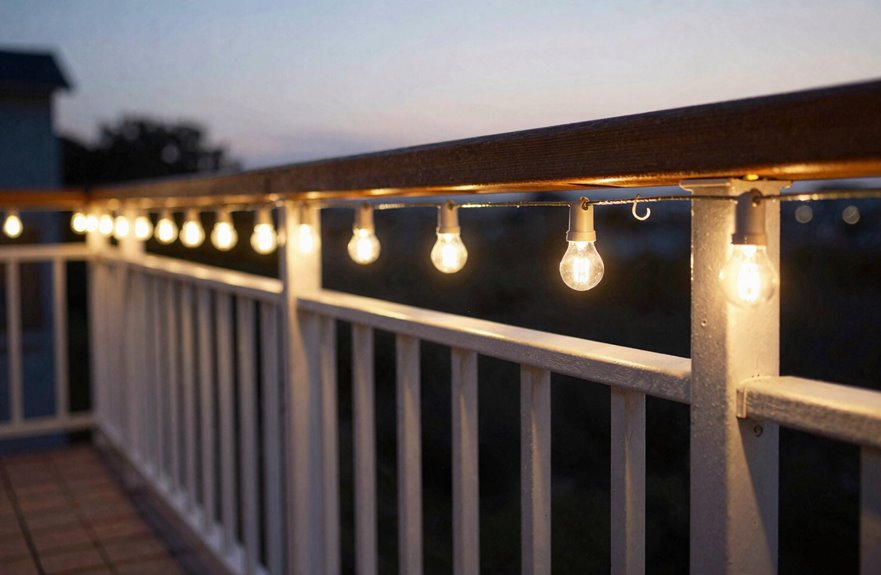
Why drill holes you’ll just have to patch later? There’s a simpler approach to outdoor lighting that starts with your deck railings.
I grab adhesive hooks rated for weather and my railing material, then space them every 12–18 inches. That spacing keeps everything taut with no drooping or slipping. If I’m renting, I use adhesive wall hooks or ONE-WRAP ties to avoid damaging anything and losing my deposit.
I route my lights along the top rail or the underside edge, keeping walkways clear and eliminating tripping hazards. The essential steps are using IP65+ waterproof LED string lights and plugging into a GFCI outdoor outlet. Moisture exposure requires that automatic shutoff for safety.
This method delivers great results with no holes and no complications.

[ STRONG ADHESIVE ] Our newly upgraded adhesive features ultra-high adhesion waterproof adhesive strips, solving the problem of falling decorations. It is easy to remove without leaving unsightly marks on walls

ONE LIGHT CLIP FOR EVERY TWO FEET OF LIGHTS: One package of the Command Clear Outdoor Light Clips includes 20 clear hooks and 24 small water-resistant Command Strips; use one light clip for every two feet of lights

Sturdy and Durable: Package include 30 pcs clear adhesive christmas light clips. Base 1.57”x 0.9”, Inner Height 0.2”. The double-hook design and the use of high-quality PA66 materials make our string light hooks sturdy and durable, no worry about light clips for outside string lights falling off.
Hang String Lights From Deck-Adjacent Gutters
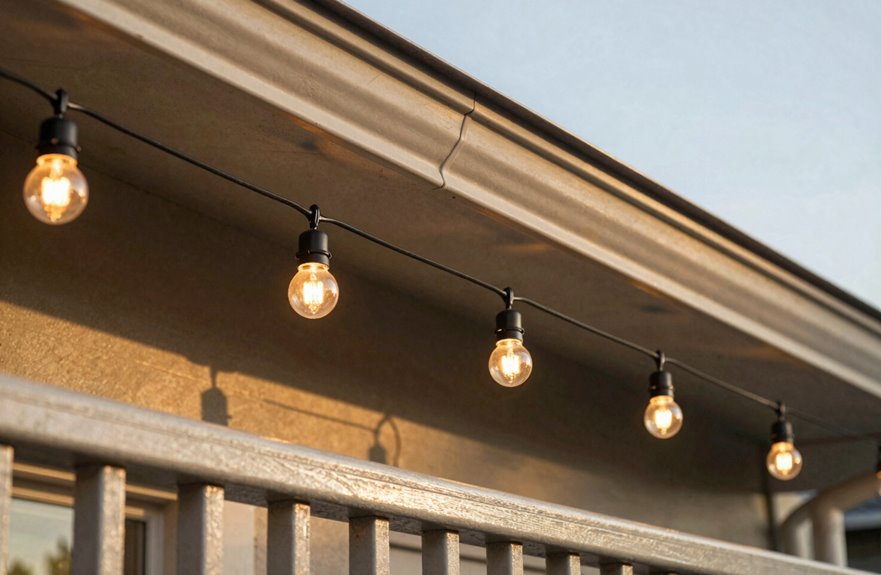
I’ve found that gutter clips make it easy to hang lights without touching a drill, but you’ve got to pick ones rated for your gutter material. Rust will damage your installation and compromise longevity. Space clips every foot or so, keeping the swag gentle so water still flows where it needs to. Double-check that IP65 rating on your lights. Outlets near gutters need GFCI protection because mixing electricity and roof runoff creates shock hazards.

Strong metal drain clips: These light clips are made of high quality galvanized steel and manganese, with material upgrades from plastic easy to break, designed for outdoor use, the material is strong and durable, and not affected by any wind, snow, rain and hot weather.


100 Clips in the Box: A set of 100 gutter hooks for outdoor lights covers a typical roofline twice over, so this kit of outdoor hooks for string lights leaves plenty of spares for the next season
Gutter Clip Selection
Where exactly do your gutters meet the deck? That’s your sweet spot for gutter clips.
I’ve tried all sorts of outdoor lighting setups, and choosing the right non-drilling hangers makes or breaks your whole vibe.
| What I’m Looking At | Why It Actually Matters |
|---|---|
| Weatherproof build | Keeps clips from cracking, rusting, fading |
| Cord compatibility | Stops your bulbs from getting pinched or bent |
| Spacing marks | Saves me measuring every 12–18 inches |
| Easy release | Lets me swap seasonal looks without drama |
| Gutter grip style | Protects that edge, no dents, no damage |
Always grab outdoor-rated gutter clips, nothing flimsy from the dollar bin. Match your clip to your actual cord diameter. This prevents damage and ensures proper function.
Installation Height Tips
How high should I actually hang these things? The sweet spot is all about that relaxed, café-style vibe we’re after. I use gutter clips to secure my outdoor lights along the deck-adjacent gutter, spacing them every 12–18 inches so nothing droops too much. For the sag, I aim for a 10–15% dip per span. If you’re spanning 10 feet, let it dip about 12–18 inches. This creates an effortless, inviting look, like the kind of space where friends linger longer. Keep walkways clear, obviously. Nobody wants a face full of bulbs. Getting the installation height right transforms your deck into that gathering spot everyone gravitates toward.
Weatherproofing Considerations
Why let a little rain ruin the mood? I keep our hangouts cozy and safe through proper weatherproofing when stringing lights from gutters.
First, I grab gutter clips rated for outdoor use. I always pair them with IP65+ lights, because splashes happen.
My three must-dos:
- Maintain 10–15% sag per span so water can’t pool
- Run all outdoor plug-in connections through a GFCI outlet, which provides automatic shutoff in case of electrical hazard
- Inspect clips yearly, swapping anything corroded
I check weatherproof seals on every connection without exception. Gutters get wet, sprinklers spray, but this setup protects against water damage and electrical risk. Your deck will remain safely lit through storms.
Wrap String Lights Around Deck Posts and Balusters
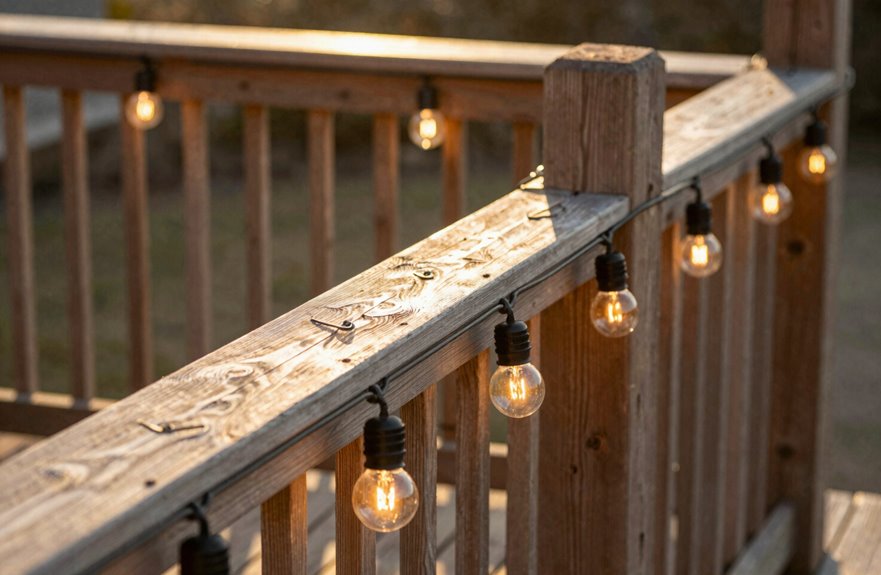
Deck posts are basically built-in light hangers waiting to happen. This method for deck lighting is easy to execute, and string lights create a magical appearance when wrapped around vertical posts and balusters.
Start from a sturdy anchor point, then swag your lights toward the railing. Keep them fairly taut, but let each span dip about 10–15 percent for that cozy café-style glow. Use outdoor-rated LEDs with IP65 waterproofing since rain-soaked lights will damage over time.
For hanging without drilling, stick stainless-steel cup hooks or outdoor adhesive hooks every 12 to 18 inches. If your posts are hollow or composite, thread through baluster gaps, zip-tie everything snug, and installation is complete.

Package including: 25pcs stainless steel curtain clips with hooks,strong, very handy and practical little hangers with excellent quality!
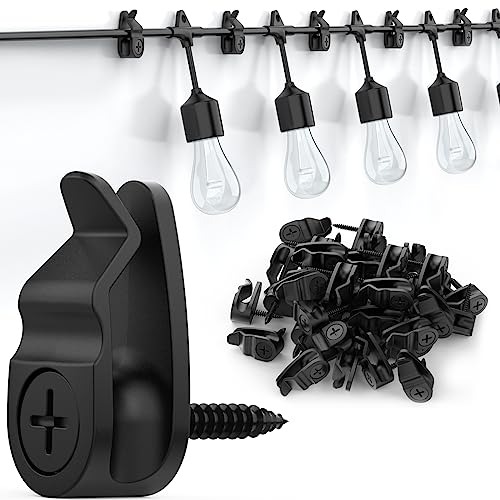
Secure and Stable: Our 50-pack Outdoor Light Hangers are designed with screw mounts for unparalleled stability, ensuring your string lights and decorations remain securely in place without swinging or falling.

Made in USA Quality – Built from premium materials for strength and year-round durability.
Stretch String Lights Across Deck Beams With Cable Ties
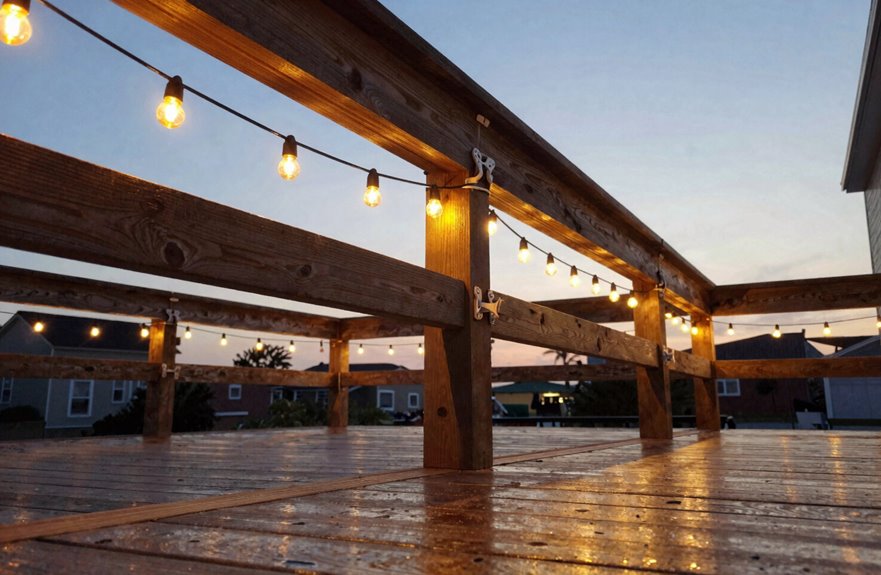
I love wrapping lights around posts, but when I’m ready to cover more ground, I head straight for the beams overhead. Walking beneath a canopy of string lights creates an inviting outdoor space.
Here’s how I make it work with zip ties and deck beams:
- Grab heavy-duty zip ties, not the flimsy kind, and space them every 12–18 inches so your string lights don’t sag or dip unevenly.
- I always pick outdoor-rated LEDs, IP65 or higher, because moisture happens and you need reliable lighting throughout the evening.
- Leave a little slack, about 10-15% per span. That café-style drape looks intentional and keeps heads from bumping.
If your deck beams aren’t perfectly spaced, loop extra zip ties around neighboring beams, snug everything up, and you’re set. Start at one end, work your way across, and re-tighten after each connection so nothing shifts on you. This method is straightforward and delivers effective overhead lighting for your deck.

Details: nylon 66,UL 94v-2 fire heat resistant,UV resistant,50 lbs tensile strength,can up to 100LBS

Multi-Functional Design: Each tie is engineered for high performance in automotive, electrical, industrial, and household applications, ensuring versatile utility.

50lb Tensile Strength: The width of our black zip ties 8 inch heavy duty is 0.19 inch, while industry standard is 0.14 inch, provide up to 50 lb tensile strength.
Stand String Lights Upright in Weighted Planter Poles
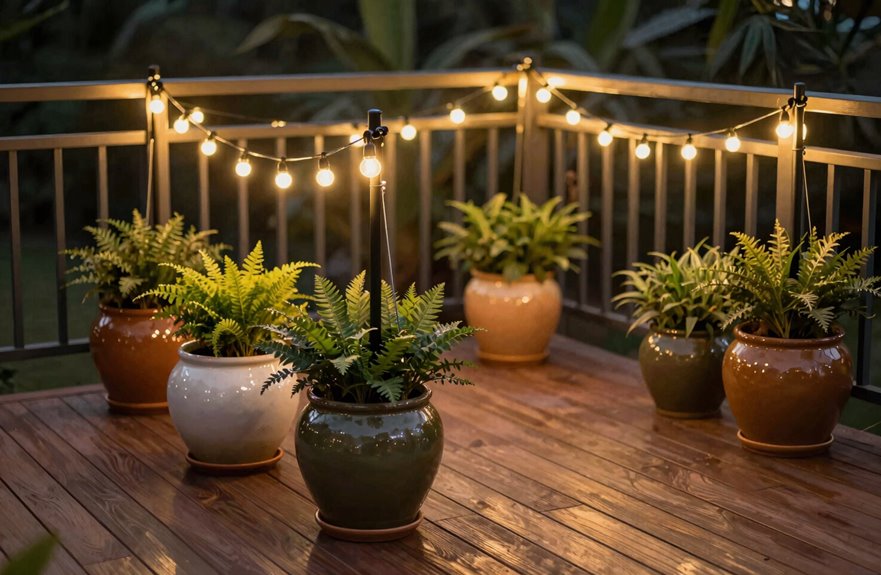
I love this planter pole trick because it gives you serious height without touching your house. You’ll start with a heavy planter base, fill it with rocks so it won’t budge, and stick an 8-foot pole right in the middle. Then drape the lights from the pole top back toward your railing, using cup hooks every foot or so to keep everything taut and level.
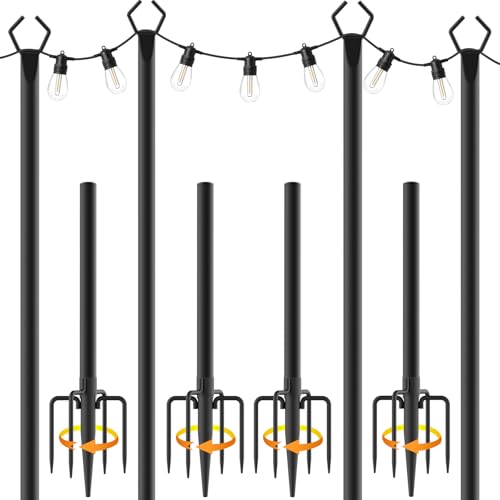
No height restrictions:Made of high quality metal, it will not bend or wobble. The poles for string lights is not limited by its own length, and the excellent load-bearing properties allow you to install it on high fences and walls. Get rid of the general height limitation. You can also hang more number of strings of lights. Also can be applied to banners, lanterns, wind chimes, all kinds of light decoration, etc.

Excellent durability, the string light poles are meticulously manufactured with top quality materials to ensure stability and reliability in long-term use. Whether facing hot summer, cold winter, or humid environment, the string light pole can still maintain excellent performance, weather resistance, anti-aging, and still maintain the original appearance and effect after the test of time.

No height restrictions:Made of high quality metal, it will not bend or wobble. The poles for string lights is not limited by its own length, and the excellent load-bearing properties allow you to install it on high fences and walls. Get rid of the general height limitation. You can also hang more number of strings of lights. Also can be applied to banners, lanterns, wind chimes, all kinds of light decoration, etc.
Planter Base Setup
A weighted planter pole is one of my favorite tricks because it looks intentional, not improvised. I grab an 8 ft 2×2, pop it into a sturdy planter, and fill that thing with rocks until it’s solid. This creates a stable base with no wobble.
The planter base setup includes:
- Screw a cup hook in the top, that’s your anchor point
- Zip tie or screw the pole to your railing for extra stability
- Use heavy-duty zip ties to secure lights, bulbs stay put, no sliding around
I stain everything to match my deck, too. Makes it feel like it belongs there. Two of us handle the wall-to-pole stretch, keeping those upright string lights steady and straight. This setup lasts years when done correctly.
Pole Height Options
Once you’ve got your planter base ready, deciding how high you want these poles is the next step. I use 8-foot 2x2s for my outdoor space because they provide real flexibility with deck lighting. That height creates a cozy canopy effect without requiring constant ladder work. Pole height significantly changes the atmosphere. Lower poles, around 6 feet, feel intimate and create a private nook feeling. At 8 feet, the light spreads wider across the deck. Taller poles require heavier planters for stability. Paint them to match your space for a finished look.
Securing Light Strings
How do you actually get those lights to stay put once your poles are ready? This is where the magic happens.
I start by screwing cup hooks into each pole end, then I attach those poles to my deck railing with screws. Use pilot holes first. If you have a composite deck, swap those screws for heavy-duty zip ties instead for the same rock-solid result.
Here’s my three-step checklist for securing light strings:
- Drape your string lights from wall to pole, keeping everything interlocked tight
- Check that bulbs aren’t sliding or rubbing anywhere to prevent damage
- Grab a buddy for the wall-to-pole stretch, because two hands are more effective than one
I finish by staining those poles to match my deck. This provides both weather protection and visual cohesion with your outdoor space.
Mount String Lights With Removable Hooks for Easy Take-Down
Want a lighting setup I can tear down in minutes when the season ends. I grab adhesive hooks made for outdoor removable mounting and skip indoor products that peel off in July.
I clean the deck surface first and dry it completely with no shortcuts. Then I space those hooks every 12–18 inches so my lights don’t sag like a sad clothesline. I check the weight rating twice, a lesson learned the hard way last year.
For the actual lights, I only use IP65+ rated strings with weatherproof connection points. Moisture kills everything, especially when taking stuff down and putting it back up. I add lightweight zip ties at junctions to keep things tidy and easy to cut. Pack it away and plan next summer’s setup.

Keep your lights cord in place with our double hook clips:Conventional single hook design is often unstable when fixing, swaying from side to side, etc. The improved and upgraded outdoor light hooks design prevents the fixtures from sliding or sagging. You can adjust them to the most suitable height and enjoy the beautiful display effect.

【3X Stronger Adhesion – Won’t Fall Off in Rain】Upgraded with 3X stronger adhesive than standard double‑sided tape. These clear heavy duty clips stay locked on wood, metal, vinyl siding, glass, gutters, tile, painted drywall, and smooth plastic – even in rain, snow, or high heat. No more climbing a ladder to re‑stick fallen lights.

60 PCS Light Hooks Clips Per Box: Length 16mm/0.63inch, Width 15mm/0.59inch, Height 8mm/0.31inch; Suitable for cables with a diameter (maximum) of 5 mm/0.2 inches, size fits most wires, small size and space saving.