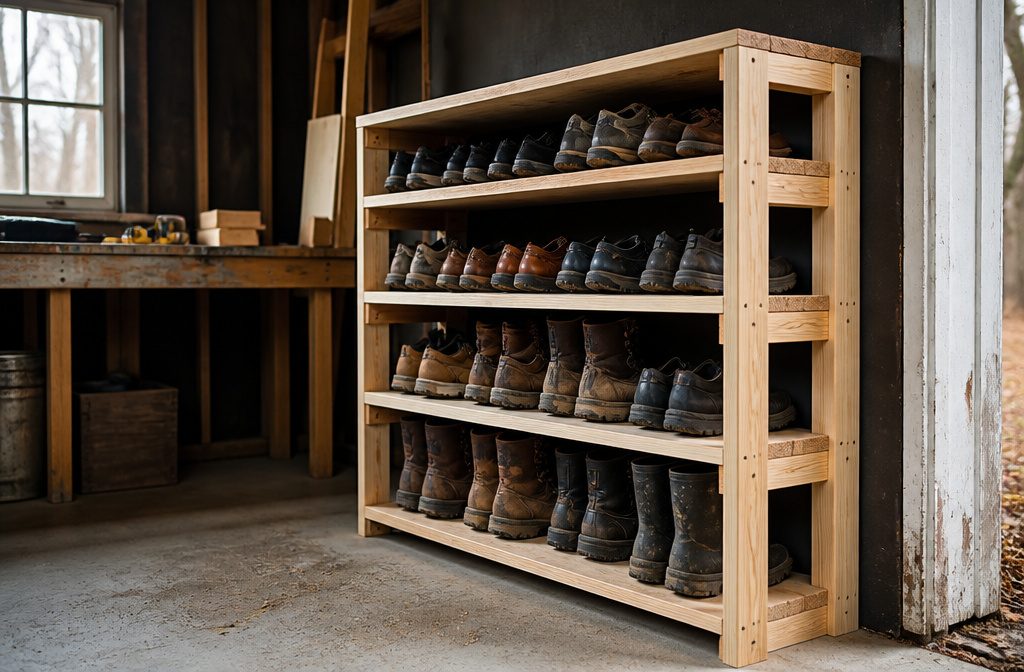

A garage shoe rack from 2x4s and plywood takes about two hours and costs $40 to $60 in lumber. Most people skip measuring the shoes first, then build shelves too shallow for work boots or men’s larger sizes.
This build sets the lowest shelf 14 inches off the ground and uses three-quarter-inch plywood cut to 11 inches deep, which clears boot shafts and holds the heel without overhanging the support.
1. Plan the Design and Size
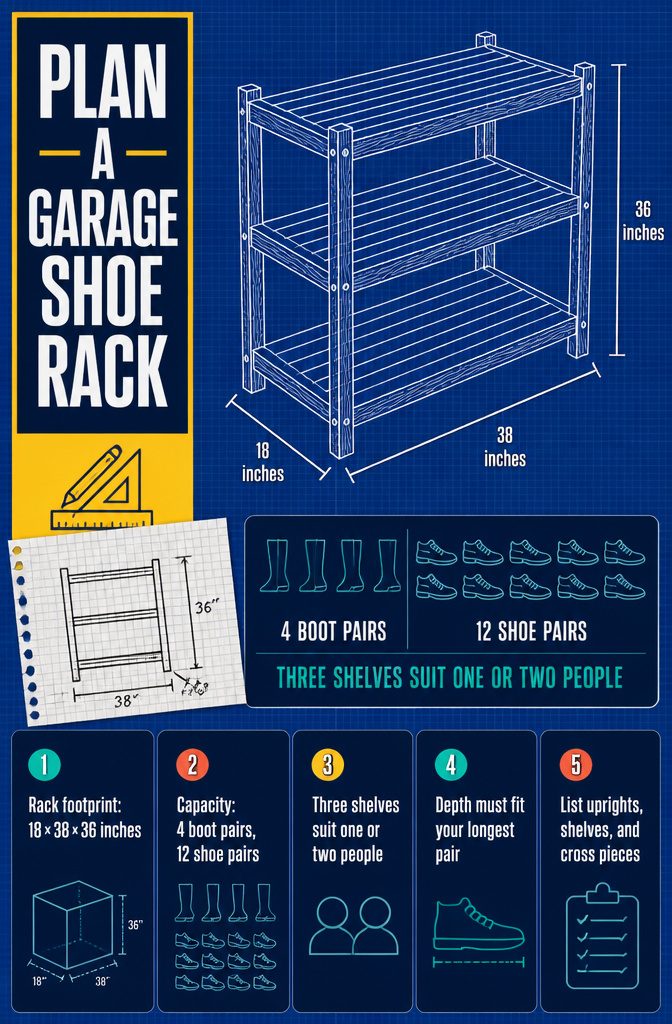
Start by measuring the garage wall or floor space where the rack will sit, then count the shoes and boots you need to store.
A rack that’s 18 inches deep, 38 inches long and 36 inches tall holds about four pairs of boots and a dozen pairs of shoes across three shelves, which works for one or two people.
If you’re storing work boots or men’s size 13s, base the shelf depth on the longest pair you own so nothing hangs off the edge.
Draw the rack on paper before you cut anything. Mark the height of each shelf, the width of the uprights and where the horizontal supports will sit.
Once the sketch is done, list the board sizes you’ll need: how many uprights, how many shelves, how many cross pieces. The list keeps you from overbuying lumber and gives you something to hand the saw.
I sketch mine on graph paper so the proportions stay honest, but the back of an envelope works just as well if the math is right.
2. Mark and Cut the Uprights
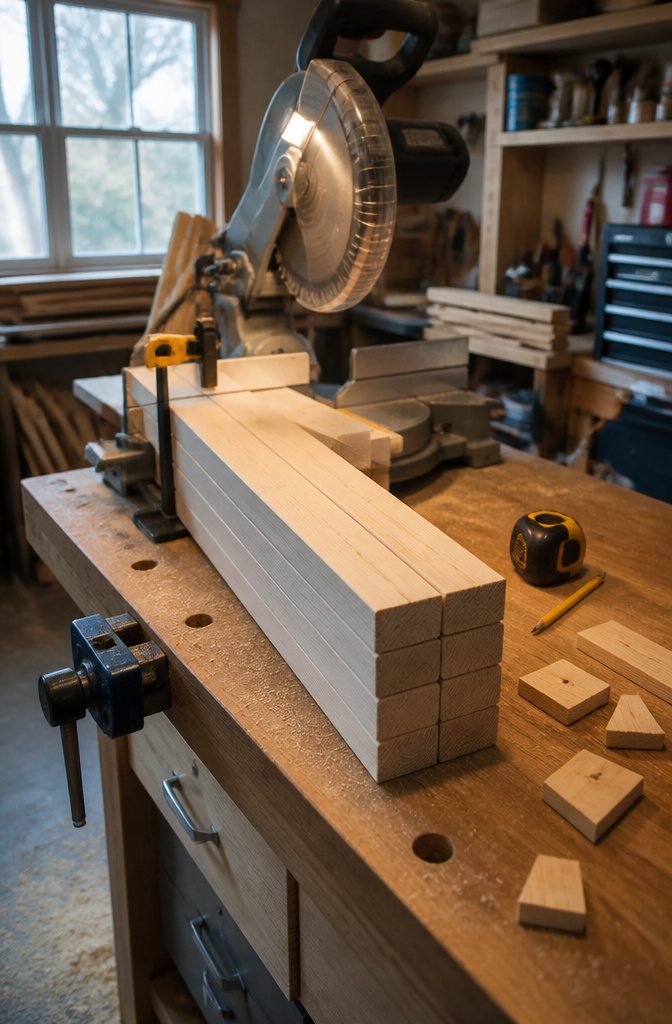
I cut all four uprights at once to guarantee they match. The 2x4s in this build go to 37-1/4 inches, which puts the top shelf right where I can see into it without stooping.
That measurement is to the top of the wood itself, before the shelf goes on, so your finished height will be taller by however thick your shelving is.
I marked the cut line on one board, lined all four up on the miter saw fence, and ran the blade through the stack.
A miter saw gives you a clean square cut and takes about thirty seconds once the mark is down.
If the boards shift while you’re setting them up, the lengths come out uneven and the rack will rock on the floor, so I clamp the stack or hold it firm against the fence before I start the saw.
3. Cut and Size the Shelves
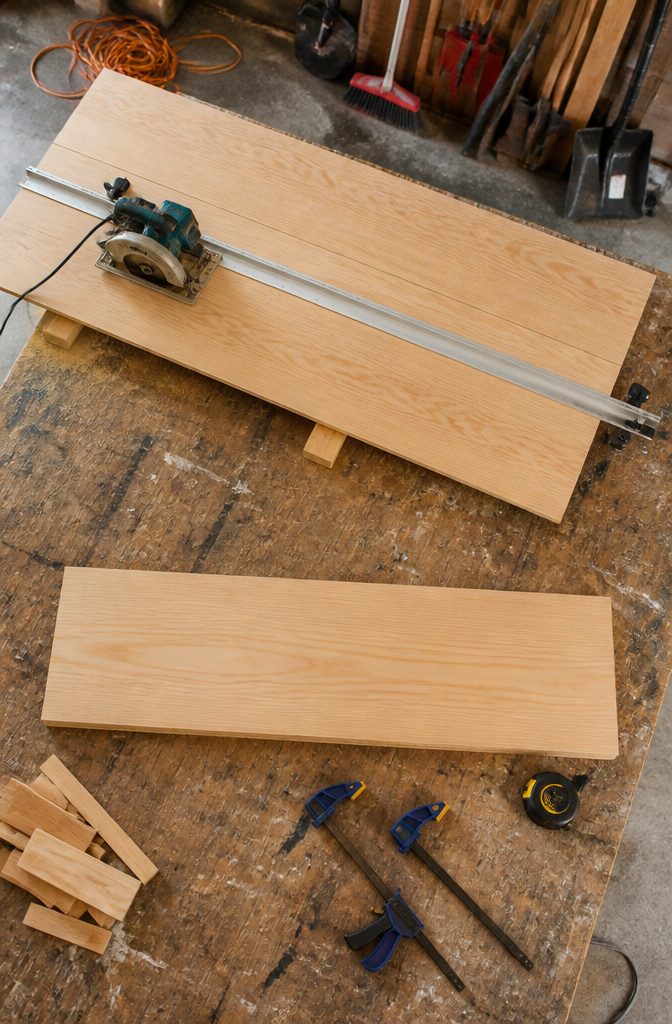
I cut my shelves from ¾-inch plywood using a circular saw, cutting each to 37 inches wide by 11 inches deep.
A Kreg Rip Cut attachment made the cuts faster and more consistent, though you can get the same result with a straightedge and clamps if you work carefully.
Set the plywood on supports with a clear path for the saw blade.
If you’re using the Rip Cut, align its guide arm against the edge of the sheet and let the attachment hold the blade at the depth you set.
Move smoothly along the cut line, keeping the guide flush with the edge as you go.
One detail that caught me: the finished rack width is 3 inches wider than the shelf length because of the 2×4 uprights at each corner.
If you’re fitting the rack into a specific spot, plan for that extra width. And if you want a top shelf that covers the uprights, cut it 3 inches longer than the rest.
4. Mark Shelf Positions and Cut Support Pieces
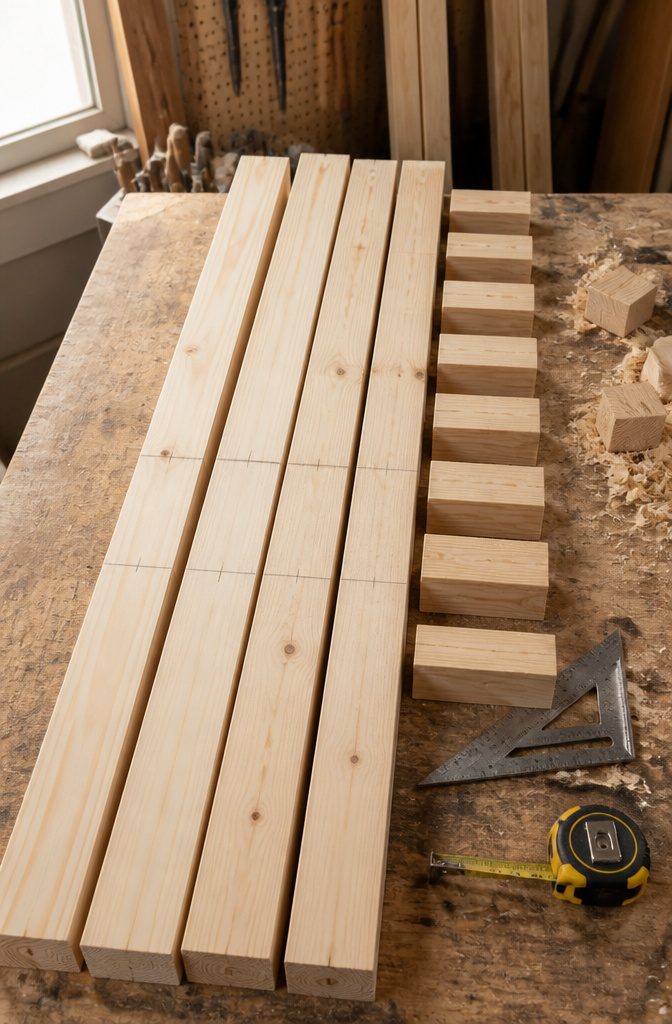
Lay all four uprights side by side and mark the shelf heights with a square so they match across the frame. The example here sets shelves at 14, 24, and 31 inches from the bottom, plus one flush with the top.
If you store taller boots, shift the lowest shelf higher: one design puts its first supports 10.5 inches off the ground to clear boot shafts. Measure from the same reference point on each upright or the shelves will tilt.
Cut your support pieces to match the shelf depth you planned earlier. The simplest choice is 2×2 lumber because it gives you a solid surface to rest each shelf on and you can drive screws through it without splitting.
If you want the supports less visible, 1x2s work but they take more care when fastening because they’re thin enough to split if you don’t pre-drill.
5. Build the Base and Attach Vertical Supports
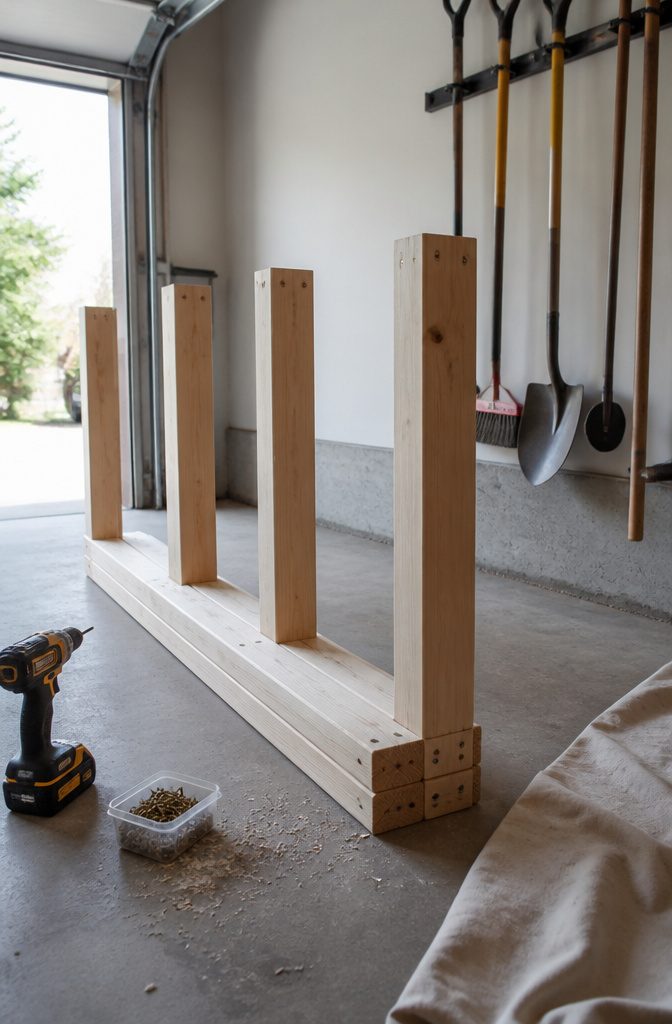
I anchor the first board to the concrete with Tapcon screws if the floor allows it, then lay a second 2×4 directly on top and fasten the two together with 3-inch wood screws.
That gives you a doubled base 3 inches tall for the vertical supports to sit on.
Next I cut the vertical 2x4s to height and attach them to the doubled base with wood screws.
Drilling pilot holes before driving each screw keeps the wood from splitting, especially near the ends where the grain wants to open up.
Another approach skips the doubled base and builds the frame as two side assemblies.
You lay out two uprights with the shelf support markings facing up, position each shelf support against the line you marked, and predrill one hole at one end.
Plant a screw loosely so the support can still swivel a little, then move to the opposite upright, align everything flush, predrill and screw that end down.
Use screws long enough to penetrate the 2×4 at least 5/8 inch but short enough that they don’t punch through the outer face. Once two supports are loosely in place the uprights stay parallel, and you can finish screwing the rest.
6. Attach the Shelves
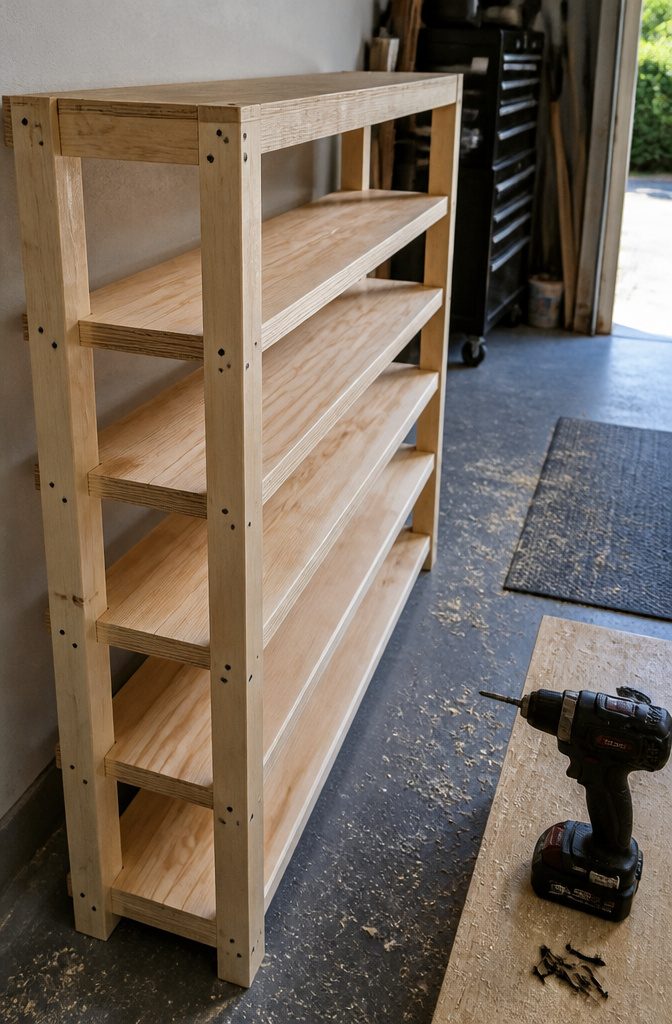
Lay one assembled side flat with the front edge down.
Position the shelves on top of their supports — not underneath. Hold the first shelf in place and predrill two holes through the upright, aiming straight into the middle of the plywood.
Drive 2-inch or 2½-inch wood screws through those holes to lock the shelf. Repeat for each shelf except the top one.
The screws keep shelves from shifting and turn loose parts into one solid unit. The supports carry the weight; the screws just hold position.
For the top shelf, check where the support screws sit in the uprights and predrill between them to avoid hitting metal.
If your top shelf covers the uprights, drill straight down into them instead. I added two more screws through the sides of that shelf into the support below to stop any rocking.
7. Finish or Leave the Rack Utilitarian
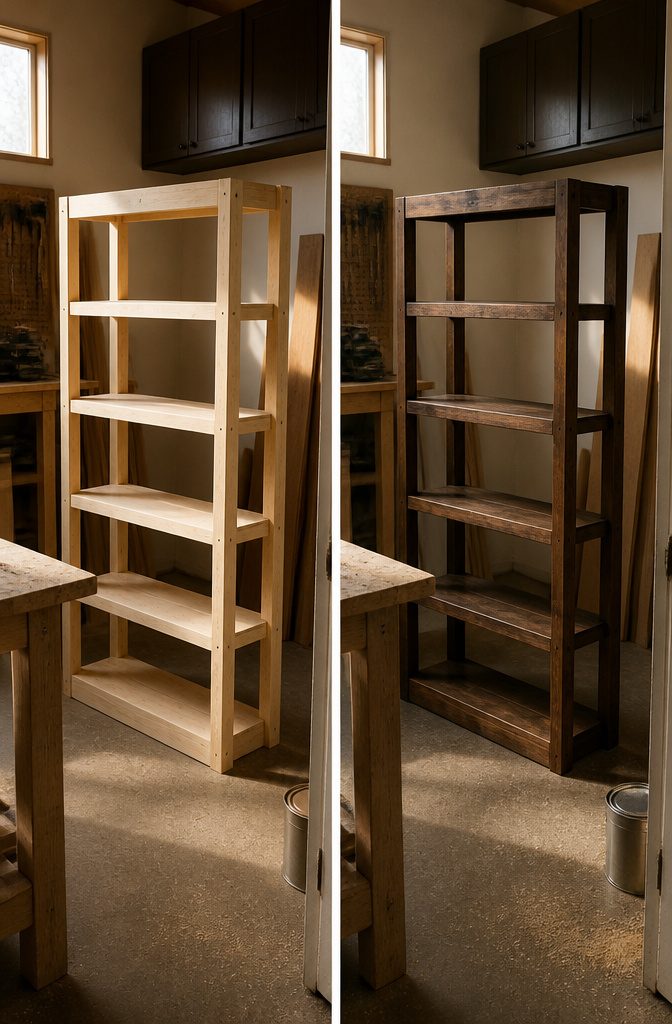
Sanding, priming and painting are optional.
If your garage is utilitarian, plain wood works fine and skips the extra hours. The rack will hold shoes just as well without a finish, and you can always paint it later if you change your mind.
A coat of paint or stain makes the rack look more polished.
If the rest of your garage has finished shelving or cabinets, a painted rack will feel like it belongs. Pine takes paint well, so primer and a couple coats of latex give you a clean surface that hides construction marks.
I lean toward leaving it bare when the garage doubles as a workshop.
The wood holds up, and finishing adds a step that delays putting the thing into service. If the rack sits near the door to the house or you want it to match existing storage, finishing makes sense.
8. Load and Use the Rack
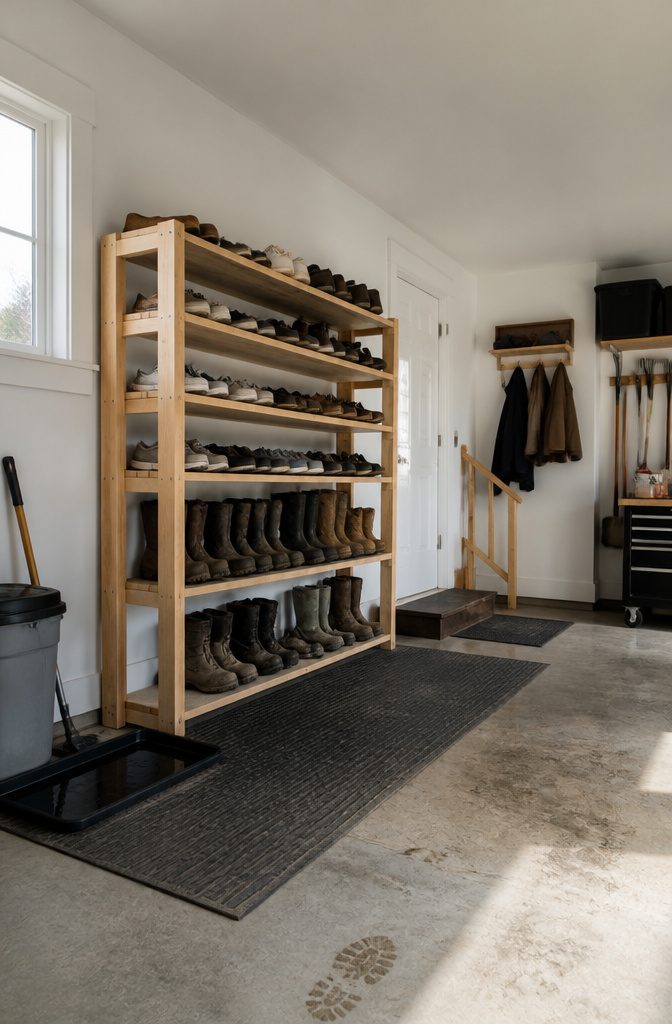
Once the rack is standing, put boots and heavier shoes on the lower shelves and lighter or smaller pairs near the top.
That keeps the weight low and the taller pairs where you can slide them in without bumping a shelf above.
A rack built to the dimensions in the earlier steps holds around 30 pairs, though that number shifts if you’re storing a lot of children’s shoes or sandals that take less depth.
Getting everything off the garage floor keeps shoes from collecting dirt and getting kicked around every time someone pulls a car in.
I load mine so the shoes we actually wear sit at eye level and the seasonal or spare pairs go higher.
You can also group by person if that makes morning routines faster. The wood doesn’t care how you arrange things, but putting the pairs you grab most often within easy reach saves you from stretching or crouching every single day.
Wood and Construction Choices
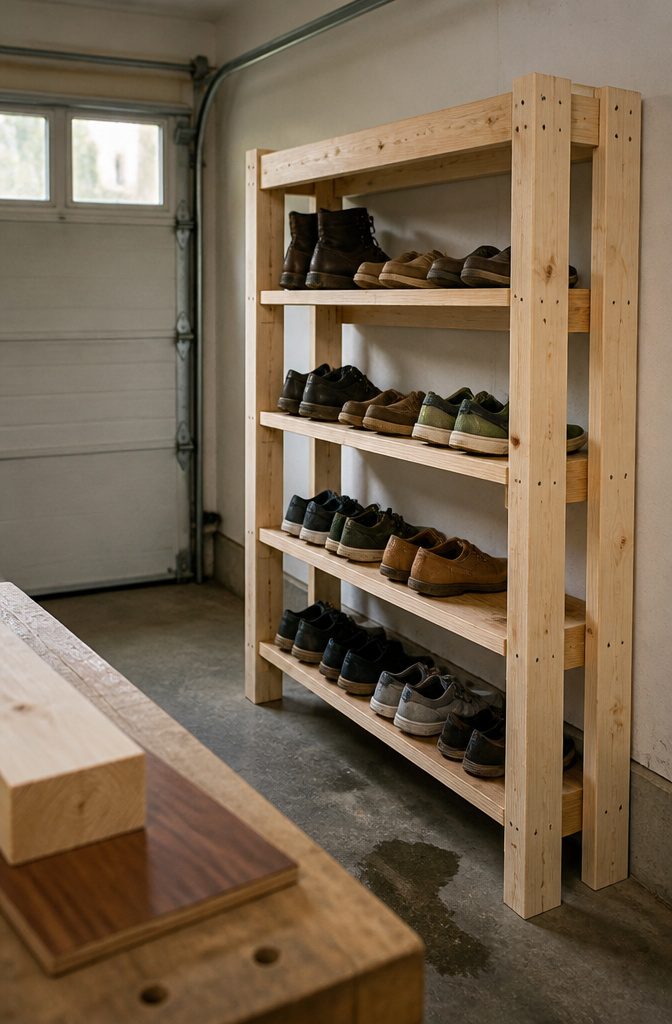
I started with 2x4s for the frame and plywood shelves, which is what you see in most garage builds.
The 2x4s run vertical as the legs, and half-inch plywood spans between them as shelving. It holds weight without flexing and you can buy both at any home center.
If your garage floor gets wet or you park a snow-covered car inside, use pressure-treated 2x4s so the bottom of the frame won’t rot. Regular dimensional lumber is fine for dry spaces.
One builder used scrap walnut plywood with brad nails and wood glue for a quick shelf that took under half an hour to assemble. Scrap works if you have it on hand and the dimensions fit what you need.
Another approach swaps the plywood for 2×10 boards as shelves, which gives you a chunkier look and no need to finish edges. The 2x10s also give you depth for boots without cutting anything down.
The choice depends on what is already sitting in your garage.
Plywood shelves let you customize the depth to fit your wall, and 2×4 framing keeps the cost low. If you want something that looks more finished without sanding every edge, solid 2×10 shelves save that step.
Anchoring or Making the Rack Freestanding
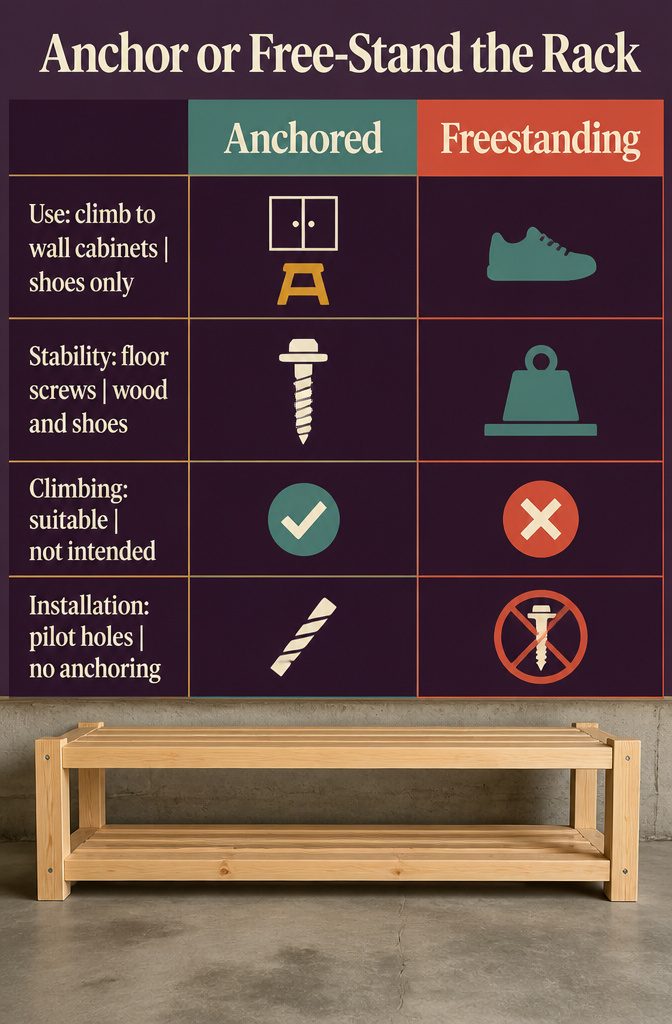
You can anchor the rack to the concrete floor or leave it freestanding. Anchoring makes sense if you want to stand on the rack to reach wall cabinets above, but it is not required for most uses.
If you do anchor, use Tapcon concrete screws drilled through the base 2×4s into the floor.
Drill a pilot hole first with a regular drill bit at each location, especially at the ends of the lumber. The pilot hole keeps the wood from splitting when the screw drives in.
A freestanding rack works fine if you are only storing shoes and do not plan to climb on it. The weight of the wood and the shoes holds it steady enough for daily use.
Frequently Asked Questions
How do you make shoe shelves in a garage?
Cut 2×4 uprights to your desired height, attach horizontal shelf supports at measured intervals, and fasten plywood or solid wood shelves on top of those supports.
The frame can be freestanding or anchored to the concrete floor with Tapcon screws. A rack 36 inches tall with three shelves holds around 30 pairs of shoes.
Can I keep shoes in the garage?
Yes, a wooden shoe rack keeps them off the floor where they collect dirt and get kicked around.
Put boots and heavier shoes on lower shelves and lighter pairs near the top. If your garage floor gets wet, use pressure-treated lumber for the base so it won’t rot.
How do you make a homemade shoe rack?
Build a frame from 2×4 uprights with horizontal 2×2 or 1×2 supports, then rest plywood or solid wood shelves on those supports.
Mark shelf heights on all four uprights at once so they line up, predrill holes to prevent splitting, and fasten everything with wood screws. The simplest design takes an afternoon and holds 30 pairs.
What can I use instead of a shoe rack?
A garage bench with storage underneath, wall-mounted racks, or enclosed cabinets with doors all work. If you want something quick, cut large-diameter PVC pipe into sections and stack them to create cubbies for individual pairs.
How do you make a PVC shoe rack?
Buy PVC pipe wide enough to fit a pair of shoes, cut it into 10-inch sections or longer depending on your largest shoes, and glue the pieces together with PVC adhesive.
You can paint the finished rack if you want a more polished look.
Is it OK to keep shoes in boxes?
Yes, boxes protect shoes from dust and damage. You can store boxed shoes inside an enclosed rack or on open shelves if the garage stays dry.
How many pairs of shoes should you have?
There is no set limit. The number depends on your lifestyle and how much storage space you have available.
Why are my shoes dry rotting in my closet?
Dry rot happens when shoes sit too long without moisture, but too much humidity can also break down materials. In a garage, avoid parking snow-covered cars near the rack if you store leather or fabric shoes.
How do you keep Jordans in good condition?
Store them in a temperature-controlled area away from direct sunlight. If your garage gets hot or cold, use zip-lock bags with desiccant packets or silica gel to control moisture.
Do you have to attach your shoe rack with Tapcons?
No, the rack can be freestanding. Anchoring makes sense if you plan to stand on it to reach cabinets above, but for storing shoes alone the weight of the wood and shoes holds it steady.