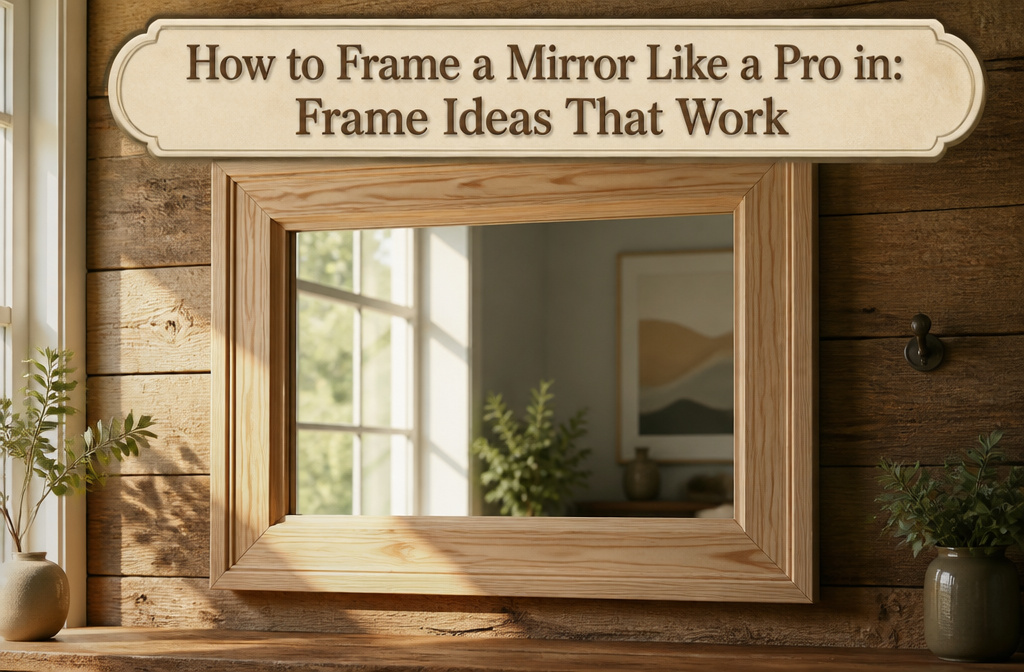

A framed mirror that looks built in, not stuck on, takes about two hours and $25 in pine boards if you get the adhesive right. Most people do not. They grab standard construction adhesive and watch it fog the glass or creep into the reflection, which is why Liquid Nails makes a mirror-specific formula and why this detail matters more than the wood you choose. The boards themselves are the easy part; even Lowe’s will cut them to length if you skipped the miter saw.
1. Gather Materials and Tools
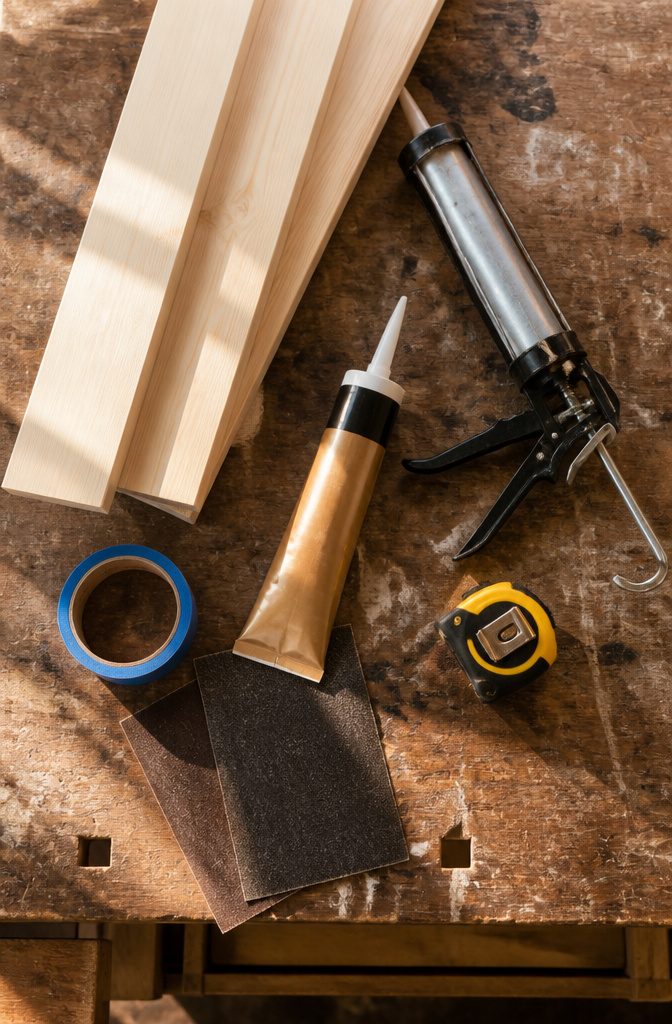
1×4 or 1×3 pine boards are the standard starting point for a mirror frame: thick enough to look substantial, thin enough to keep weight down. Most home improvement stores will cut them to length if you do not have a miter saw, which saves both the tool cost and the trouble of hauling full ten-foot boards home in a small car.
The adhesive matters more than people expect. Liquid Nails makes a mirror-specific construction adhesive, or you can use Gorilla Glue construction adhesive; either one bonds wood to glass without the fogging or creeping that ruins the reflection. A caulk gun helps with control, though it is not required. You will also want painter’s tape to hold the boards in place while the adhesive sets, plus medium and fine grit sandpaper to knock down cut edges before assembly.
Cheap wood warps. It splinters. It turns a weekend project into something you redo in six months. Spending a few extra dollars on straight, dry boards is the difference between a frame that looks professionally built and one that looks like you tried.
2. Measure the Mirror
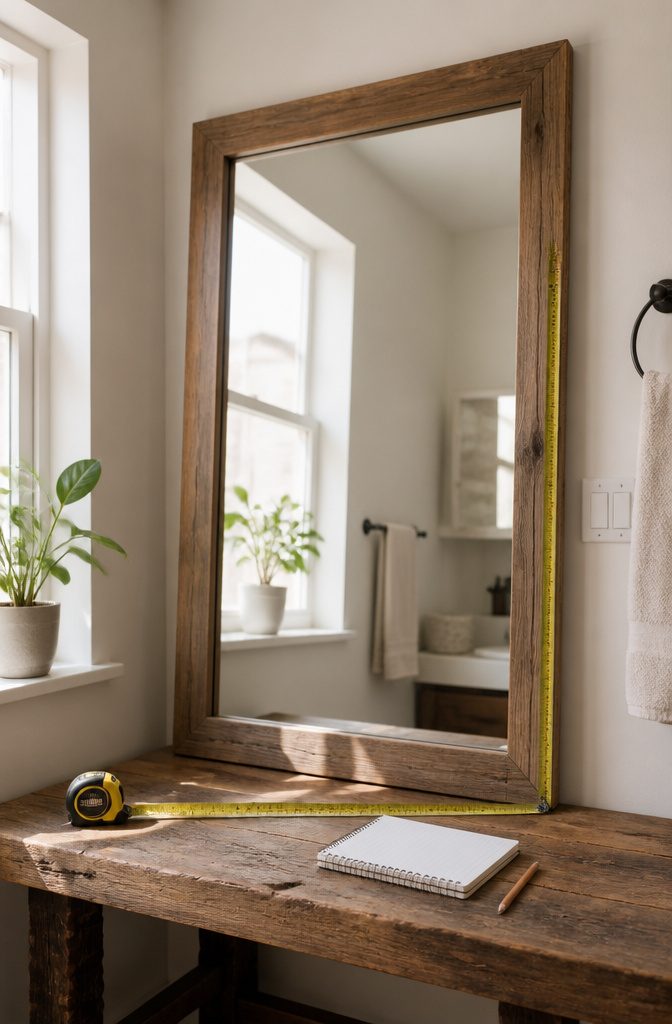
A tape measure and two minutes of patience will save you from a frame that floats loose or squeezes tight. I measure height first, then width, running the tape to the very edge of the glass. Most bathroom mirrors land near 30" x 36" or the larger 36" x 66", but measure your specific mirror rather than guessing — walls shift, clips add bulk, and "standard" is a fiction invented by builders with more optimism than precision.
Mirror clips are the detail that trips up most first-timers. If your mirror hangs on metal brackets or sits against a backsplash, those obstructions eat into your frame’s real estate. Measure all the way to the top of any clips if you plan to hang the frame over them, and check the gap to light switches, countertops, or shelves nearby. A frame that butts against the vanity or crowds a sconce reads as amateur, not pro.
Write both numbers down. Then measure again. The old advice holds because it works: measure twice, cut once.

Our strongest formula: This heavy duty glue is 2x stronger than Gorilla Heavy Duty Construction Adhesive Ultimate

Instant & Super Viscosity: Our Glass super glue offers ultra-fast and secure bonding designed specifically for glass to glass, mirror, acrylic, crafts, jewelry, and plastic models. Save valuable time with glass adhesive that provides stability and durability.

Professional-Grade Quality: This rear view mirror adhesive repair kit creates a lasting bond that permanently secures mirror buttons to windshields
3. Cut the Wood
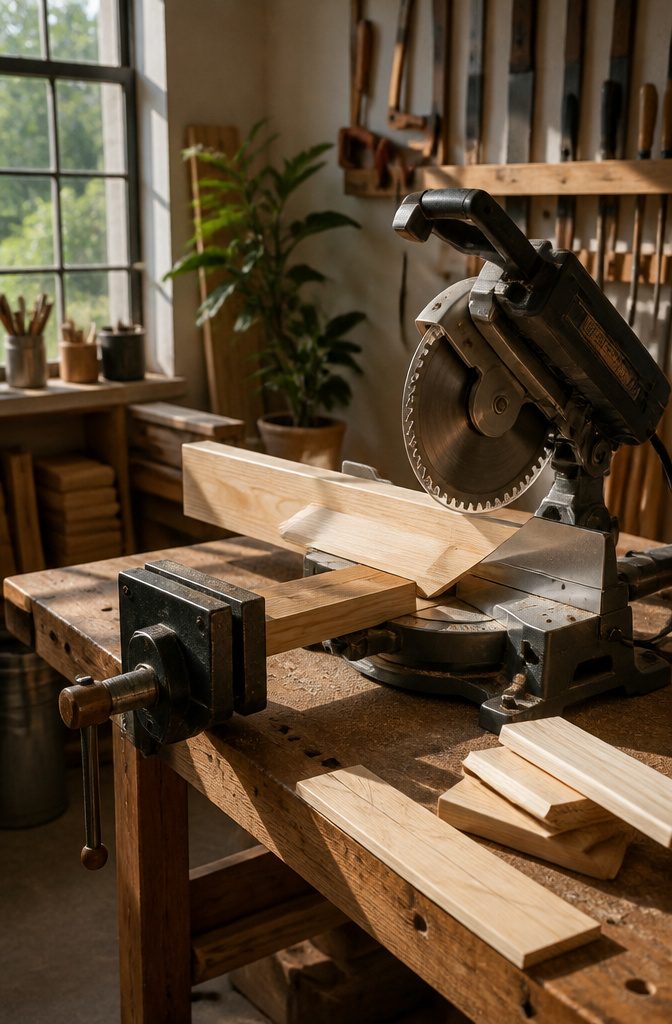
A miter saw set to 45 degrees gives you the clean, polished corners you’d see in a frame shop. The two horizontal pieces match your mirror’s width, the two vertical pieces match the height, and each end gets that angled cut so the corners meet in a neat diagonal. The catch is precision: an off angle shows, and even a sixteenth of an inch leaves a gap that caulk can’t fully hide.
Butt joints skip the angle entirely. The top and bottom boards run the full width of the mirror plus the thickness of both side pieces, and the side boards drop in between them. Small cutting errors disappear into the overlap, which is why this style reads as rustic rather than sloppy. One blogger had Lowe’s cut her boards to size and built the whole frame with wood glue and a staple gun; no miter saw, no stress.
If you don’t own a saw, Home Depot and Lowe’s will cut boards to length in-store, though the cuts aren’t precision work. That limitation basically chooses your joint style for you. Mitered corners reward the extra effort with a finished look; butt joints reward impatience and a free Saturday.

2 part (towlette and pipette) professional strength rearview mirror adhesive and activator

FOGLESS BY DESIGN: Your new mirror is designed with a special anti-fog coating so it stays clear even in steamy showers. Get that slick and smooth shave you want, every single time!

CLEAR SHAVING IN THE SHOWER - The SereniBath fog reducing shaving mirror won't fog up immediately or distort the reflection so you can get a nice, clean shave every time - if it does get foggy, simply rinse it with the shower water and hang back up!
4. Sand the Edges
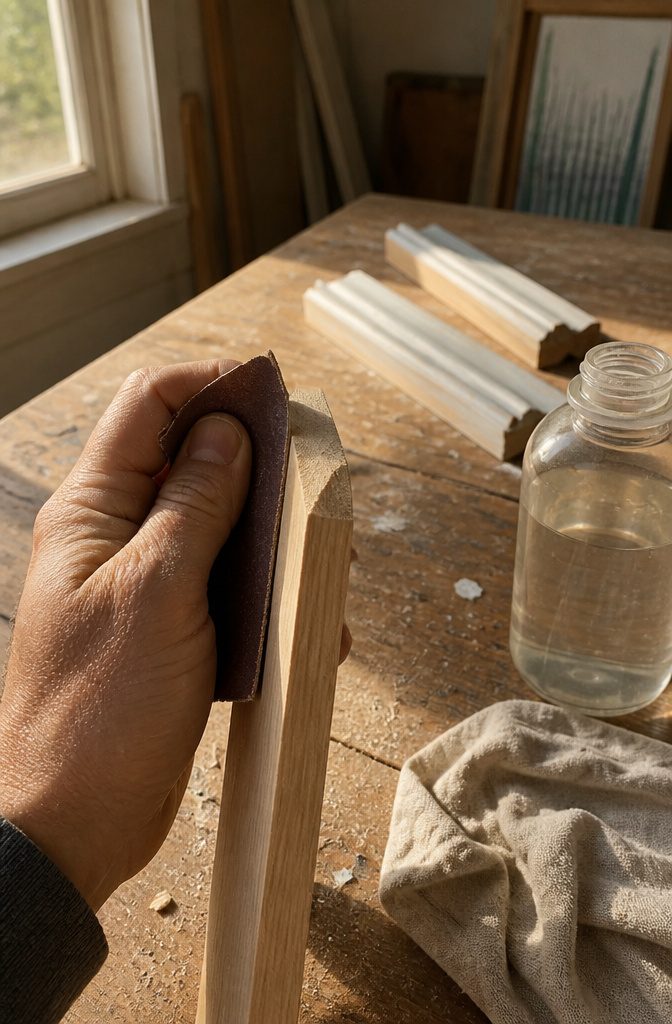
Medium-grit sandpaper takes down the worst of the rough spots first, especially on the fresh cuts where your miter saw left marks. I run it over every edge, corners included, before switching to fine grit for the smooth finish that paint or stain actually wants to grip. Skip this and you will feel splinters later, or watch your finish flake off in six months.
The part most people miss: sand every surface the mirror might reflect. The back edges, the inside lip, the thin strip you think no one will see. Mirrors bounce light into shadowed spots you would not notice on a bookshelf or a table. I learned that the hard way on my first frame, spotting an unpainted back edge every time the afternoon sun hit the bathroom at the wrong angle. Two minutes with fine grit saves an hour of taking the thing down to fix it.

Table Saw Miter Sled: This is the perfect table saw sled, no adjustments needed! Simply cut one piece on the leading face, one on the trailing face, and voila! Since both pieces reference off a perfect 90-degree angle, the miters will fit perfectly.

[Professional Material] --Premium stainless steel blades are Strong and durable. Clear and precise scale surface to help you cut accurately and quite easy and fast.

【 Cutting in Accurate 3 Angle Use 】for accurate miters, features slots for three 45°, 90°, and 135 ° cutting angles. The maximum thickness of blade is 2 mm (0.08 inch)
5. Assemble the Frame
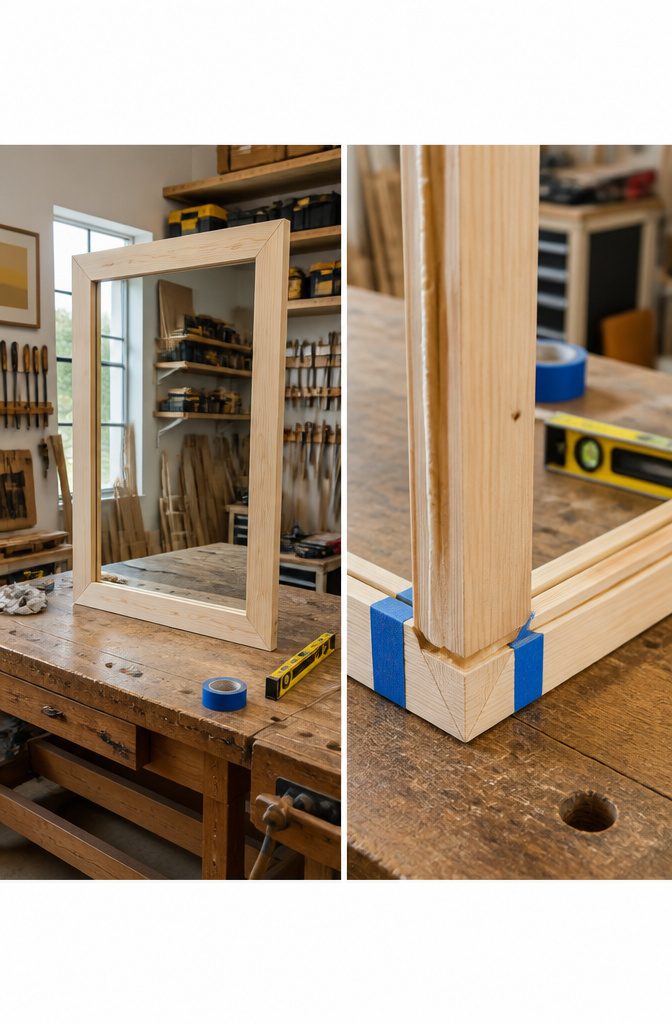
Construction adhesive goes on the back of each board, but keep it away from the inner edge. If it squeezes out where the wood meets the mirror, you’ll see a faint line reflected in the glass for years.
Start with the bottom piece. Press it into place, then check it with a level before the adhesive starts to grab. Tape it to the mirror with painter’s tape, pulled snug but not so tight that it shifts the board. The sides go on next, meeting the corners of the bottom piece flush, then the top piece last.
The liquid nails will hold gently almost right away, but it needs a few hours to set enough that you can risk removing the tape. Full strength takes up to 24 hours, so leave it alone overnight if you can. Check the level once more after the first ten minutes while you can still nudge things straight.

Complete Set for Secure Mounting: This kit includes 12 durable metal mirror holder clips and corresponding screws, each clip measuring 1.42x0.98x0.27 inches, designed to mount mirrors securely to any wall

Practical kit: You will get 22 frame fixing clips with 22 screws and 22 fixing screws, which are enough to meet your daily needs; the mirror clip measures approx. 21 mm/ 0.83 inches in length, can be applied for installing glass that about 3/16 inches , please check the size of your mirror carefully before ordering

Available to Fit Three Thicknesses of Mirror
6. Handle Clips and Backing
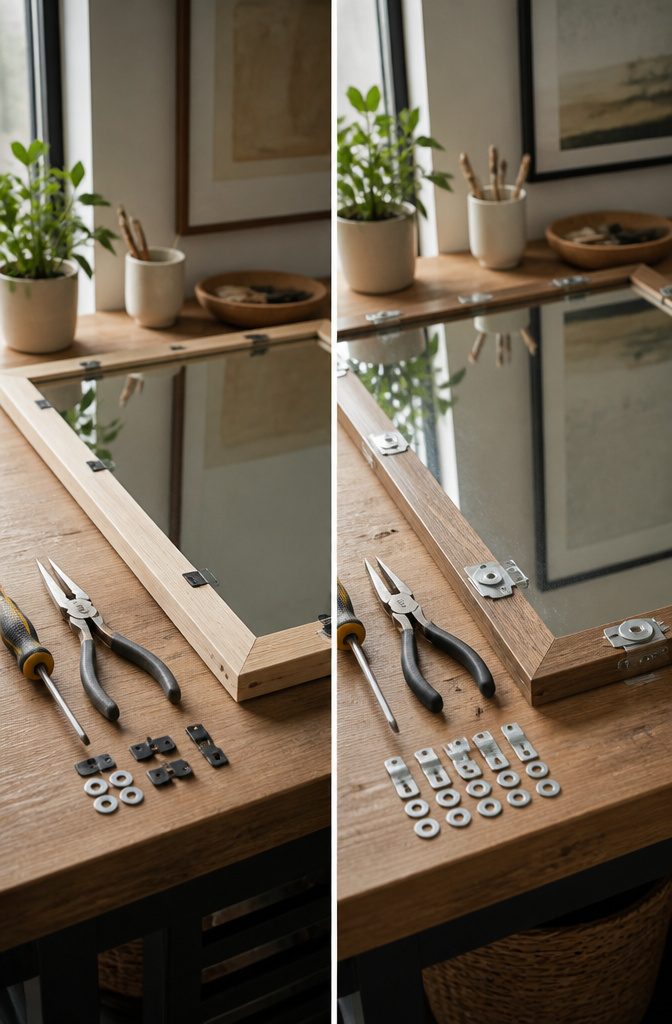
Mirror clips are the usual hurdle between a flat frame and a flush wall, and you have two ways past them. You can notch the back of each board with a chisel or Dremel so the frame slips over the clips like a saddle. It works, but it is fussy work and the notches have to sit exactly right or the frame gaps.
Replacing clips with quarter-inch washers is the simpler fix. The washer holds the mirror with the same screw hole, yet sits almost flat, so the frame presses straight against the glass with no carving. I read accounts from people who did the swap one clip at a time and had the frame up minutes later.
Some mirrors have no clips at all, just adhesive against the wall. If that is your setup, the frame goes on with nothing to work around. Just check that the bond is solid before you add weight.

Floor mirror stand: It is meticulously and integrally carved from solid pine wood, with an extremely smooth surface and undergoes comprehensive spray painting treatment, and is not easily damaged by environmental influences.

CUSTOM SIZE: We will build this frame to the exact dimensions of your existing mirror. Go to the Customize Now option and begin to design your own frame. Price will vary by size.

Appropriate Size: Measuring approximately 9.8 x 2.4 x 1.6 inches (L x W x H), the interior groove is 0.7 inches (1.9 cm) deep and 1.2 inches (3.2 cm) wide, this wooden floor mirror stand can fit most mirrors. Please measure whether the mirror is compatible before purchasing
7. Finish the Frame
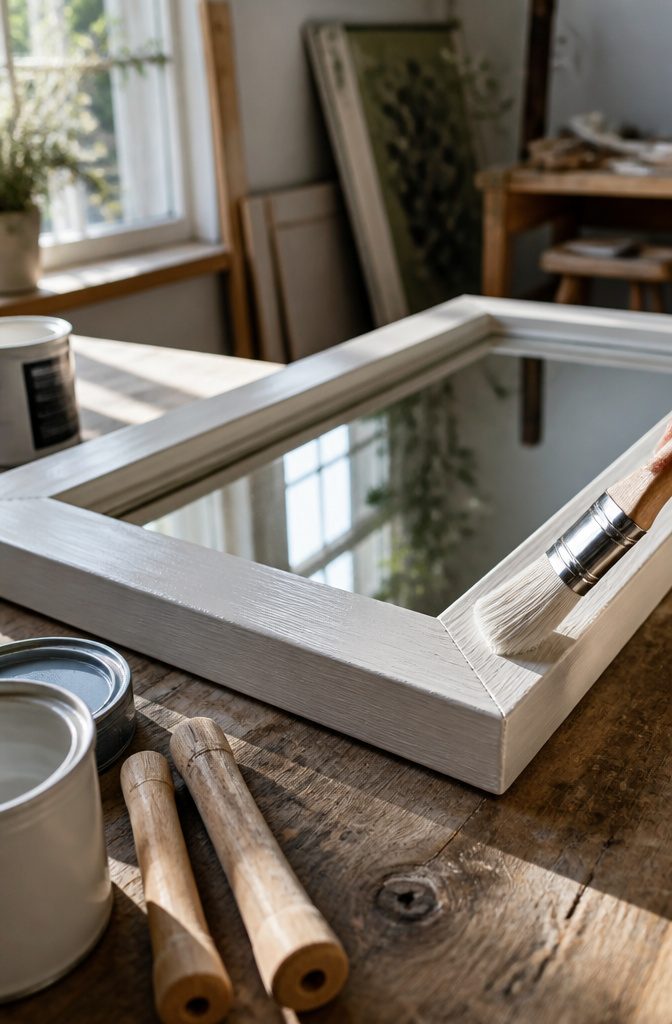
Paint hides the stuff you would rather not see, while stain lets the grain show through and asks the wood to do the work. For a first frame, I would reach for paint almost every time. Small gaps at the miter, a nick from the saw, a board that was not quite straight: paint levels all of that. Stain is less forgiving. It soaks in differently where glue squeezed out, and any filler stands out like a patch on old denim.
If you do choose paint, paint every surface, including the back edge that faces the mirror. The reflection catches the unfinished strip and it reads as a shadow you cannot clean off. I learned that the hard way on a bathroom mirror years ago, taking the shortcut of painting only what the room could see directly. Two coats minimum, and let the second one dry for at least two hours before you move the frame.
Pre-primed boards save a full day. You skip the sanding and sealing step, and the first coat of color goes on almost as soon as the glue is set. They cost a little more, but for a weekend project the trade is usually worth it.
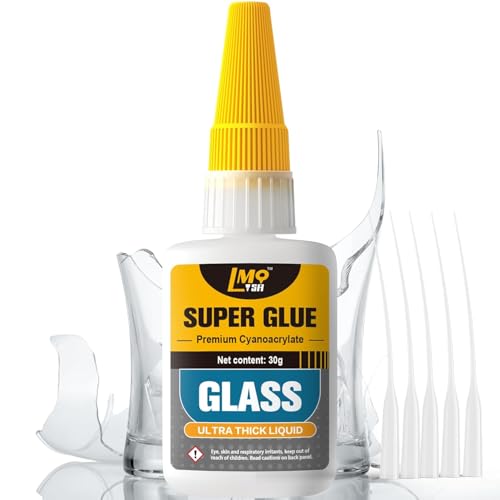
🔮 Crystal-Clear Glass Bonding: Designed for glass repair, this glass glue creates seamless, invisible bonds that restore your cherished items to their original glory. Perfect for broken glassware, mirrors, and decorative items, it ensures your glass look as good as new for years to come.
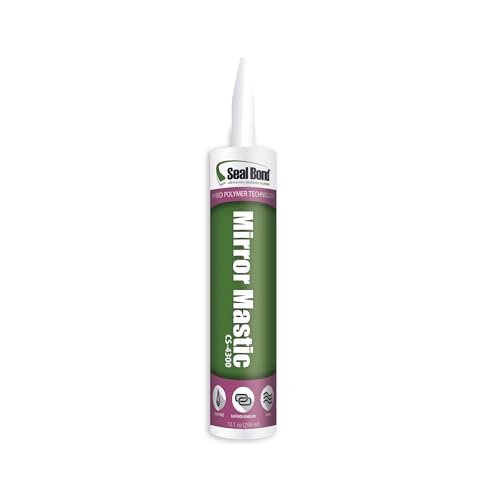
Low odor, solvent & isocynate free

🛡️ UNBREAKABLE GLASS ADHESION: Our professional glue formula can form a tensile strength of 3580 psi on the surface of the glass items you are bonding. After 24 hours of complete curing, it can ensure that the glass products remain stable and as good as new for a long time.
8. Final Adjustments
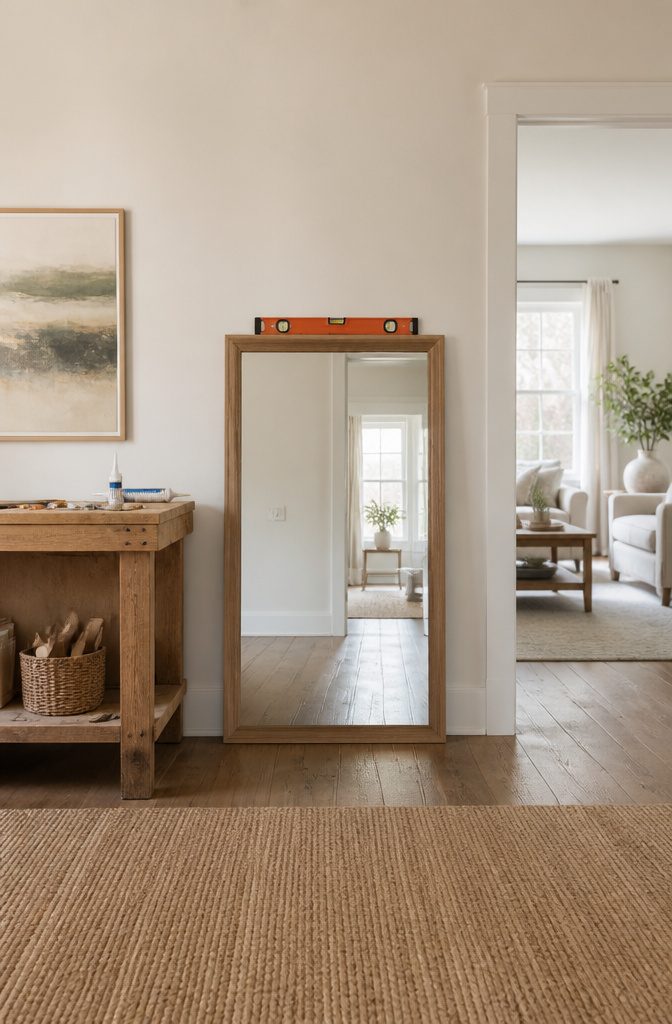
Peel the painter’s tape away slowly once the adhesive has dried fully, usually around 24 hours. The frame should feel solid when you press on it. Step back and sight along each edge to check for evenness, and run your finger over the corners to feel for gaps that opened up as the boards settled.
A thin bead of silicone caulk fixes those small corner gaps fast. I run it with a caulk gun, then smooth it with a wet finger before it skins over. Once that dries, a quick touch-up with paint blends it in.
Wipe any adhesive residue off the mirror now, before it fully cures. Construction adhesive that hardens on glass is a pain to remove later, and scraping risks scratching the surface. A dab of mineral spirits on a soft cloth usually lifts the smears without much trouble.

Fog-Free Clarity with Anti-Fog Coating: This shower mirror features a special anti-fog coating that keeps your reflection clear - even in hot, steamy showers. No rinsing or wiping needed, so you can shave or groom without delay

Package Dimensions: 6.5 L x0.44 H x3.81 W (inches)

Fog-Free Clarity with Anti-Fog Coating: This shower mirror features a special anti-fog coating that keeps your reflection clear - even in hot, steamy showers. No rinsing or wiping needed, so you can shave or groom without delay
9. Framing Styles
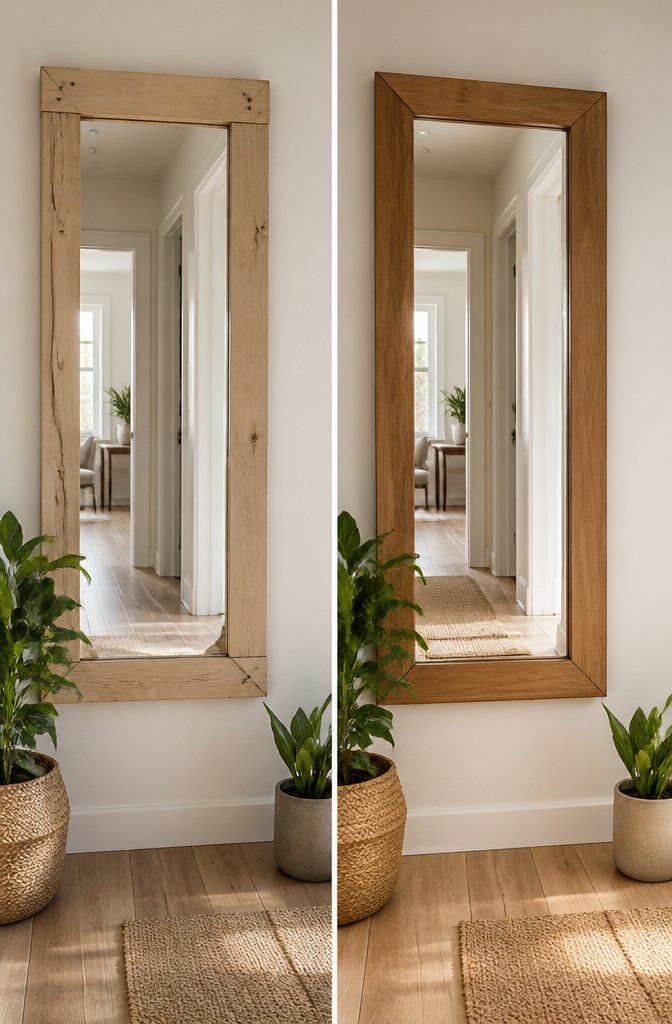
Six framing approaches cover most mirror projects, from polished to practically tool-free.
- Mitered corners give that clean, picture-frame look. The 45-degree cuts meet flush, but they ask for a miter saw and patience. Small errors show.
- Butt joints skip the angled cuts entirely. The top and bottom boards run past the sides, overlapping at the corners. Faster, more forgiving, and the slight gap reads as rustic rather than wrong.
- Stick-on frames use adhesive strips and no power tools. Paint it one color for something sleek, or distress the wood for contrast. The whole job finishes in a couple of hours, and it lifts off when you move.
- Mirror clips with a notched frame let you keep the existing hardware. You carve recesses into the back of the wood so it slips over the clips. A Dremel or hand chisel works, though getting the depth right takes care.
- Washers replacing clips is the simpler play. Swap each clip for a flat washer that sits nearly flush, then lay the frame right on top. Two minutes per clip, and the mirror stays secure.
- Decorative molding adds the most character. Layer in crown or chair-rail profiles for depth, but the extra detail means more cuts, more glue points, and more sanding. Worth it for a powder room focal point, maybe overbuilt for a quick rental refresh.
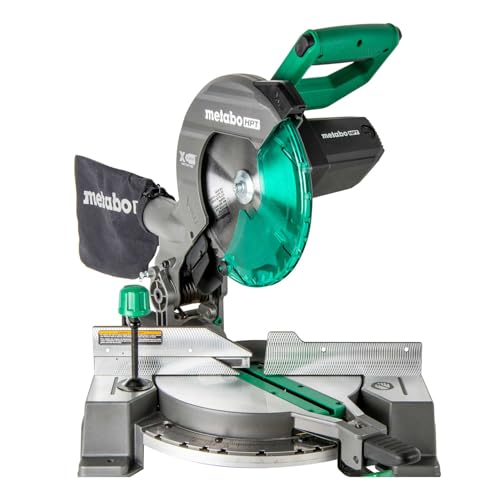
POWERFUL AND PRECISE: This 10-inch single bevel compound miter saw features a 15-Amp motor delivering high power for effortless cuts. The power saw generates a no-load speed up to 5,000 RPM, ensuring precise cuts for all your woodworking projects.

Accurate 3-Angle Cutting Guide Features precision slots for 45°, 90°, and 135° cuts. Perfectly aligns your saw for clean and consistent miters every time. Compatible with manual saw blades up to 1mm (0.03 inch) thick

1. 【Product Application】The tile tool’s V-grooves ensure perfect 45-degree miter cuts every time, suitable for various tile edge trims.
Materials and Adhesives
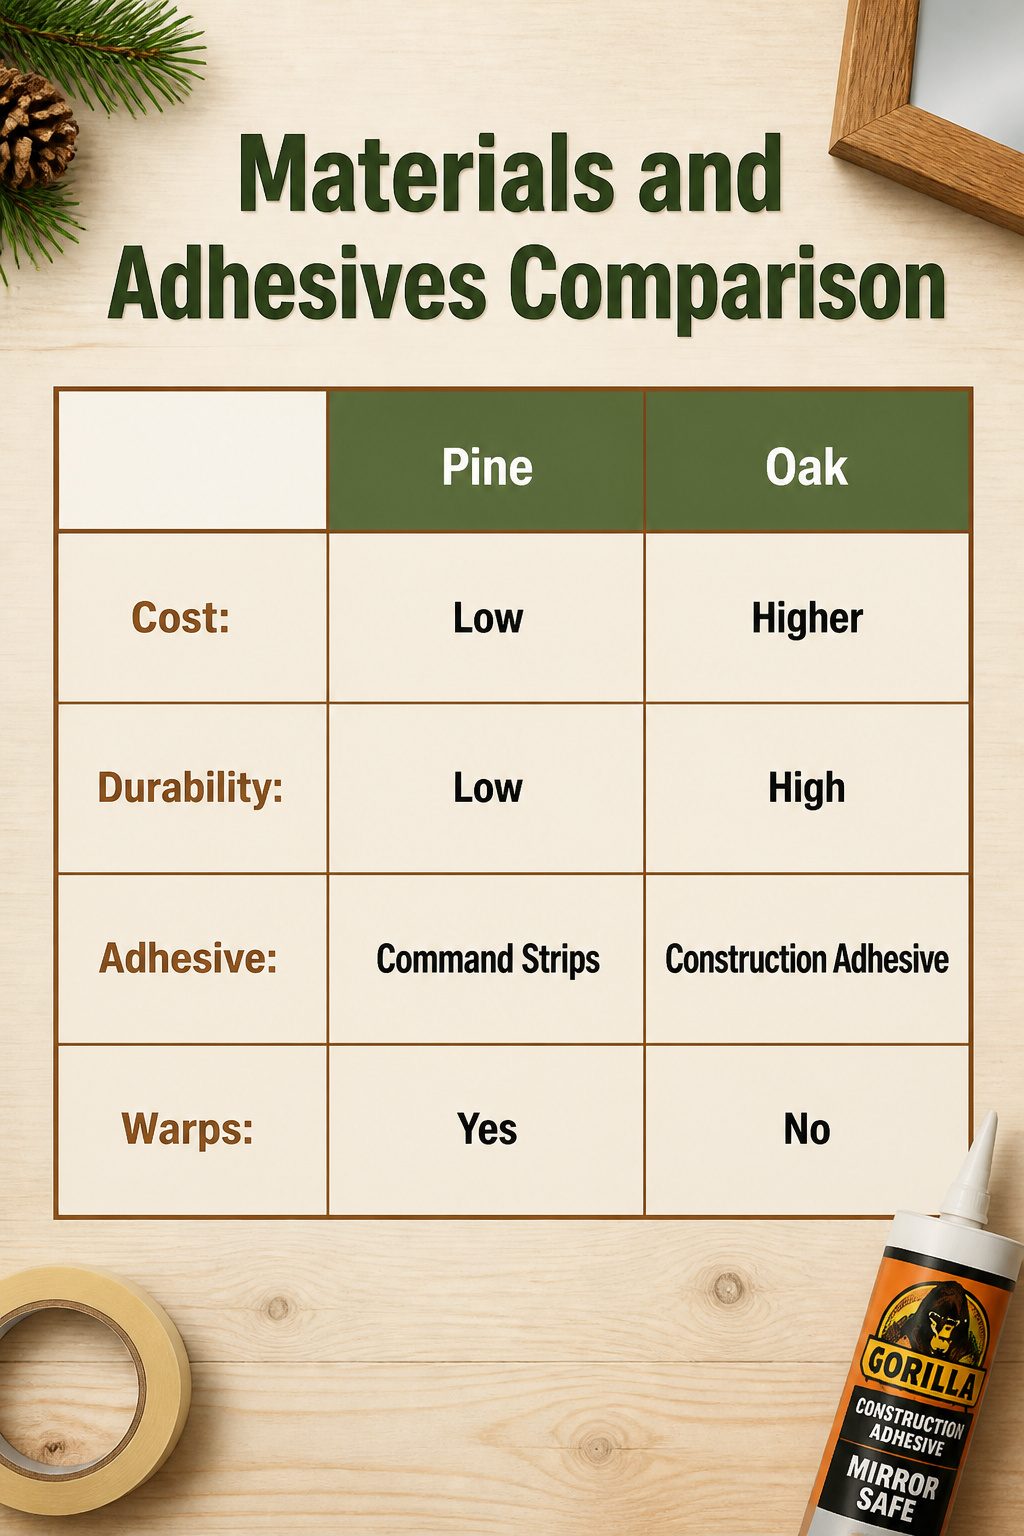
Pine is the wood most people reach for first, and for good reason: it is cheap, easy to cut, and takes stain or paint without fuss. Oak costs more but holds up better in bathrooms where steam swells lesser boards over time. Pre-primed boards skip a step if you are painting, though the primer layer can hide rough grain you would rather catch early. Cheap wood warps and splinters inside a year, so run your thumb along the edge before you buy and reject anything that feels fuzzy or bowed.
For adhesive, construction adhesive is what actually sticks the frame to the glass. Gorilla Glue makes a formula labeled safe for mirrors, and that label matters because standard construction adhesive can eat through the silver backing. Liquid Nails works too, but keep it back from the inner edge or it will show in the reflection. Painter’s tape pressed across the frame overnight holds everything while the adhesive sets.
Renters have a real option here. Command Strips can replace adhesive entirely if the frame is light and the mirror sits flush to the wall, not clipped. They fail on heavy oak or in humid rooms, but for a pine frame in a bedroom, they are worth testing. Peel them off in a straight line when you move and the mirror comes back bare.

Dual Screws Mounted Hardware: The old designs are only can be fixed by one screw, but each of this new upgraded mounting hardware can be fixed by 2 screws. So the mirror will be more firmly fixed on the wall.

4PCS Set: This set includes four mirror mounting clips and frameless mirror hardware with 1.2in screws and wall anchors for bathroom vanity mirrors

Mirror Thickness Compatibility: Used to secure a mirror to a flat surface that is no thicker than 1/8 inch
Tools for Cutting and Assembly
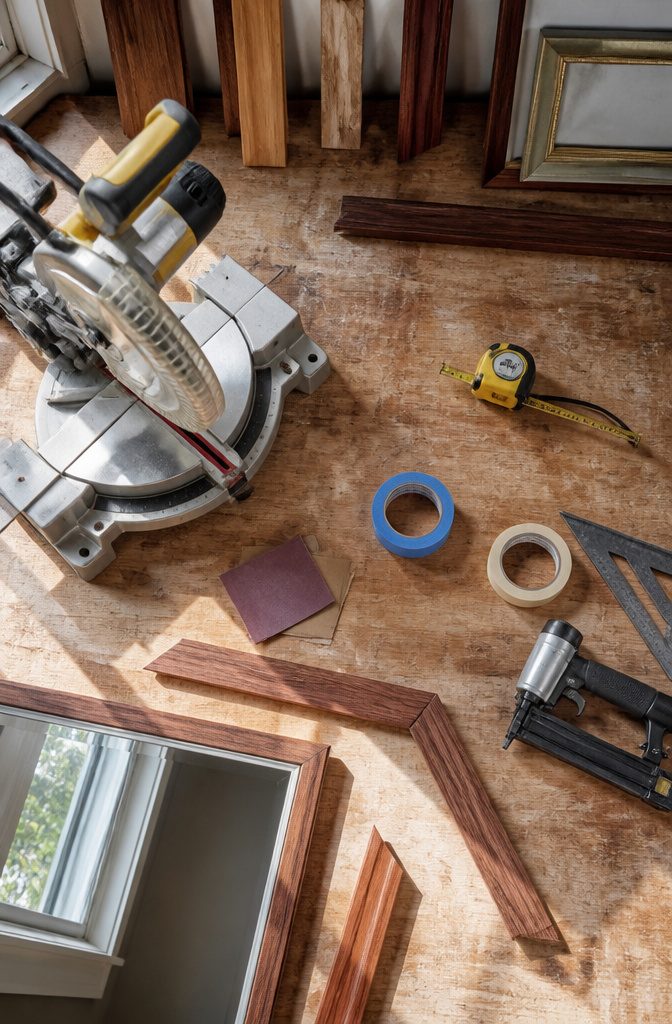
A measuring tape and a level are non-negotiable, but the miter saw is where most people pause. I borrowed one for my first frame and ended up buying a basic model the next year because I kept finding projects. If you do one framed mirror and nothing else, Home Depot or Lowe’s will cut your boards to length, straight cuts or mitered. A hand saw with a miter box works too; it just takes longer and the joints need more caulk.
Sandpaper smooths the cut edges before assembly, and painter’s tape holds the frame to the mirror while the adhesive sets. The caulk gun is worth owning even for renters; it runs about $4 and you’ll use it on baseboards, tile edges, and every future project. Clamps help if you are building the frame on a workbench first, but tape does the job when you are attaching directly to the mirror.
Paint, Stain, or Natural Wood
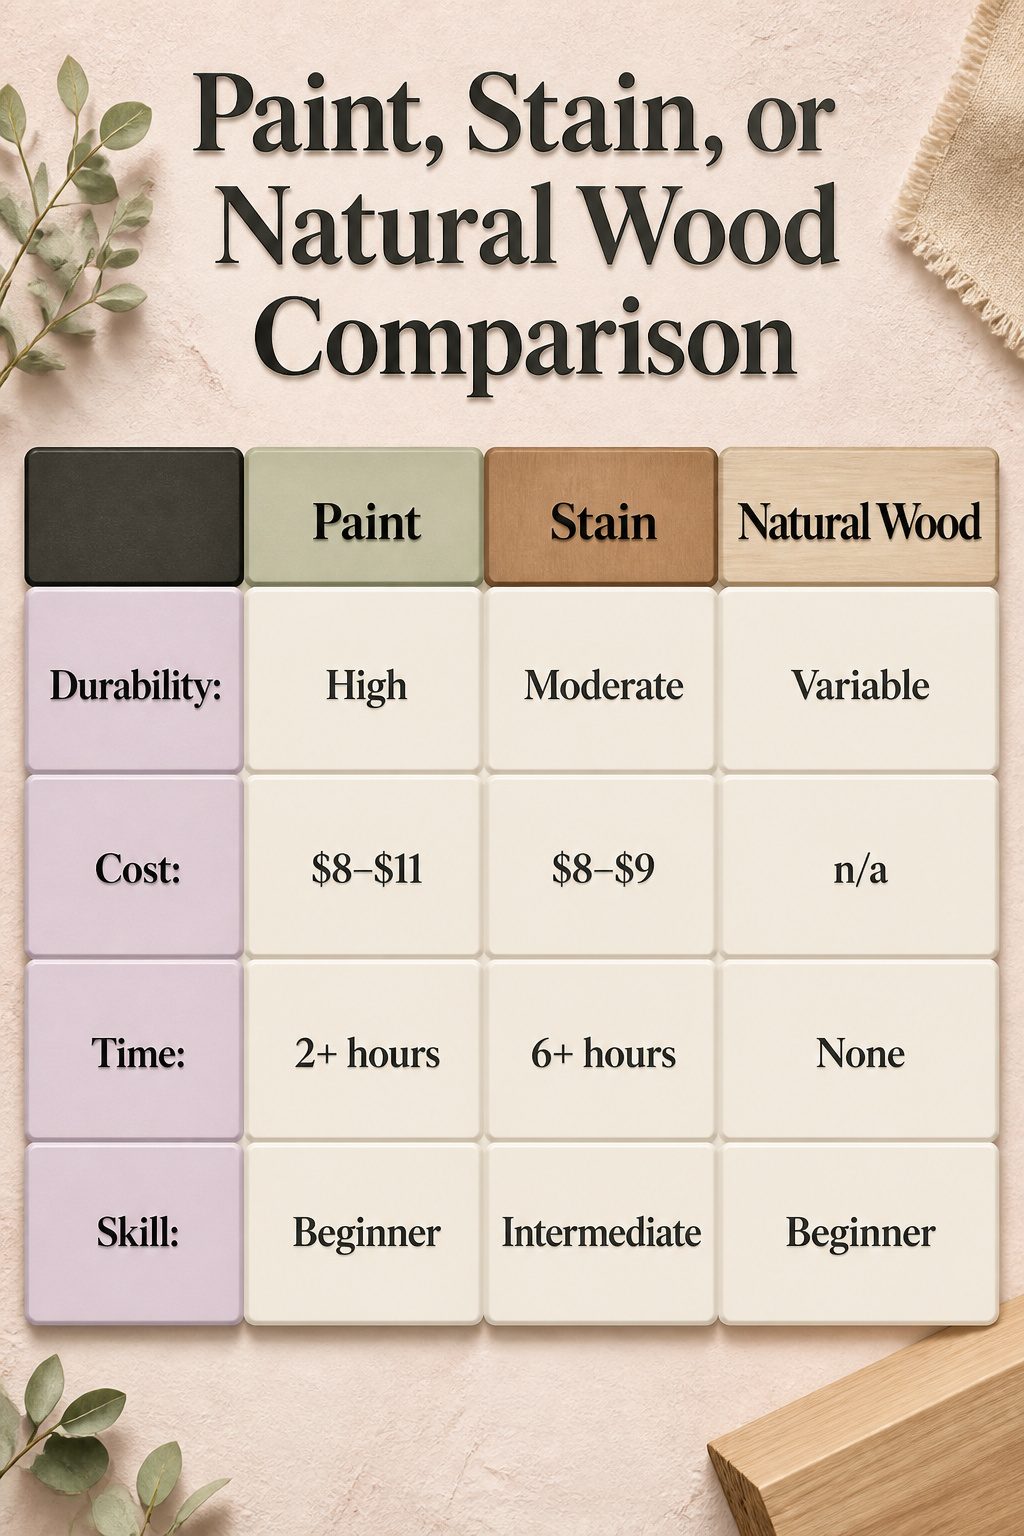
How you finish the frame matters as much as how you build it. Paint hides dings and opens up any color you want, but you’ll need to coat every surface, including the back; raw wood edges catch in the mirror’s reflection and read as a mistake. Stain keeps the grain visible and warms up a space, though it only works if your lumber takes it evenly. Poplar and pine blotch, so test a scrap first. Natural wood skips the finishing step entirely, but you’re locked into whatever species you bought.
| Paint | Stain | Natural Wood | |
|---|---|---|---|
| Durability | High with two coats | Moderate; needs reapplication | Depends on species |
| Cost | $8–$11 for sample size | $8–$9 for half-pint | n/a |
| Time | 2+ hours dry time between coats | 6+ hours dry time | None |
| Skill level | Beginner | Intermediate | Beginner |
I lean toward paint for a first frame. It forgives uneven joints and a bathroom’s humidity better than stain, and a small can covers a mirror frame with plenty left for touch-ups.
Frequently Asked Questions
How do I frame a mirror with clips?
You have two solid options. Notch the back of each board with a chisel or Dremel so the frame slips over the clips like a saddle, though this takes patience and exact placement. The easier route is replacing each clip with a quarter-inch washer using the same screw hole; the washer sits nearly flat and the frame presses straight against the glass. Most people who try the washer swap finish in minutes with no carving.
What type of wood should I use for framing a mirror?
Pine is the standard starting point. It is cheap, easy to cut, and takes paint or stain without fighting back. Oak holds up better in steamy bathrooms where moisture swells lesser boards over time. Pre-primed boards skip a day of prep if you are painting. Reject anything that feels fuzzy or bowed when you run your thumb along the edge; cheap wood warps inside a year.
How do I ensure my frame is straight?
Check the bottom piece with a level before the adhesive starts to grab, then stick it in place with painter’s tape pulled snug. Check again after ten minutes while you can still nudge things straight. The sides and top piece align against the bottom corner, which is why getting that first piece right matters most.
Can I use Command Strips instead of glue?
Yes, for light pine frames on mirrors that sit flush to the wall with no clips. The strips need to sit on the mirror overnight before the frame goes on, and you press the frame for 30 to 45 seconds. They fail on heavy oak or in humid bathrooms, so test your situation before committing. Peel them off in a straight line when you move and the mirror comes back bare.
What is the best adhesive for mirrors?
Gorilla Glue construction adhesive labeled safe for mirrors, or Liquid Nails mirror-specific construction adhesive. The label matters because standard construction adhesive can eat through the silver backing. Keep it back from the inner edge where the wood meets the glass, or you will see a faint line in the reflection for years.