


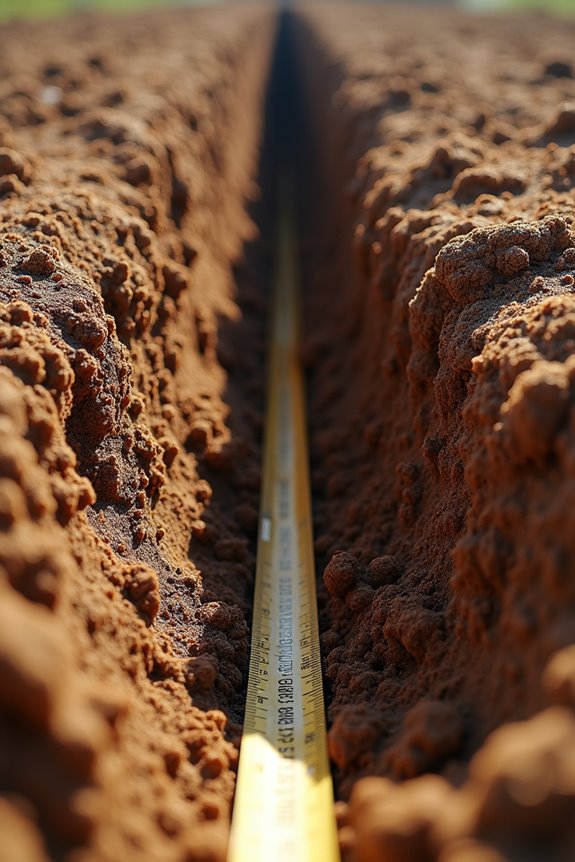
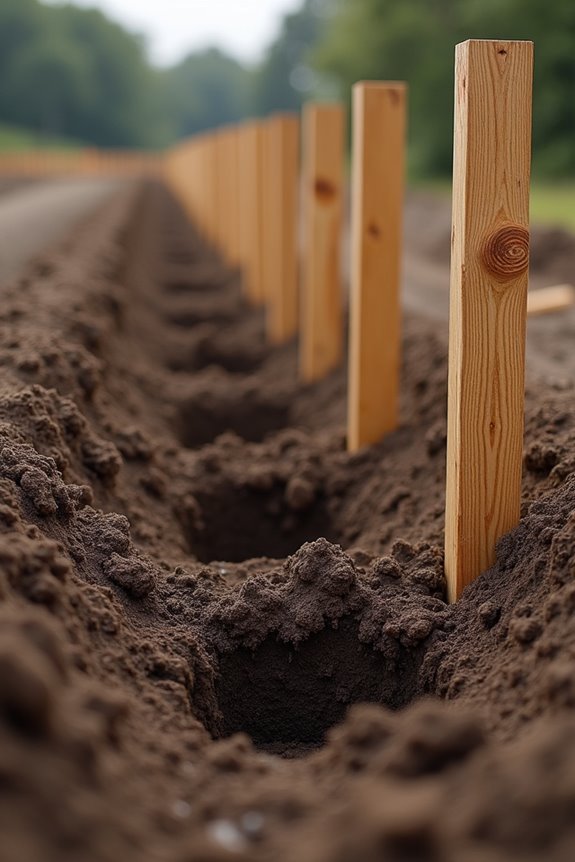
I’d dig at least two feet deep. Your frost line matters significantly and varies by region. Call 811 first to mark utilities, then check your local building codes.
The basic rule: bury roughly one-third of your post underground. So a six-foot fence needs posts about eight feet long, buried two feet down. Use concrete for stability, let it cure twenty-four hours, then backfill with soil in layers. Verify everything’s plumb before you attach panels to catch alignment issues early.
Mark Underground Utilities Before You Dig
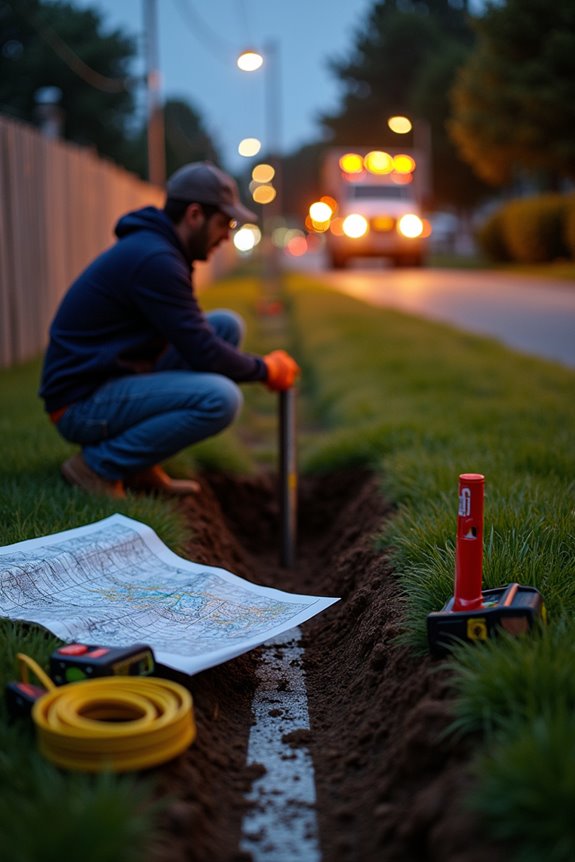
Before you even think about grabbing a shovel, you’ve got to call 811 or your local utility company to mark those underground lines. This is digging safety 101, and it’s non-negotiable. When you make that call, the utility mark crew comes out and paints the ground, showing you exactly where cables, gas lines, and water pipes are located. Those marks must keep them visible throughout your entire project. I always take photos, just in case. Once everything’s marked, I reassess my fence layout to dodge those lines completely. You’ll want a solid clearance around each utility mark without exceptions. Check with local authorities too, since they sometimes have specific setback requirements. Respecting those marks prevents expensive, dangerous surprises when you dig.

Patent Pending - Auger Drill Set: All Purpose Auger Drill Bit Set includes 1.6 x 12", 3 x 12", and 2.6 x 15" Drill Bits, plus a 16.5" extension. Ideal for fast and effortless digging in various soil types. (Drill not included)
Sturdy & Sharp Blades: The manual post hole digger blades are made of high quality carbon steel, which are sturdy and durable and not easy to deform. The blades of the post hole digger are very sharp and have curved edges to help you dig quickly in hard soil.

【DURABLE & HIGH QUALITY MATERIAL】The fence post driver is made of durable steel with premium, corrosion-resistant powder coating finish of black. Our post hole digger is anti-scratch, anti-fading and anti-rust with the long last metal finishes, loop solid handles
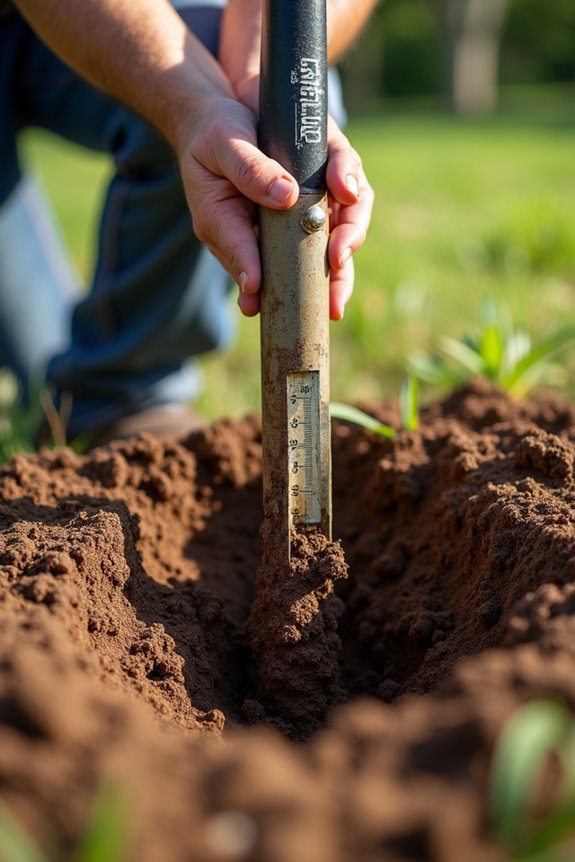
Your Frost Line Depth: The Regional Factor
Once those utility marks are down and you’ve got your fence line sorted, it’s time to figure out how deep you actually need to dig.
Once utility marks are down and your fence line is set, it’s time to determine how deep you need to dig.
Your frost line depth is the real game-changer. This refers to how far down the ground freezes in winter where you live, and it varies significantly depending on your region. In cold climates, you’ll need to dig much deeper than someone in a warmer area would.
Contact your local building office or utility company and ask about your specific frost line depth. They’ll give you the exact post hole depth you need to prevent frost heave, which is the seasonal shifting that destabilizes fence structures.
This conversation will prevent significant problems down the road.
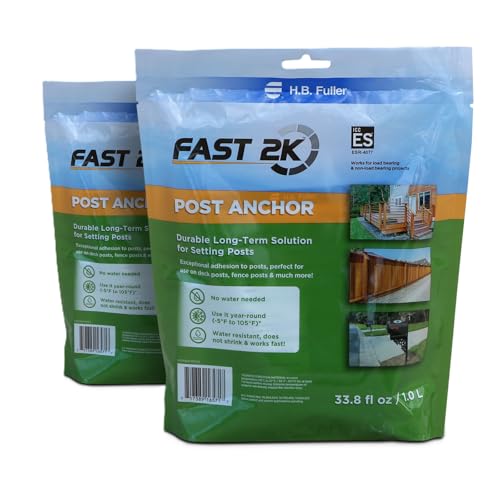
SAVE YOUR BACK: Lightweight technology replaces 80lbs of concrete with a 2.5lb bag

SAVE YOUR BACK: Lightweight technology replaces 80lbs of concrete with a 2.5lb bag

QUICK SETTING: Sets in 20 minutes
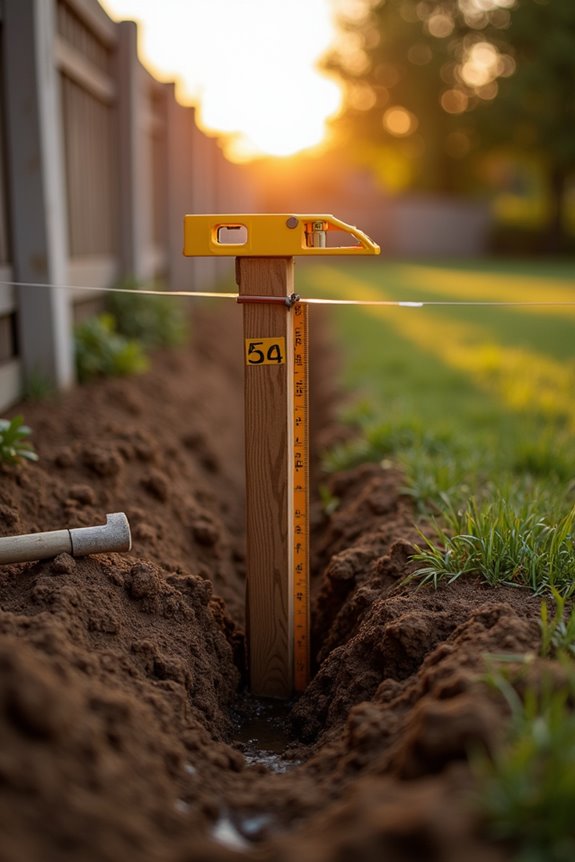
How Deep to Dig Based on Fence Height
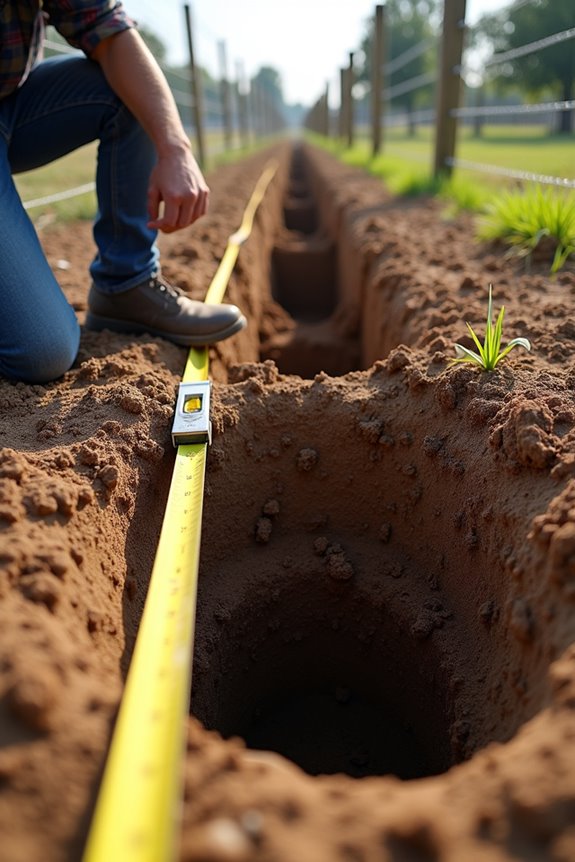
The depth you need really depends on how tall your fence actually is. The one-third rule is a simple guideline: bury about one-third of your post underground. For a 6-foot fence, you’re looking at around 600 mm (about 2 feet) deep. Your local frost line might require deeper digging to prevent frost heave from damaging your installation. Going deeper than the minimum is advisable, especially in cold climates.

High-impact composite construction

This level has a magnetic strip and a rubber strap for convenient hands-free installation of posts, railings, pipes, and more

🧱 Includes Post & Pipe Level + 5 Mini Line Levels This complete set features a durable Post & Pipe Level for quickly aligning vertical or horizontal surfaces like fence posts and pipes, plus 5 clip-on mini line levels to ensure perfect layout lines across any project.
The One-Third Rule
When you’re planning your fence project, follow this fundamental rule: bury at least one-third of your post’s total length underground. That buried portion keeps everything stable and solid. So if you’re building a 6-foot fence, dig post holes about 2 feet deep. This means your posts need to be roughly 8 feet long total. The one-third rule applies to your post’s entire length, not just what shows above ground. This guideline handles normal conditions well.
Always check your local codes first. Some regions require deeper holes, so verify before you start breaking ground.
Frost Line Considerations
Why is the frost line such a big deal for fence posts? It’s critical for keeping your fence standing strong. When the ground freezes and thaws, it heaves upward, pushing your posts right out of the earth.
You need to dig below your local frost line depth. That depth changes depending on where you live. Colder climates have deeper frost lines. Check with your local authorities first; it’s the smart move.
For most situations, dig at least 2 feet deep. That baseline works great for typical fence heights. If you’re in a brutally cold region, you might need to go deeper. Document that exact depth for your location. This prevents costly repairs from frost heave damage later.
Height-To-Depth Proportions
Now that you’ve got the frost line figured out for your area, consider this fundamental principle: how your fence’s actual height changes what you need to dig. The effective approach is to bury about one-third of your post length underground. When your fence gets taller, your posts get longer too, requiring at least 600 mm above ground level to reach that height. So if you’re building a 6-foot fence, you’re looking at a longer post overall, which means deeper digging. For most standard fences, 600 mm depth serves as your baseline. However, taller fences sometimes need extra depth below the frost line depending on your local codes. Always check your building requirements first; they’ll specify exactly what your area demands.
The One-Third Burial Rule Explained
How deep should you really dig? Consider the one-third burial rule, a fundamental principle for fence stability. Bury at least one-third of your post’s total length underground, not just what shows above ground.
| Fence Height | Post Length | Recommended Depth | Why It Matters |
|---|---|---|---|
| 4 feet | 6 feet | 2 feet | Solid foundation |
| 5 feet | 7.5 feet | 2.5 feet | Extra stability |
| 6 feet | 9 feet | 3 feet | Maximum support |
| 8 feet | 12 feet | 4 feet | Professional grade |
This proportion keeps your fence standing strong against wind and frost line shifts. Before digging, check local codes, soil conditions, and your frost line depth. These factors will determine what depth works best for your specific situation.

COMPATIBLE PRODUCTS: Comptatible with 3FT Newport Fence & Gate: ZP19002 & ZP19004.

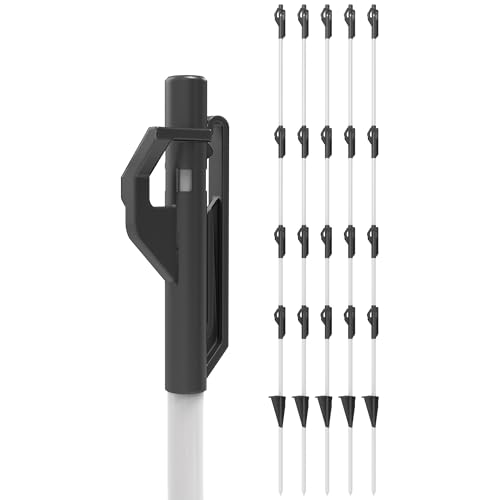
【Length】Total length 48", out ground 38.2";measured from the top of the step-in flange:5.00", 9.50", 12.50", 17.45", 21.45", 26.75", 30.10", 35.25" (highest fence height)

Use where a stronger post is needed; in areas with high wildlife concentrations and snow loading, or for high impact systems such as feedlots, weaning pens, etc.
Verify Local Building Code Requirements
Before I grab my shovel, I’m checking my local building codes because they’ll tell me exactly how deep I need to dig. Depth requirements depend on where I live, especially since frost lines vary by region. I’ll find out if my area has a shallow frost line (maybe 12 inches down south) or a deep one (could be 48 inches or more up north). Skipping this step risks frost heave, which will push posts right out of the ground during winter. My local authority or building department can clarify whether I need gravel, concrete, or special drainage requirements.
Tags are housed inside an eye-catching, octagon-shaped cardboard dispenser which features a 1-1/2" perforated center hole for mounting

Thin and flexible 10-mil poly-based material contains no wood-based, paper content, and is more durable than traditional cardstock

DURABLE PLASTIC. Signs use 55 mil thick HDPE (high density polyethylene) and can last up to 2 years outside. Signs have a 100% recyclable base material.
Regional Frost Line Variations
Why does frost line depth matter so much? Your location completely changes how deep you need to dig. The frost line, that critical depth where soil doesn’t freeze, varies dramatically between regions and even between towns in the same state.
Here’s what determines frost line requirements:
- Your specific location determines your frost depth, which directly affects post stability
- Digging below the frost line prevents frost heave from pushing posts upward during winter
- Local building codes reflect these regional differences, so checking them first saves you headaches
Don’t assume your neighbor’s frost line matches yours. Verify with local authorities because getting this wrong results in unstable fences. A quick call to confirm your local frost line depth prevents costly structural problems.
Local Code Compliance Standards
Building codes exist for a reason. You must check your local codes before beginning any work. Your local building department has specific requirements about frost line depth and code compliance. These are not suggestions. Different fence types, soil conditions, and regions demand different depths, so what works for your neighbor might not work for you. Concrete and ballast practices matter too, so verify those alongside hole depth. Confirming these details early prevents costly errors later. Noncompliance can result in fines, removal, or relocation. Call your building department, ask questions, and get requirements in writing. This is the most important first step you can take.
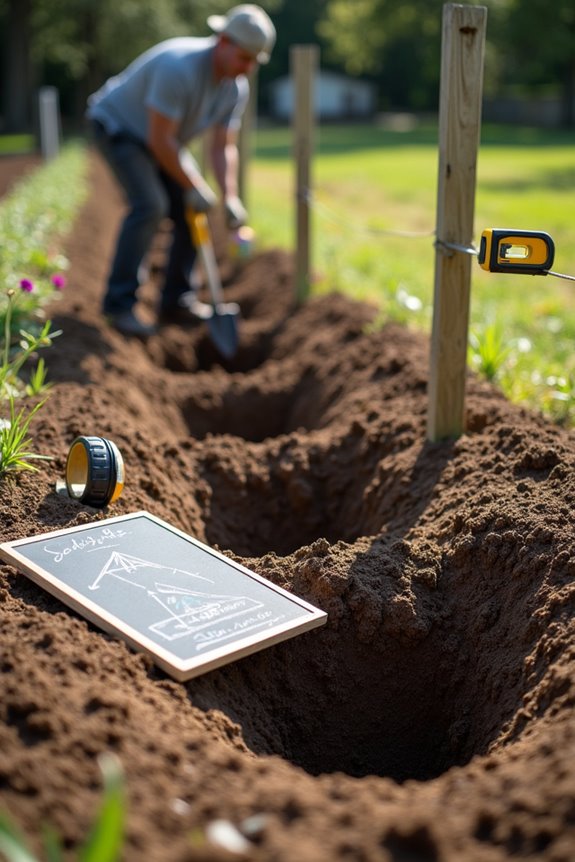
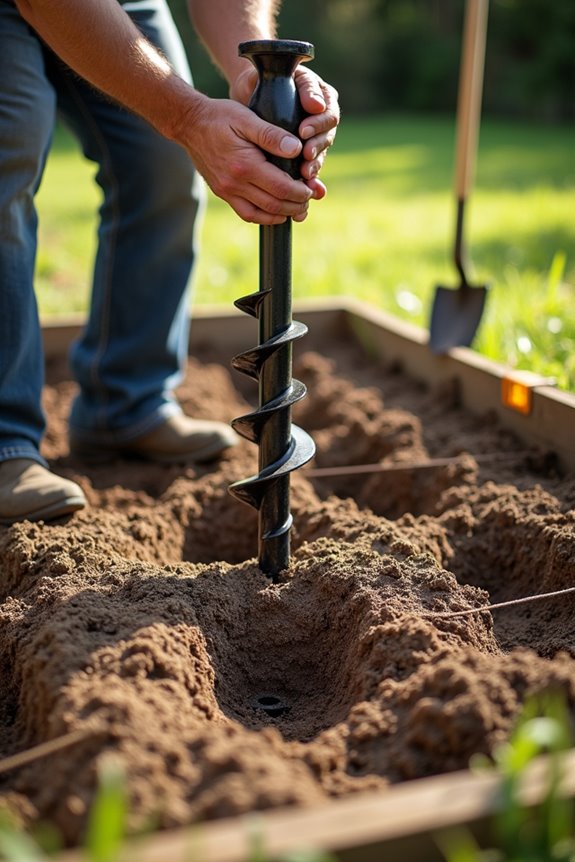
Choose Your Post Hole Digging Tool
The tool you pick makes a significant difference in how much work you’re about to do. Choosing the right tool saves your back, time, and frustration.
Here’s what I recommend:
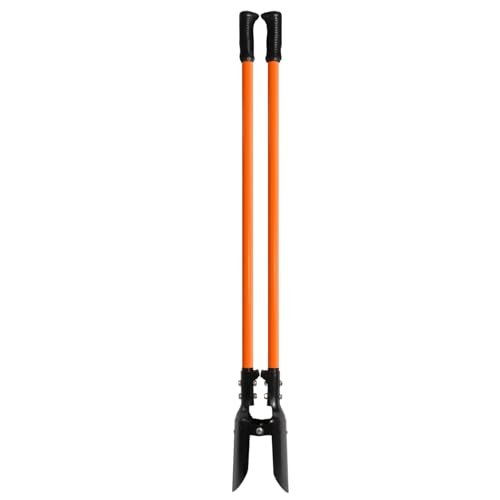
- Manual post hole digger – Perfect for small projects like gates or mailboxes. It’s cheap, simple, and effective for crew work.
- Auger or power digger – These are transformative for deck posts or foundations. They handle hard, rocky soil that would be exhausting with a manual digger.
- Clear and loosen first – Before digging anything, clear debris and loosen ground. This step prevents your tool from sticking and keeps you safe.
Wear your safety gear and keep your feet clear of spinning blades.

Powerful Engine: VEVOR Fuel-powered Auger features a 43CC powerful engine with a maximum rotational power of 9350RPM. The gearbox is constructed with ball-bearing shafts and alloy gears, allowing it to handle various soil conditions. Whether it's sandy soil, forested areas, or farmland, this auger can perform deep drilling. The fuel mixture ratio of gasoline to oil is 40:1, and it can be easily mixed using an oil can. The engine has large cooling holes to ensure long-lasting operation.

Hole digger features a sharp shovel head with screw connections that can efficiently carry out outdoor gardening work.

Hole Digger Machine - Perfect for installing fence post, deck, planting tree and many other lawn applications and even ice fishing with specialized electric ice augers. It's the ideal digging tool for any homeowner or professional landscaper
Clear and Loosen Your Digging Area
Before you fire up that digger, clear out everything in your way. Remove rocks, sticks, and leaves from your digging area because they’ll mess up your tools and throw off your hole’s direction. A clean workspace makes the whole job easier.
Next, loosen the soil with a shovel or tiller. This prep work makes it much simpler when you’re actually digging down to the frost line. If you’re dealing with hard, compacted soil, water the area beforehand. It softens things up considerably and reduces the physical effort required.
Taking these few minutes upfront saves serious frustration.

SAVE YOUR BACK: Quick, lightweight patent pending technology replaces 80-100lbs of concrete with a lightweight bag that does not require messy mixing with water that requires cleanup & preparation for filling post holes

𝗙𝗔𝗖𝗜𝗟𝗜𝗧𝗜𝗘𝗦 𝗟𝗜𝗙𝗘: Your life is made easier by Fence Post because it is quick and easy to mould, shape, and adjust by following clear instructions. For preparing the expanding concrete foam, no further materials are required. There is no need for extra mixing equipment or water. The kit is bundled with everything needed

Fence Post Repair: Easily repair the damaged wood fence, saving the cost and effort of replacing the entire post
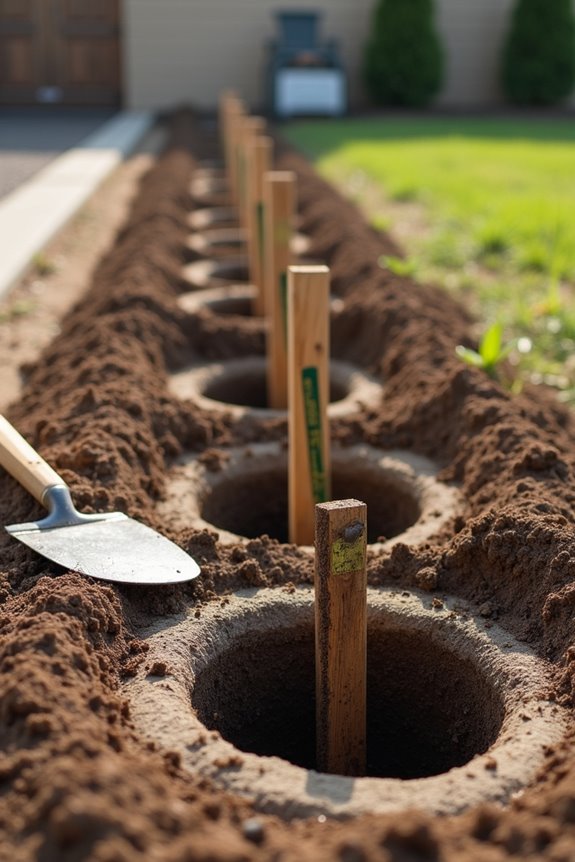
Dig Holes Three Times Wider Than Posts
How wide should you actually dig? I’m talking about using the three-to-one rule, and it’s highly effective for your fence post holes. Here’s what works best:
- Multiply your post diameter by three – A 3-inch post needs roughly a 9-inch wide hole, giving you proper working space
- Create drainage and stability zones – Wider holes let gravel and concrete settle around the post, keeping everything solid and protected from the frost line
- Account for your local frost line – Deeper holes in harsh winters still benefit from that extra width for secure anchoring
Wider holes aren’t just about depth. They’re about giving your fence post the stable foundation it needs. This three-to-one approach prevents frost heave and shifting by distributing the post’s weight evenly across a larger surface area.

For simultaneously determining the horizontal and vertical plane for posts, pipes, flag poles, railings.

Strip magnets and rubber strap for hands-free work

ADJUSTABLE - The Kapro 340 Postrite is unique among post levels because it can be collapsed either by folding it closed like a book or by spreading it flat. It "clicks locked" every 15° allowing the Kapro 340 Postrite to be used on pipes or posts of any diameter.
Add a Gravel Base for Drainage
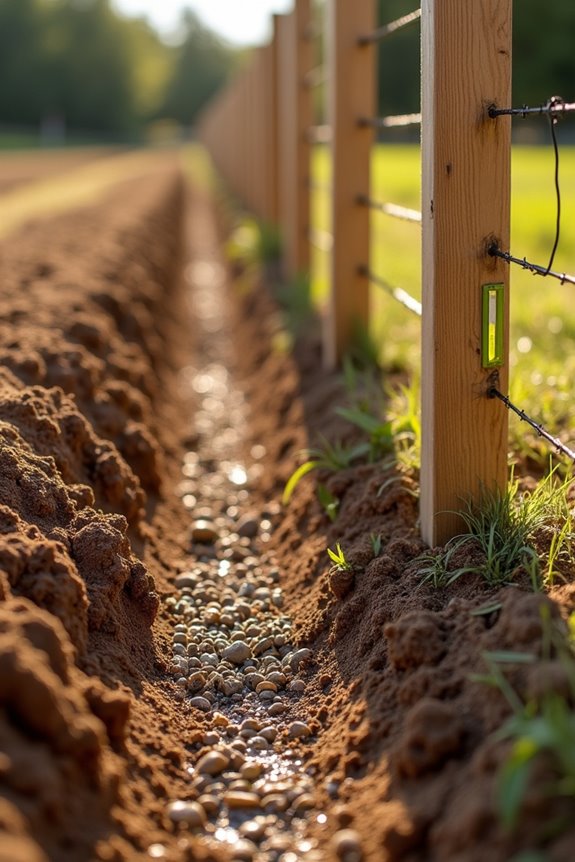
Why is that extra gravel layer so important? It’s the difference between a fence that lasts decades and one that rots out in a few years. When I dig my post holes, I always go about 6 inches deeper than my target depth. That extra space creates a drainage base.
Here’s what I do: I dump at least 3 inches of gravel right into the bottom of each hole. That gravel base lets water drain away from your post instead of pooling around it. No standing water means no rot, which means your posts stay strong longer.
This simple step, combined with the wider holes we discussed, gives you a stable, well-draining foundation. It’s one of the best investments you can make in fence longevity.

Innovative Design: The fence post bracket set features a U-channel design—simply attach the brackets to the posts and slide in (3/4" x 5.5") wood planks to lock. Easy DIY installation and plank replacement, even for one person, saving time, effort, and labor costs in the short and long term

Heavy-Duty Corner Solution: Designed to manage high-tension wires and polytape at corner posts in permanent fencing systems.
Bulk 50 Pack | This set of fifty 48-inch fiberglass step-in posts gives you the flexibility to build multiple pastures, rotational grazing lanes, or seasonal garden fences. Buying in bulk saves cost while ensuring every post matches for consistent fence height and tension.
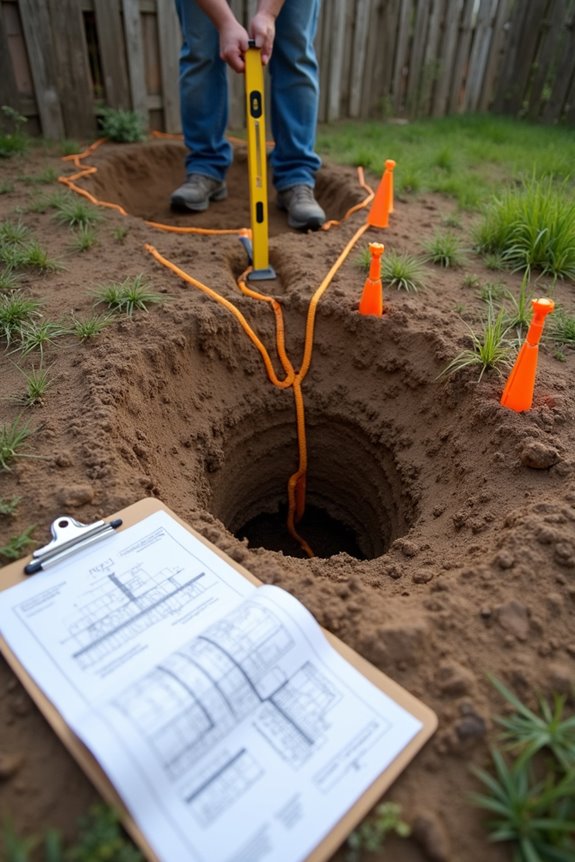
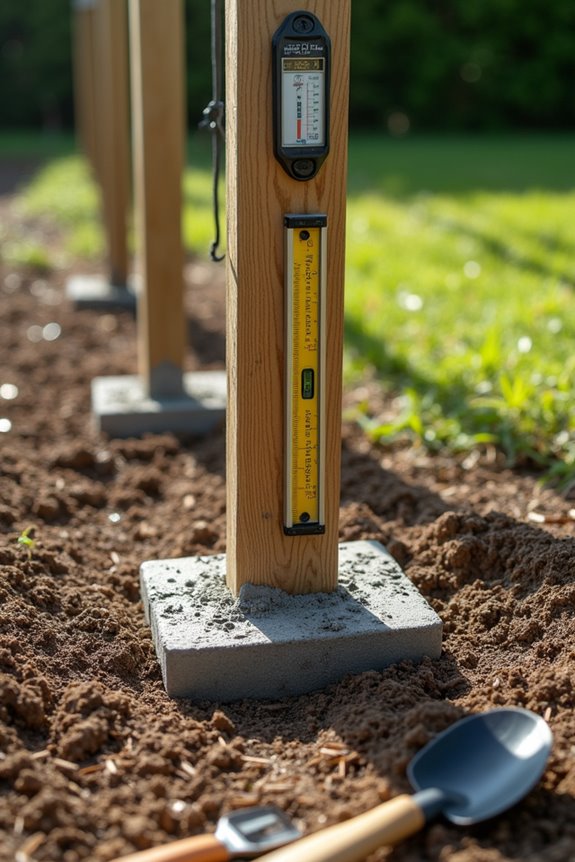
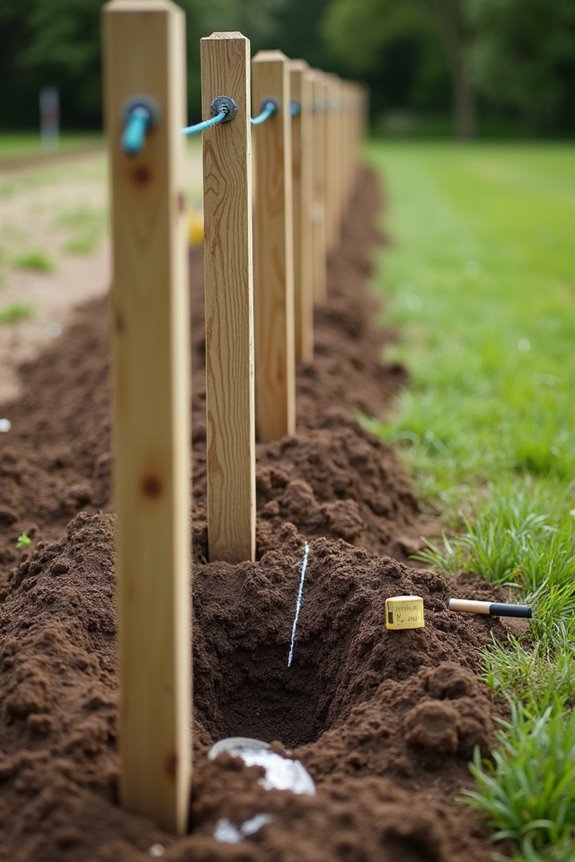
Set Posts Level and Plumb
Once that gravel’s sitting at the bottom of your hole, you’re ready to set the post itself. Getting this right makes everything else easier down the road.
Here’s what I do to keep things solid:
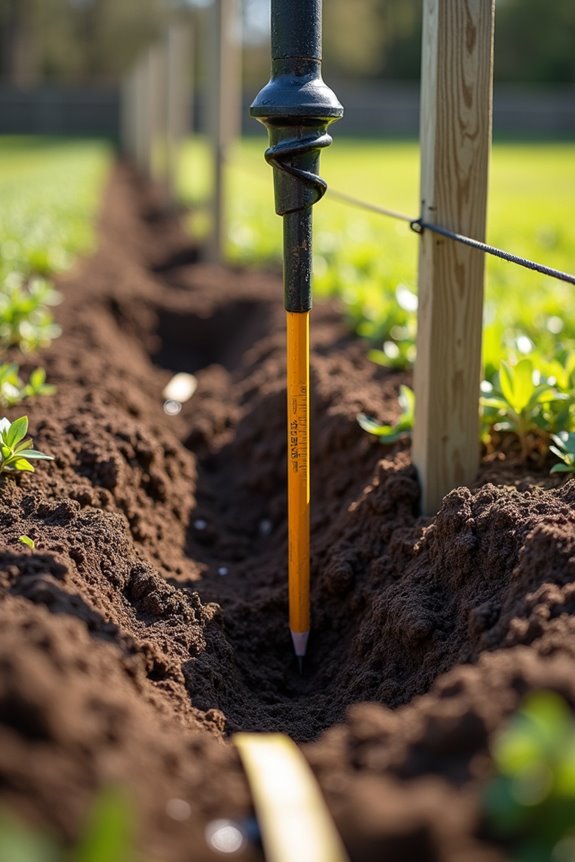
- Insert the post and check plumb immediately using a level or plumb line, making sure it’s perfectly vertical before anything else happens
- Verify alignment after initial tamping, confirming the post stays plumb once you’ve packed that backfill soil down
- Recheck your corner posts early on to maintain that square layout across your whole fence line
Don’t rush this step. Let that concrete cure fully, about 24 hours minimum, keeping everything locked in place. This prevents shifting and settling that would compromise your fence structure.

4LessCo 18x48 Inch TICKETS Vinyl Banner Sign With Grommet rb

4LessCo 2x4 Feet TICKETS Banner Sign Fabric Polyester With Grommets rb

【Attention-Grabbing】This LED Tickets Neon Sign is bright and eye-catching, suitable for Travel Agency, Bus Ticket Counter, Stadium Box Office, Lottery Ticket Shop, Will Call and so on. Make sure your business stands out from the competition and attracts potential customers.
Backfill With Concrete for Stability
Now I’ll show you how to lock those posts in place with concrete. This is the foundation of a fence that lasts years without wobbling. I’m going to walk you through choosing the right concrete mix, applying it correctly so it actually stays put, and then giving it the time it needs to cure solid and strong. Once you complete this step, your fence posts won’t budge, even when wind picks up or the ground shifts around them.
Concrete Mix Selection and Application
How you backfill around your fence post makes all the difference between a post that’ll stand solid for decades and one that’ll start leaning within a few years.
I always grab a concrete mix formulated for outdoor use, mixing it to the manufacturer’s recommended slump for easy pouring. Here’s what I focus on:
- Frost line protection – I ensure concrete extends below the frost line in my area, preventing frost heave from pushing posts up
- Proper drainage – I layer 3–4 inches of gravel at the bottom first, then pour concrete up to grade level
- Air pocket removal – I lightly tamp or vibrate the concrete while backfilling to eliminate voids and keep my post plumb
Once I’ve poured, I let it cure per product instructions before hanging anything heavy. Proper curing time prevents settling and structural failure.
Proper Backfill Technique and Compaction
Backfilling with concrete is where your fence post transforms from a hole in the ground into a solid, long-lasting installation. Start by laying down 3-4 inches of gravel at the bottom. This drainage layer keeps moisture away from your timber and prevents rot down the road.
Backfill in layers, tamping firmly after each lift to crush air pockets. Compaction is critical because loose soil settles over time, which means your post shifts and wobbles. Use quick-setting concrete, which gives you a short window to check that everything’s perfectly level and plumb before it hardens.
Once everything is correct, let that concrete cure fully, usually 24 hours, before hanging any panels or stressing the post.
Curing Time and Post Stability
Once you’ve got that concrete poured and your post standing perfectly plumb, you can’t just walk away and start hanging panels tomorrow. Patience is critical during this stage. Your concrete needs a full 24 hours minimum to cure properly, and you should wait longer if possible.
Here’s why this matters:
- A properly cured concrete base resists frost heave, which is when ground freezing and thawing shifts your post around, causing structural failure.
- The concrete cure creates that stable, vertical foundation that’ll keep your fence standing strong for years.
- Rushing it means panels might sag or shift as the concrete still hardens underneath.
Knowing your fence is rock-solid before you load it up prevents costly repairs down the line.
Allow Concrete to Cure Fully
This is probably the most important step because rushing through concrete curing is like baking a cake and cutting into it while it’s still warm. You need at least 24 hours before attaching panels, though some concrete mixes demand even longer for full strength.
Keep your posts perfectly vertical during this waiting period. No nudging, no adjusting, just patience. Also protect the fresh concrete from rain or extreme temperatures, which can crack everything you’ve worked toward with your digging depth.
Once that curing time is complete, always check alignment and level one more time before mounting anything. This concrete cure step is what separates successful fences from frustrating ones. Skipping or shortening this phase will compromise your fence’s stability and longevity.
Backfill Remaining Space With Soil
I’ve found that how you compact those soil layers makes a significant difference in keeping your posts rock-solid for years. Tamp each lift lightly so you don’t create settling problems later that’ll have your fence leaning. You also need to think about drainage and water pooling around that post, since trapped moisture is basically an invitation for rot and decay. Backfill evenly on all sides, checking your post stays plumb as you go, so everything’s stable and water can drain away naturally instead of collecting in gaps.
Compacting Soil Layers Properly
How’d you like your fence post to stay put for the next decade or two? Backfill compaction is the key factor for solid fence posts.
Here’s what I do to get it right:
- Add soil in thin layers—maybe 4-6 inches at a time—rather than dumping everything in at once
- Compact each layer firmly using a hand tamper or powered tamper until it matches the surrounding ground’s density
- Recheck the post’s vertical alignment after every layer, adjusting before final compaction
As you backfill, tap the hole’s sides to settle material gradually. This prevents those sneaky air pockets that’ll haunt you later. Even distribution around the post matters too. You’re building a solid foundation that will keep your fence standing strong for years.
Preventing Post Movement Issues
Once your post is standing straight and solid in the hole, you’ve got one more critical job: filling in all that empty space around it. This is backfill, and it’s what keeps your fence from leaning or wobbling down the road. You’ll want to add soil in layers, tamping each one firm as you go. Layered compaction prevents settling later, especially after frost hits or heavy rains roll through. Don’t just dump soil in and call it done. Big gaps will cause movement and misalignment. Fill gradually, compact thoroughly, and then check back after rough weather to re-tamp if needed. This maintenance keeps everything rock solid.
Drainage And Water Management
Why does water management matter so much when you’re finishing up that post hole? Proper drainage keeps your fence standing strong for years.
- Start with gravel at the bottom to let water escape instead of pooling around your post’s base, which causes rot and instability
- Backfill soil in layers, tamping each one lightly so everything settles evenly and stays secure at the proper depth
- Slope the ground away from your post, keeping that area clear of mounds that trap water
Make sure that final soil layer doesn’t mound up. Instead, create a gentle slope directing water away. If you’re using concrete, wait for it to set first, then add soil around it. This approach prevents moisture damage and keeps your posts anchored securely.
Verify Post Alignment Before Attaching Panels
Before you snap a single panel into place, checking that your posts are actually straight and lined up right is non-negotiable. Use a plumb line on every post to verify they’re perfectly vertical, not leaning or tilted. Also check that each post aligns with those layout strings you tied to your batter boards earlier. This keeps your spacing consistent across the whole fence line.
Don’t stop there. Measure corners and gate posts against your planned measurements; they should hit within an inch or two. After you temporarily install panels, re-check alignment because posts can shift. Getting all your end posts, intermediate posts, and gate posts sitting on the same reference line prevents misalignment problems down the road. This verification step prevents costly rework later.