

I’ve found that nailing fence post spacing comes down to five key moves. First, identify your fence type. Wood typically needs posts every 6–8 feet, while chain-link goes 7–10 feet. Next, check your soil and local codes, since soft ground and steep slopes demand tighter spacing. Then calculate your total fence length and divide by your target spacing. Don’t forget to adjust for gates and post width. Finally, mark everything with stakes and string before you dig. Getting this step right prevents a wobbly fence and ensures structural stability on your property.
Define Your Fence Type to Set Spacing Standards
Why does your fence type matter so much? It’s the foundation for your entire fence post spacing strategy. Your fence type directly determines your spacing standards and post distance.
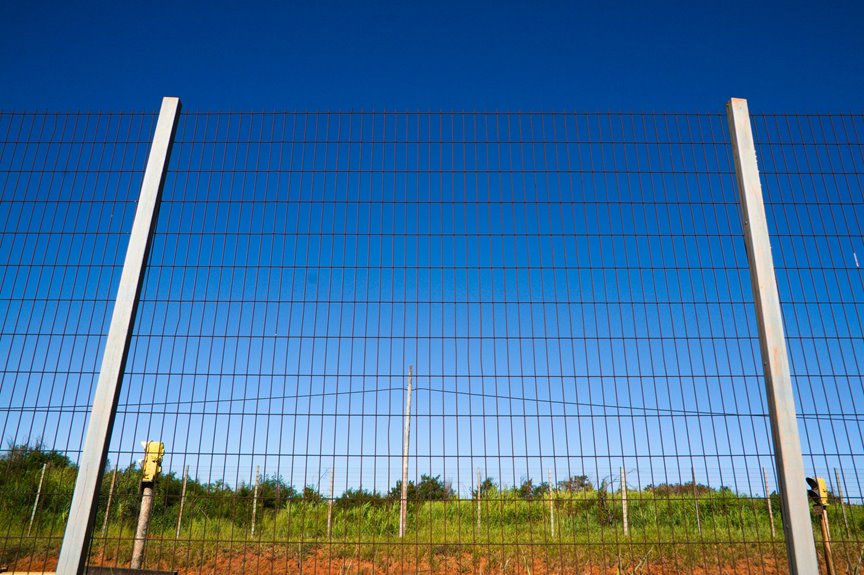
Wood fences typically need posts 6–8 feet apart. Vinyl fence panels are panel-based systems, so manufacturer guidelines are key. Chain-link fences can stretch wider, usually 7–10 feet between posts.
Wood fences need 6–8 feet post spacing, vinyl requires manufacturer guidelines, and chain-link typically stretches 7–10 feet apart.
Heavier materials demand closer spacing to handle load distribution properly. Privacy fences especially benefit from tighter spacing because they need serious stability.
Check your local code regulations as well. They may specify minimum or maximum post distances in your area.
Understanding your fence type first ensures you establish accurate spacing standards from the start.

What You Receive: the package comes with 8 pieces of fence post caps, natural color of the cedar complements the surroundings, adding a touch of elegance to indoor space, making your fence stand out in style

Fits Like a Shield: 6x6 Post Shields are designed to fit the standard 6x6 labeled post. The standard 6x6 post measures 5.5" x 5.5". There are few exceptions, so please measure your post to verify its size before purchasing. New treated posts are often wet and swollen from the treatment process, but they will dry out and shrink to the 5.5" x 5.5" standard post size.

Aesthetic Natural & Modern: Achieve a contemporary, natural, luxury and distinguished privacy for your deck, terrace, and backyard with our heavy-duty matte black metal post
Check Soil Type, Slope, and Weather
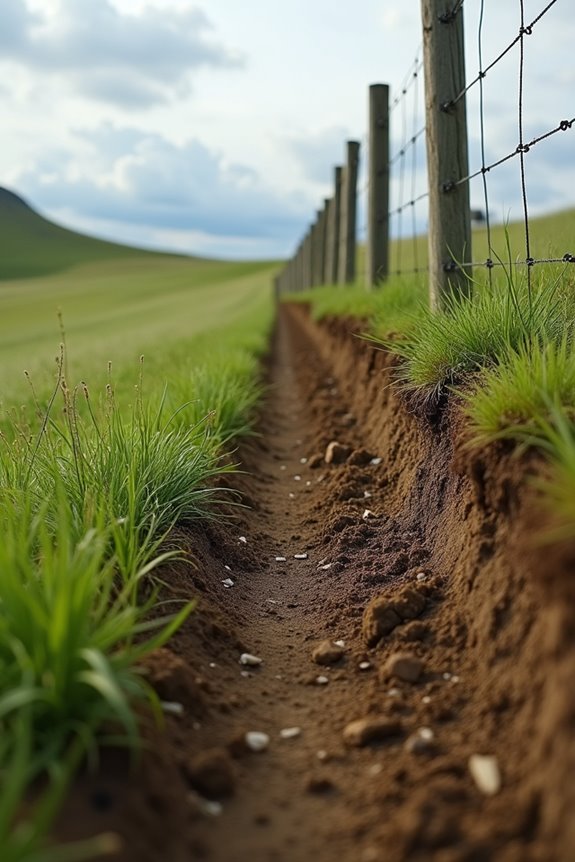
Now that you’ve nailed down your fence type, it’s time to look at what’s actually under your feet, because the ground you’re building on makes a significant difference in how far apart those posts can be. Soft, soggy soil requires posts closer together, around 6–8 feet, for stability. Firm ground lets you stretch to 8–10 feet safely. Slopes demand tighter spacing to prevent sagging and keep everything aligned. You should also check your local climate and frost depth; deeper frost lines mean deeper footings and closer post spacing to resist frost heave. Windy areas and heavy snow loads require stronger posts spaced tighter. Weather, moisture, and slope all work together, so always scout your site before planning anything.
Superior Material : Fence brackets is made of aluminum, lightweight, durable, and not prone to cracking or deformation. Compared to vinyl/plastic/pvc fence brackets, it has a longer lifespan and does not require frequent replacements

EASY ORDERING: Everything you need for your fence project is in the box except for the final post. Only ONE additional post, BL19112, is required for the end of your project. A gate is available by searching BL19111.

PET & CHILD SAFE: Create a safe outdoor play area for fur babies and children. Rest assured that this fence will create a sturdy barrier to protect your family.
Calculate Fence Post Spacing Across Your Property
Once you’ve got your soil and weather figured out, it’s time to do the math, which is simpler than it sounds. Start by measuring your total fence length, then divide it by your desired center-to-center spacing. For wood, aim for 6–8 feet; vinyl works at 6–10 feet; chain link spans 7–10 feet. You’ll always need one more post than the number of panels. Five panels require six posts, not five.
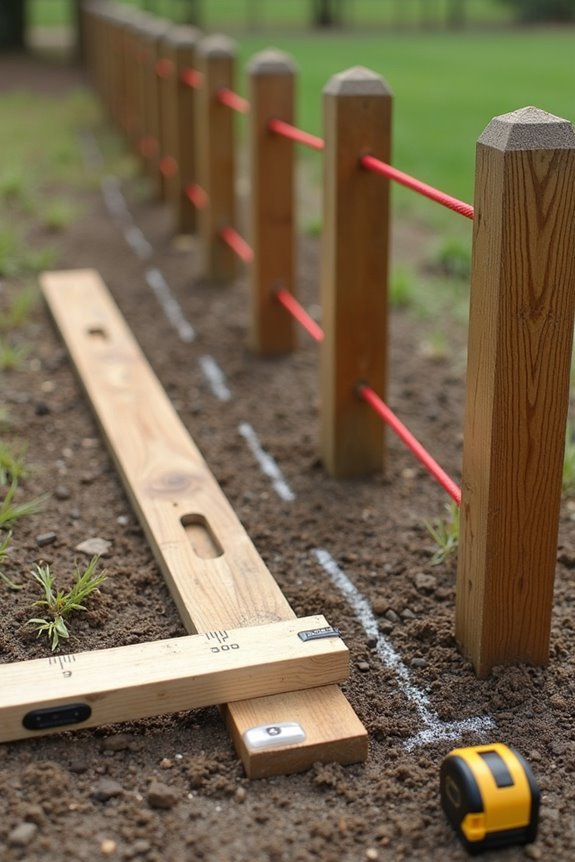
When laying out, measure center-to-center and account for actual post width. A 4×4 is really about 3.5 inches wide. Run a taut line to keep everything straight and balanced. Adjust spacing slightly if a run doesn’t divide evenly. Check your local codes, because site conditions sometimes shift those standard ranges.

These chain link fence tension bands are for 1-7/8" OD Post/Pipe

Heavy Duty Tension Band Bracket: Our galvanized tension band clamp is built for longevity, with a coating over galvanized steel material, clamps resist both rust and corrosion.

Sturdy & Durable Fence Post: Made from 2 mm (0.08") thick Q235 carbon steel, this fence post offers high strength and rigidity. The U-shaped channel design improves bending resistance, while the powder-coated finish provides UV protection and corrosion resistance, ensuring durability in all weather conditions.
Adjust for Gates, Post Width, and Ground Changes
How’s your fence layout looking so far. Gates, post width, and terrain will shift your entire post spacing plan. Gate openings reduce your continuous spacing, so you’ll bracket those openings with end posts strategically. A standard 4×4 post runs about 3.5 inches wide, which affects your center-to-center measurements and end-to-end gaps. Ground changes demand attention too. When working slopes, shorten spacing on steeper sections for rail sag prevention and contour alignment. Uneven terrain requires treating obstacles like rocky spots as endpoints or shifting posts 6–12 inches to maintain stability. Customize your spacing to match what your property actually is, not forcing it into one rigid pattern.

Powerful Engine: VEVOR Fuel-powered Auger features a 43CC powerful engine with a maximum rotational power of 9350RPM. The gearbox is constructed with ball-bearing shafts and alloy gears, allowing it to handle various soil conditions. Whether it's sandy soil, forested areas, or farmland, this auger can perform deep drilling. The fuel mixture ratio of gasoline to oil is 40:1, and it can be easily mixed using an oil can. The engine has large cooling holes to ensure long-lasting operation.

The planting auger for drill designed with new model upgraded bit and more spirals on the solid shaft, ensures digging holes 10 times working efficiency, extremely increase your planting efficiency and you have more time enjoy the planting season.

EASY TO USE: The auger kit comes with a 6-inch wide by 32-inch long auger, a universal handle, and everything you need to connect it to your drill. Be up and running in minutes!
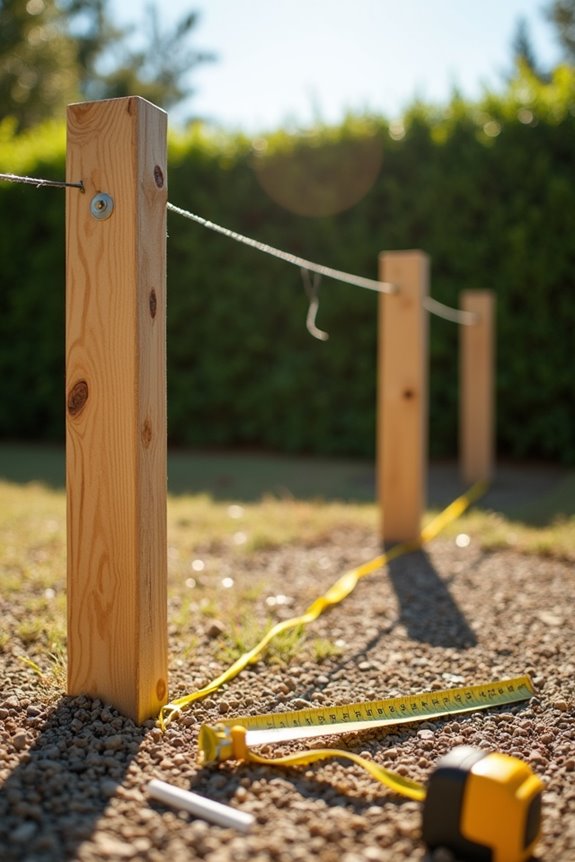
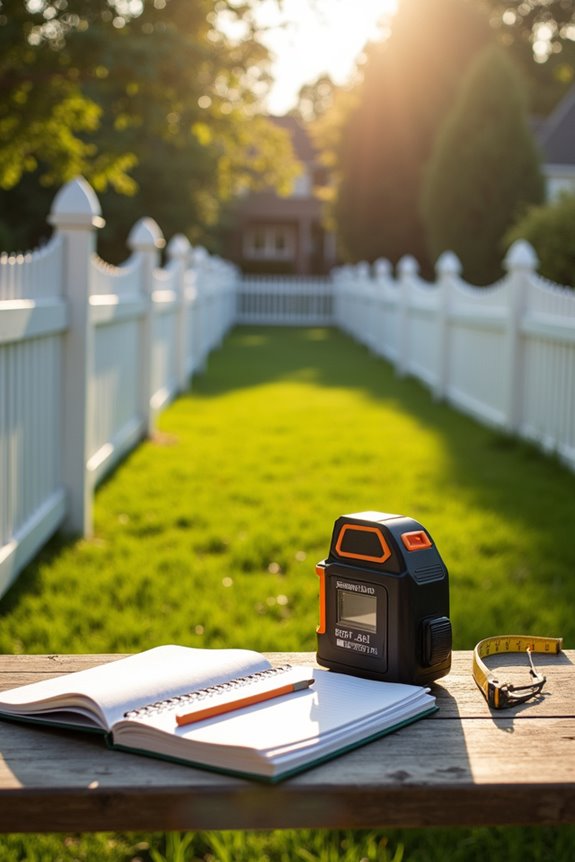
Verify and Mark Your Post Locations Before Digging
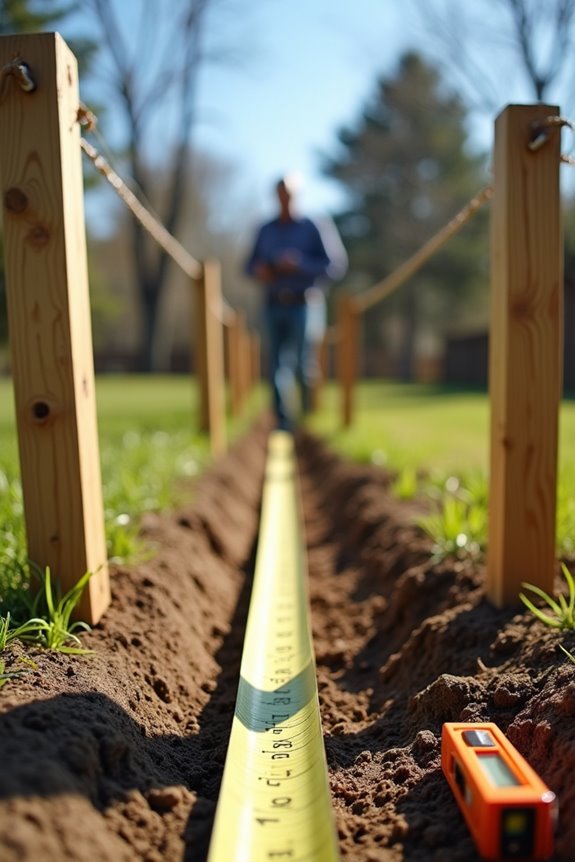
Before you grab a shovel and start digging holes everywhere, you need to lock down exactly where those posts go. I stake each corner with tall wooden stakes, then run a taut mason’s line a few inches above ground. This serves as my straight guide for everything ahead. Next, I mark exact post locations along that line using my predetermined spacing, whether that’s 6, 8, or whatever works for your fence. I use spray paint or flags to mark each spot.
When measuring, use center-to-center distances rather than edge-to-edge measurements. This accounts for actual post width. This verification step prevents costly mistakes during installation. Taking time with this phase ensures accurate fence alignment.

Sturdy & Durable Fence Post: Made from 2 mm (0.08") thick Q235 carbon steel, this fence post offers high strength and rigidity. The U-shaped channel design improves bending resistance, while the powder-coated finish provides UV protection and corrosion resistance, ensuring durability in all weather conditions.

Fence Post Repair: Easily repair the damaged wood fence, saving the cost and effort of replacing the entire post

Adjustable Clip System - 1 fixed top clamp + 4 adjustable clips accommodate poly tape (up to ⅝") and poly rope (under ¼"). Set custom heights, for targeted animal control