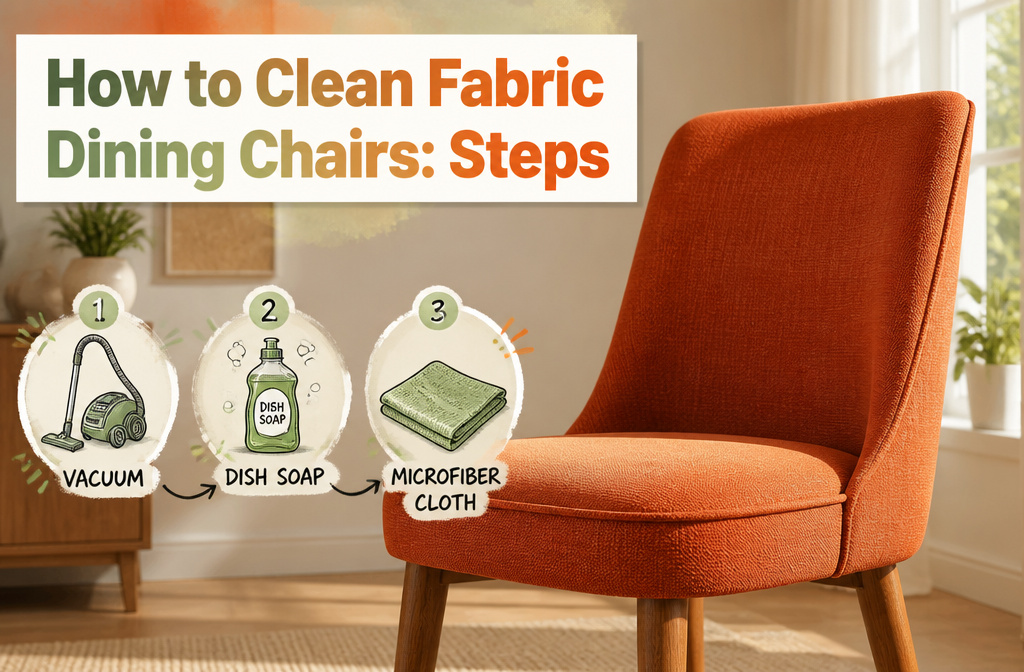

Clean fabric dining chairs in under two hours with a vacuum, dish soap, and a microfiber cloth, though the real cost is patience: most people rush the dry time and trap mildew in the foam.
The care label under your seat decides everything.
Flip the chair first. A tag stamped W, S, SW, or X tells you whether water will save the fabric or ruin it, and guessing wrong turns a surface stain into permanent water marks.
1. Check the Care Label First
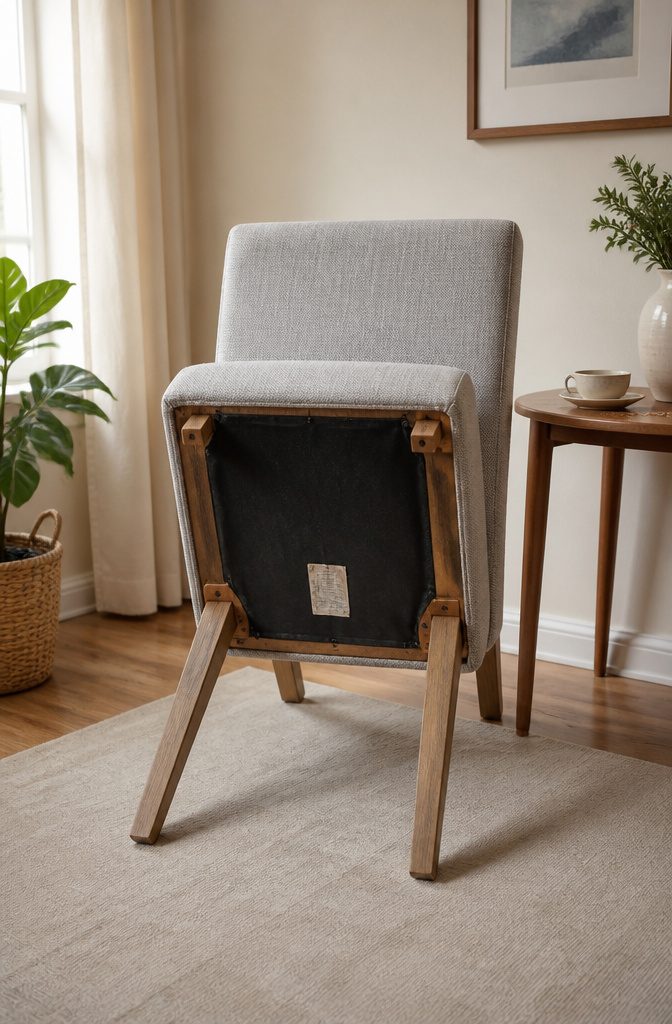
Most fabric dining chairs hide their care label on the underside of the seat or tucked into the back seam. Flip the chair over and look for a small tag with one of four cleaning codes stamped on it.
W means water-based cleaners are safe; S means solvent-only; SW lets you choose either; X means vacuum or brush only, no liquid at all.
The tag sometimes wears off after years of use, or the previous owner cut it away entirely.
When that happens, you check the fabric yourself. Dab a hidden spot with a drop of water and wait ten minutes, then do the same with rubbing alcohol in another hidden spot.
See which dries without darkening, stiffening, or leaving a ring. That tells you what your chair can take before you commit the whole seat to it.
Some light fabrics are especially susceptible to staining from the minerals in water. If you’ve experienced this problem, use distilled water and make sure to wet all of the fabric when cleaning.
That mineral staining is worth remembering for pale upholstery, even when your tag says W. Tap water on half a seat can leave the other half looking two shades different once it dries.

OXI POWERED CLEANING ACTION: Enhanced with an active oxidizing formula that lifts and breaks down deep-set stains. Delivers a more effective clean by targeting tough spots at the molecular level

CHEMICAL GUYS LIGHTNING FAST STAIN EXTRACTOR (SPI_191_16) – Professional-strength stain remover formula penetrates deep into carpet, upholstery, and fabric to quickly break down and lift stains, dirt, and odors for a restored, like-new look

OXY-POWERED CLEANING: Tackle everyday upholstery messes with our powerful Upholstery Cleaner. Its oxy-powered formula delivers powerful spot cleaning to help lift tough stains, even up to 7 days old, so your home stays fresh, clean-looking, and ready for guests, family time, and daily life on the go
2. Gather What You Need
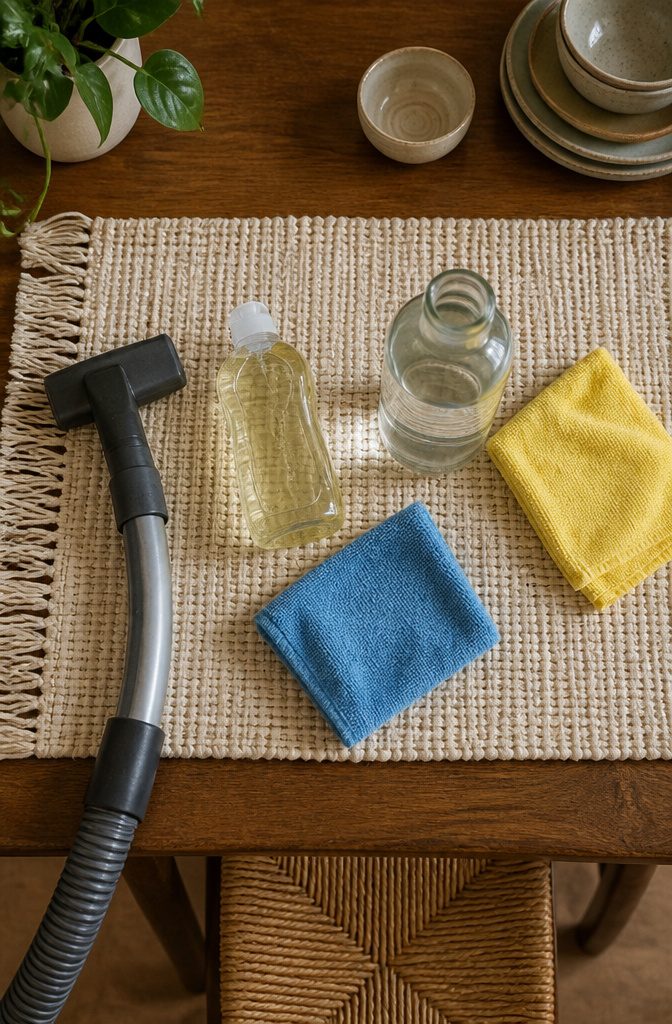
Most fabric dining chairs need only a handful of basics, though what you pull out depends entirely on the care label. Here’s what to have within reach:
- Vacuum with an upholstery attachment to pull crumbs and dust from seams
- Microfiber cloths, at least two, for blotting and wiping without scratching
- Mild dish soap for cutting grease and surface dirt
- White vinegar, the natural deodorizer that doubles on light disinfecting
- Baking soda for odors and gentle stain lifting
- Hydrogen peroxide, strictly for light fabrics and only after a spot test
- Soft-bristled brush or old toothbrush to work solutions into creases
- Optional: commercial upholstery cleaner or steam cleaner if the label allows it
I skip the steam cleaner about half the time. The care label decides that, not my optimism, and it saves me from a soggy afternoon I’d rather spend elsewhere.

Powerful Stain & Dirt Removal: Carpet Bomber is a high-performance carpet and upholstery cleaner that effortlessly lifts tough stains from fabric, vinyl, and upholstery. Designed to penetrate deep into fibers, it removes dirt, grease, and grime, restoring your vehicle’s interior to a like-new condition
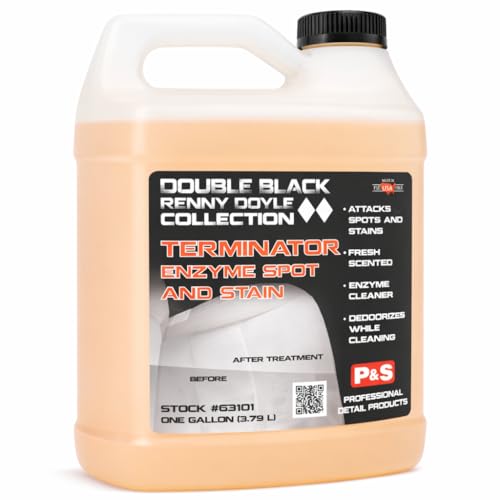
Powerful Stain-Fighting Formula: Terminator Enzyme Spot & Stain Remover penetrates deep into carpets and upholstery, attacking grease, oil, dirt, and protein-based stains at the source. Whether it’s food spills, pet stains, or ground-in grime, this powerful cleaner lifts contaminants for easy removal

Safe for All Interior Surfaces: Formulated to clean and restore every interior surface, Xpress Interior Cleaner is safe for leather, vinyl, plastic, rubber, wood, and fabric. Unlike harsh cleaners that can dry out or discolor materials, this gentle yet effective formula lifts dirt and grime while preserving the original texture and appearance
3. Vacuum Every Surface
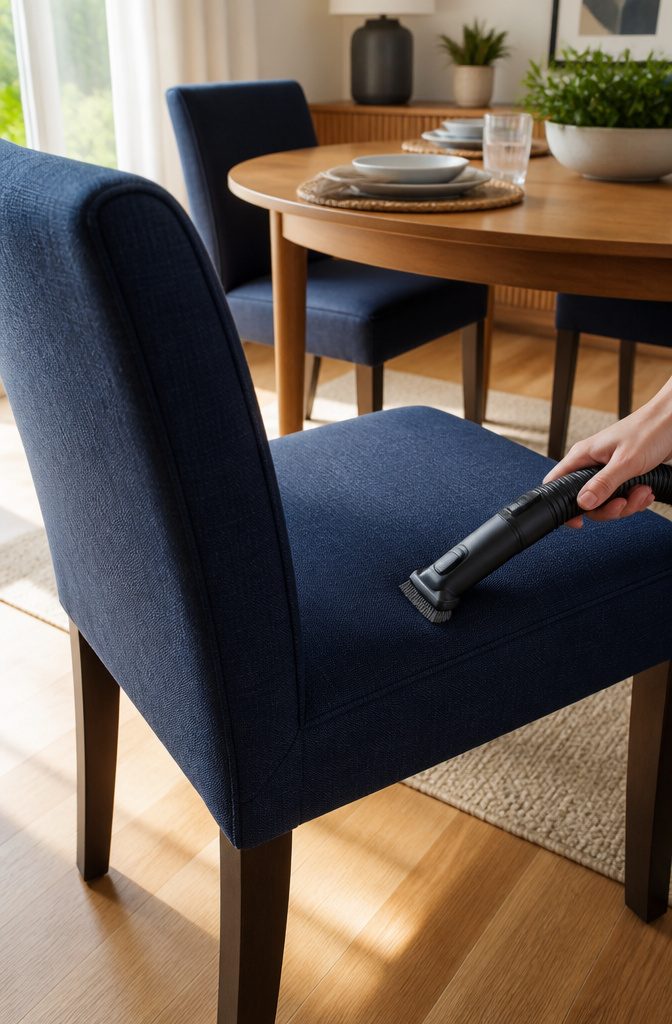
Grab your vacuum’s upholstery attachment and run it across every cushion from top to bottom, then flip anything removable and hit the underside too.
The seams and that narrow gap where the seat meets the back collect more than you’d expect. A crevice tool reaches the frame edges where crumbs wedge into corners.
This first pass matters more than most people think. Loose dirt turns to mud the second water hits it, which makes the rest of the job harder than it needs to be.
I learned to slow down on this step and save time later after watching a quick vacuum turn into a longer scrub on a chair that looked clean enough.

✅ Designed for D-shaped Connector ***Please check your vacuum models before purchasing***: Crevice tool attachment compatible with Shark cordless vacuum models including IX141, IX141H, IX140, IX140H, IZ140, IZ141, IZ142, IZ162H, IZ163H, IZ362H, IZ363HT, IZ462H, IZ483H, UZ145, UZ365H and more. Others DO NOT FIT

This unique vacuum crevice tool is designed with flexibility that provides side-to-side agility in tight areas, unlike most wet dry vacuum crevice tools that are hard and rigid
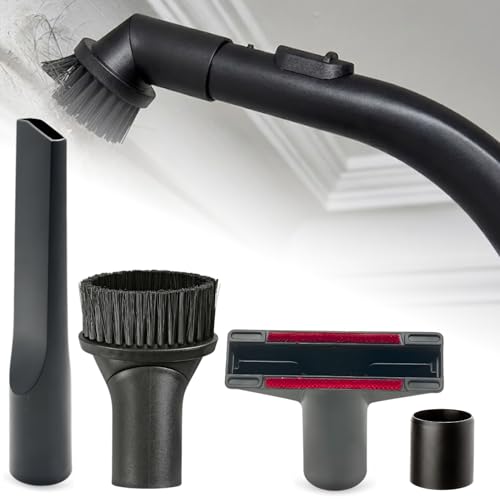
Package: This Miele vacuum attachment kit includes 4 vacuum accessories [1* crevice tool, 1* round dust brush, 1* upholstery tool, 1* adapter]. Designed for compatible Miele vacuum cleaners for everyday household cleaning.
4. Spot Clean Stains
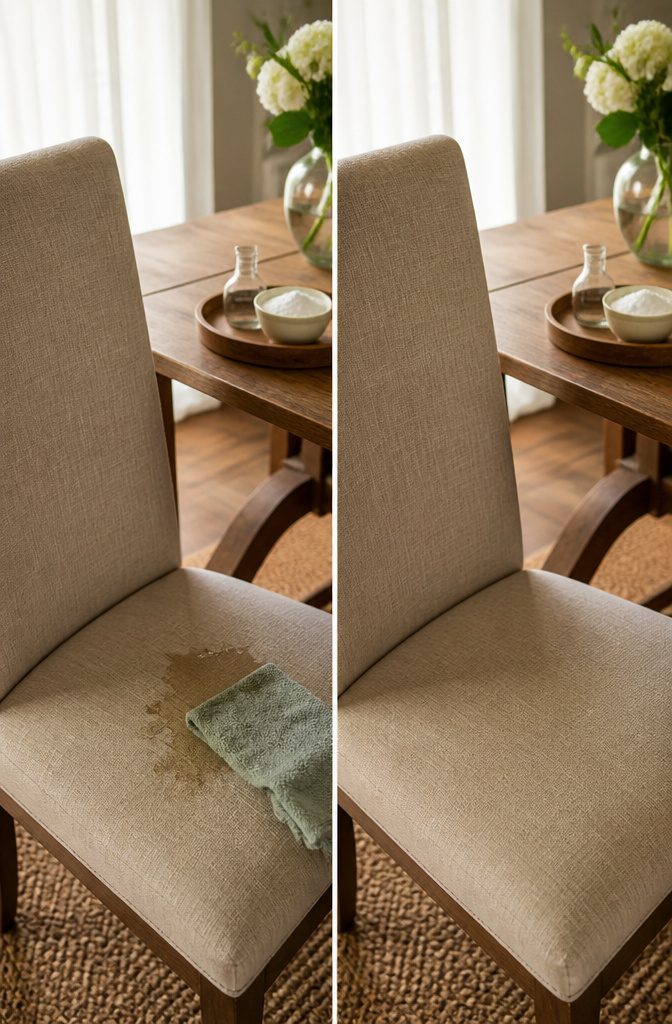
Fresh spills need blotting, never rubbing with a clean dry cloth; rubbing just pushes the liquid deeper into the weave and gives you a bigger mark to fix later.
For dried stains, the care label on your chair decides what cleaner is safe.
A W code means a drop of dish soap in warm water will do the job, while an S code needs a solvent-based commercial cleaner instead. SW fabrics are the flexible ones, either approach works.
Work from the outside of the stain inward, especially on larger spots. That way you are not accidentally spreading the discoloration into clean fabric as you lift it.
Grease stains are their own category. Cornstarch or baking soda goes on first, left to sit for 15 minutes to draw the oil up, then vacuumed away before any liquid touches the spot.
Skip that dry-absorb step and you risk setting the grease deeper when the wet cleaner hits it.

10x GRIP-ROOT WEAVE - TRAP MORE, WORK LESS: Ultra-absorbent microfiber towels for car Grip Root weave works like PLANT ROOT FOLLICLES, sucking up & LOCKING AWAY 8x to 10x its weight in liquid, particulates, moisture, grime and dirt in far LESS TIME than traditional ‘Heavy Duty’ Cleaning Rags. Each towel features a 2.5mm thick design, providing enhanced durability and better grip during use.

Easy Handling Size: Each microfiber cleaning cloth measures 14" x 12", offering just the right size for comfortable use in kitchens, bathrooms, and more. Whether you’re wiping counters or polishing surfaces, these wash cloths help you get the job done efficiently.

Premium Materials: Extremely high-quality, soft, microfiber material absorbs and removes dust, oil, smudges, fingerprints, and dirt. Leaves no scratches, streaks, marks, or lint. Makes the perfect stocking stuffers for adults, men, women, him, her, teens, and more.
5. Rinse the Soap Out
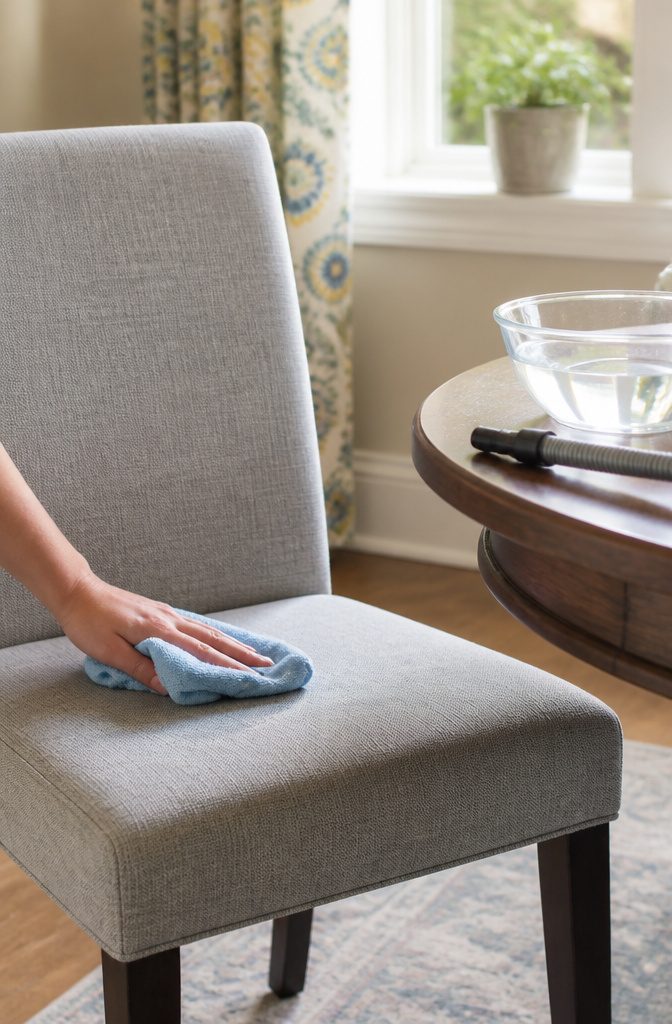
Any soap left in the fabric will grab dust and oils the next time someone sits down, so the rinse pass matters more than people think.
The cloth should be damp, not wet; wring it until it stops dripping, then work it over every patch you soaped.
I change my rinse water the second it goes gray, because a dirty cloth just moves grime around instead of lifting it.
You’re done when the surface feels clean to your fingertips, not slick or tacky. That last residue check saves you from a darker patch showing up a week later.

365 by Whole Foods Market products give you that dance-down-the-aisles feeling, virtual aisles too! Our huge range of choices with premium ingredients at prices you can get down with makes grocery shopping so much more than tossing the basics in your cart.

One gallon of Distilled Water

Distilled Water When You Need It: Pure Life’s Distilled Water helps prevent mineral buildup, making it ideal for multiple uses, including in household appliances that require distilled water to run at peak efficiency. One 1-gallon jug.
6. Dry Before Anyone Sits
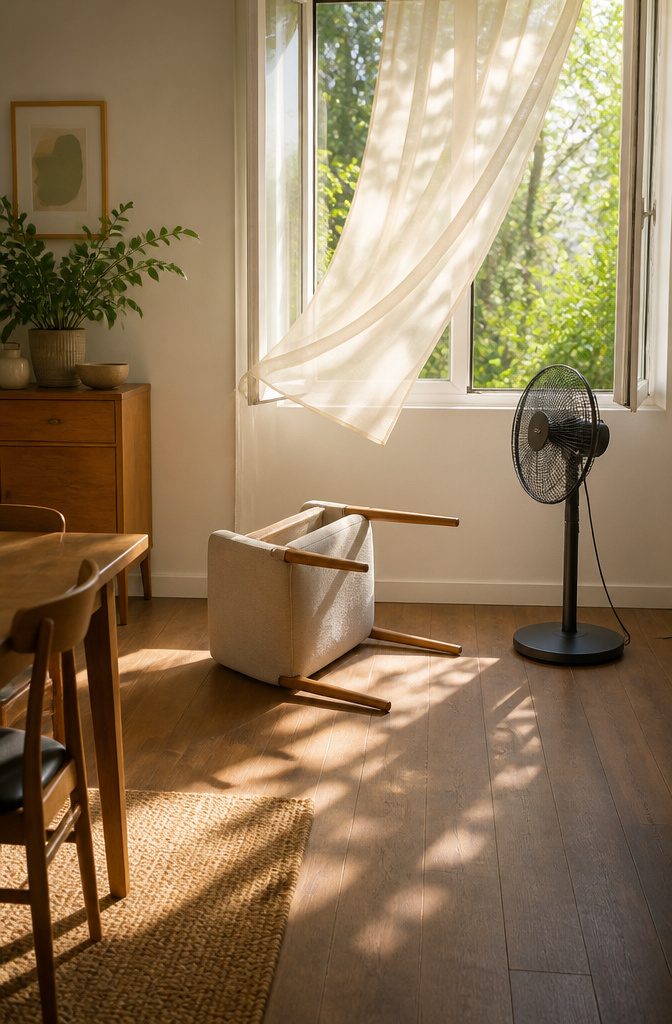
Air needs to move through the room while your chairs dry. No direct heat — a hair dryer set to hot can shrink the fabric or lock in water marks that looked like they’d lift when wet.
I crack a window across from the door so a breeze crosses the room, or I aim a standard fan at the chair if the day is still.
Cushions dry faster propped on their side or edge. Air circulates along the flat sides instead of pressing against one wet face.
Most fabrics feel dry to the touch in an hour or two, but that’s not the finish line. Thicker weaves and foam cores can take overnight.
The surface can feel fine while the padding underneath stays damp, and damp padding is what invites mildew. Give it the extra time even when the top layer says it’s ready.

Removes Both Oil & Water-Based Stains

StainLift Technology. Lift and remove deep down dirt, stains and odors.

Powerful Cleaning (CWS21916SW) - Ready-to-use Chemical Guys fabric cleaner spray breaks down dirt, grime, and stains from carpets, seats, and floor mats while leaving behind a fresh citrus scent for a clean and revitalized interior
7. Remove Odors With Baking Soda
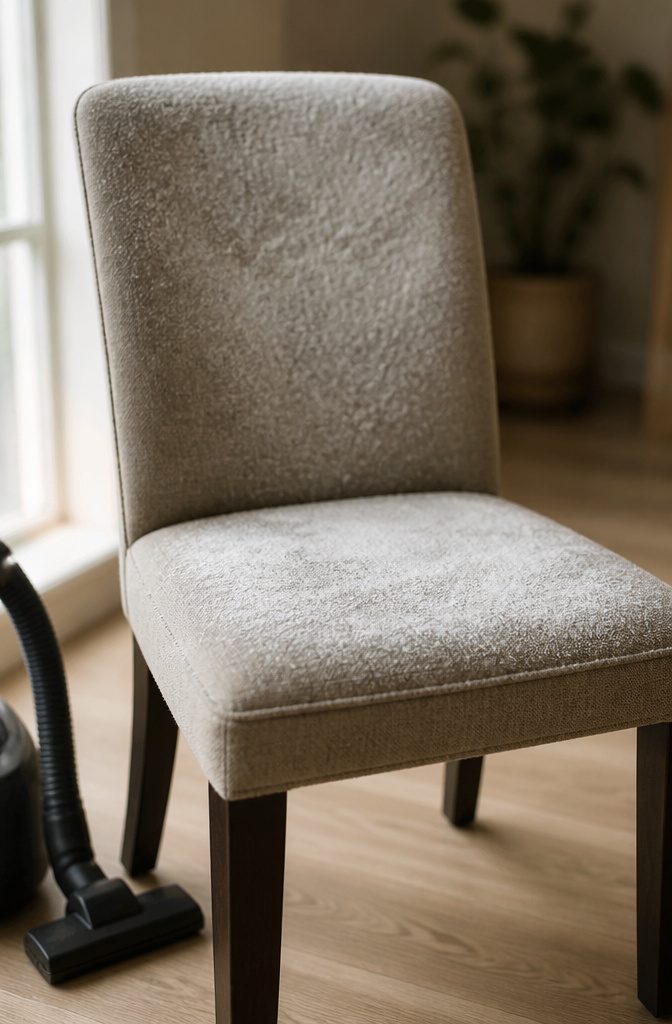
Baking soda is the cheapest odor insurance in your kitchen, and it works on fabric chairs the same way it works in your fridge.
A thin layer across the seat and backrest gives the sodium bicarbonate time to absorb the smell rather than mask it.
Fifteen to thirty minutes handles everyday mustiness; if your chair lives near the stove and has absorbed years of cooking grease, or if the dog has claimed it as a secondary bed, you’ll want the overnight treatment.
Vacuum thoroughly afterward, creases included. The powder that stays behind becomes its own kind of grit.
For the really stubborn cases, one round of baking soda before bed, a second light sprinkle in the morning, and then vacuum once more does what a single pass can’t.

QUICKLY ATTACKS GREASE, OIL, DIRT AND FOOD RELATED SPOTS AND STAINS. The ideal upholstery cleaner!

Powerful Stain & Dirt Removal: Carpet Bomber is a high-performance carpet and upholstery cleaner that effortlessly lifts tough stains from fabric, vinyl, and upholstery. Designed to penetrate deep into fibers, it removes dirt, grease, and grime, restoring your vehicle’s interior to a like-new condition
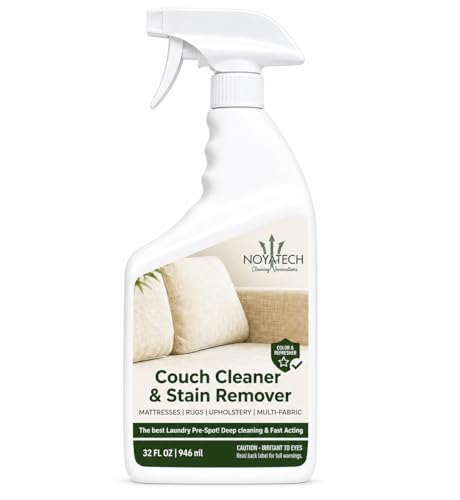
Lifts tough stains fast - spray on, let it dwell 30 to 60 seconds, then blot; make a second pass on set-in spots.
8. Deep Clean With Steam
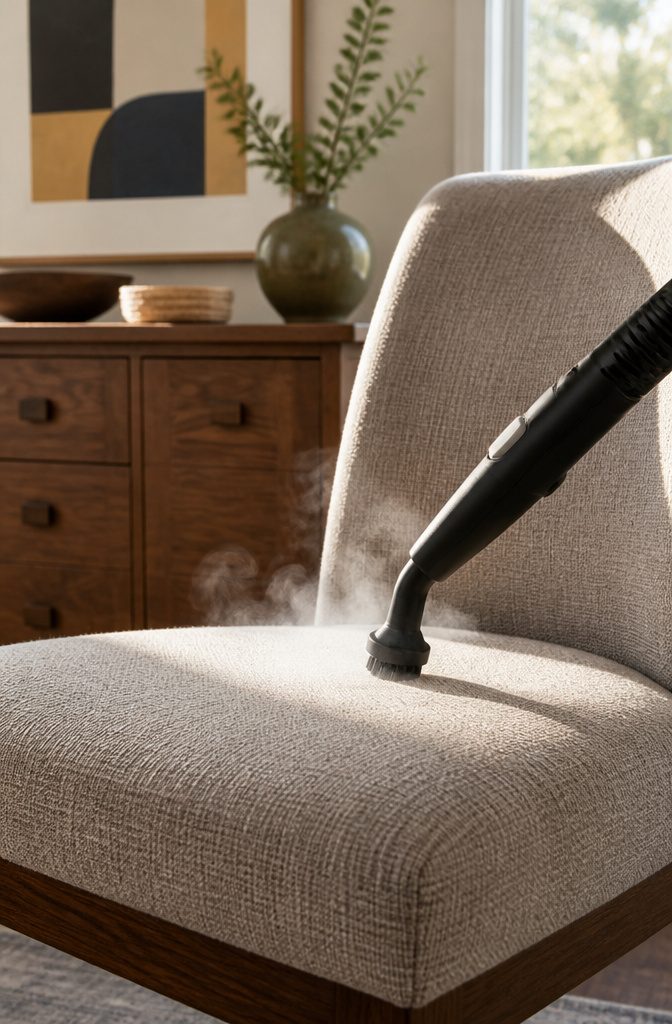
Steam cleaning is for chairs tagged W or SW only. If your label reads S or X, skip this step entirely; water and steam will damage those fabrics.
I rent a handheld upholstery steamer a couple of times a year, though home improvement stores rent larger machines if you have a full set to do.
Either way, the method is the same: keep the nozzle moving in slow, consistent motions and never let it sit in one spot. Oversaturation is the mistake that stretches fabric or leaves water stains.
Test on an unseen corner first, even on a forgiving cotton blend.
Steam can shift dyes that looked stable. What you are looking for is colorfastness, any shrinkage, or distortion in the weave.
The payoff is real: steam kills dust mites and lifts ground-in dirt that spot cleaning barely touched. But it is not universal.
Delicate weaves, silk, or vintage fabrics can tighten or felt under heat and moisture. When I see a chair with age-fragile fibers or an heirloom label, I stop here and stay with vacuuming and gentle spot work.

LIGHTWEIGHT HANDHELD VACUUM CLEANER: The Dirt Devil Scorpion Plus Handheld Vacuum quickly tackles dust, debris and dirt whenever and wherever you need – from floors to stairs, couches and more.

A wet dry vacuum crevice tool lets a user gets into tight spaces

This Shop-Vac Flexible Crevice Tool is used to allow for easy collection of dust and debris in tight, hard-to-reach areas
Water-Based vs. Solvent-Based Cleaners
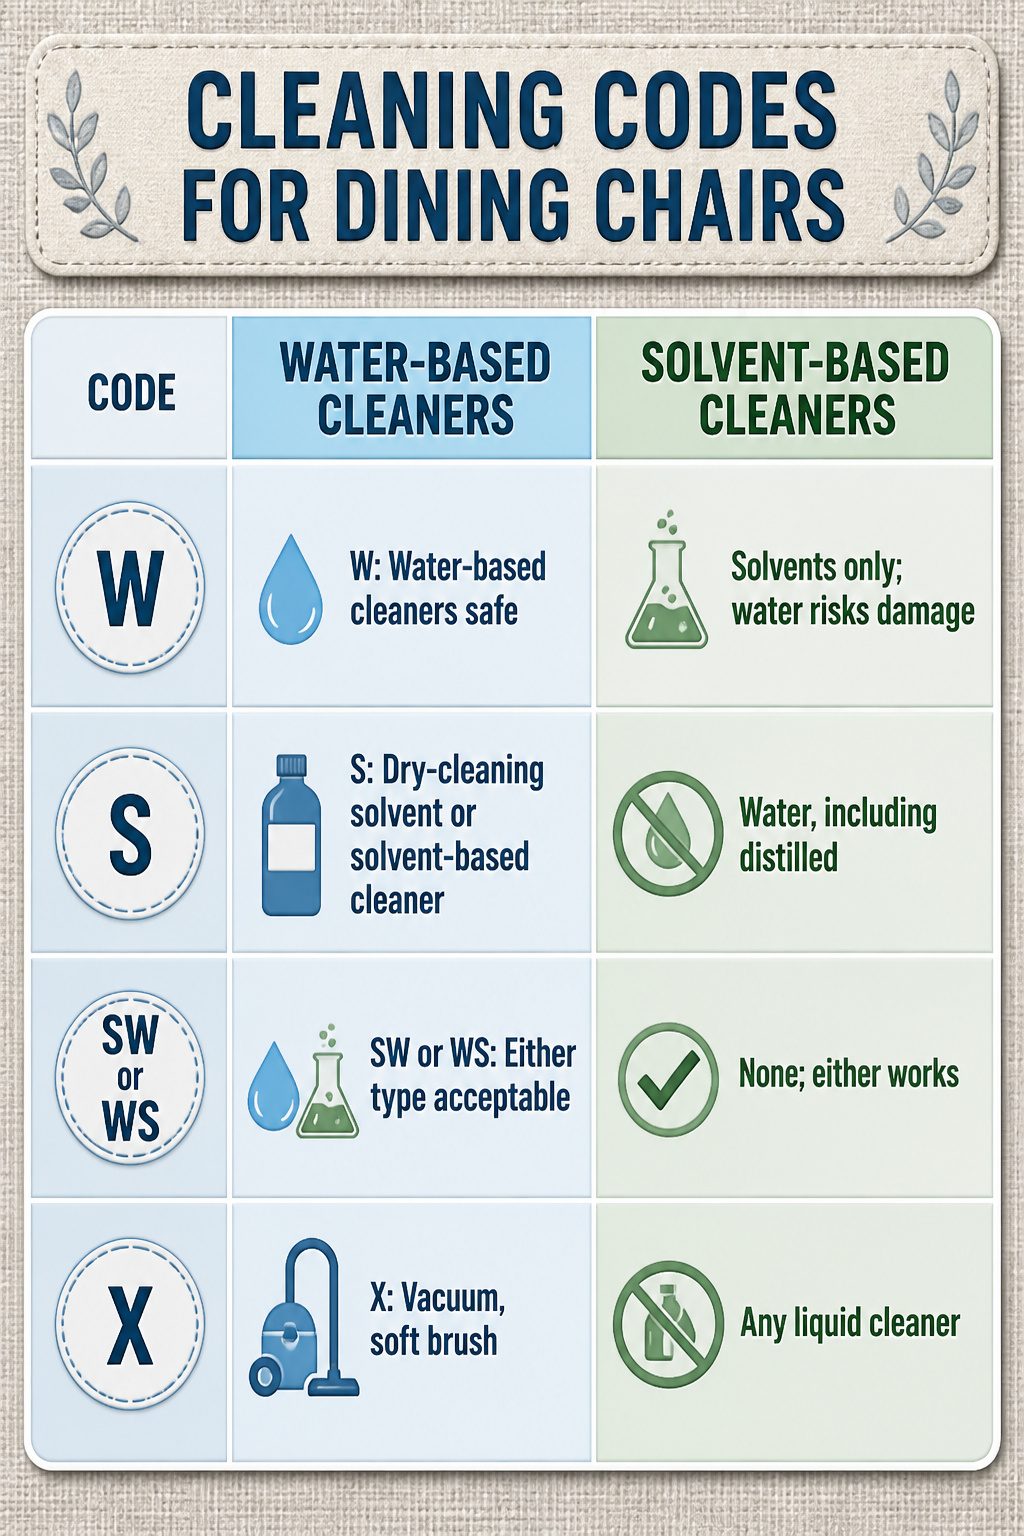
Most dining chairs carry a small tag with a cleaning code that decides everything about what happens next. **W means water-based cleaners are safe.
S means they are not; water can leave rings, cause shrinkage, or distort the fabric.** X means no liquid at all, only vacuuming or brushing.
SW, or sometimes WS, gives you either option. Solvent-based cleaner on a W-coded fabric works but is harder to rinse and harder on your lungs, so you are solving a problem you do not have.
If the tag is gone, test any cleaner on a hidden corner first. Distilled water matters for light fabrics prone to mineral staining.
| Code | Meaning | Use This | Avoid |
|---|---|---|---|
| W | Water-based cleaners safe | Water-based upholstery cleaner | Solvents |
| S | Solvents only; water risks damage | Dry-cleaning solvent or solvent-based cleaner | Water, including distilled |
| SW or WS | Either type acceptable | Either water-based or solvent-based cleaner | None; either works |
| X | Vacuum or brush only | Vacuum, soft brush | Any liquid cleaner |
I used to guess based on whether a fabric looked delicate. Cotton-polyester blends fooled me; an S-coded chair I owned handled a water spot badly enough that I learned to flip the cushion and check the tag every time.
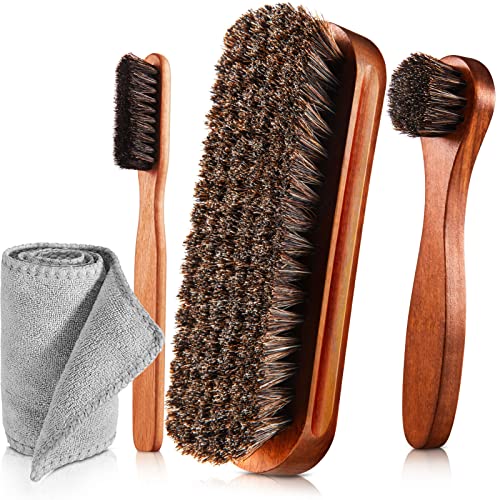
Shoes Shine Brush Set - There are 1 x large size shine brush, 1 x long handle horsehair brush, 1 x detailing shoe brush and 1 x microfiber buffing cloth
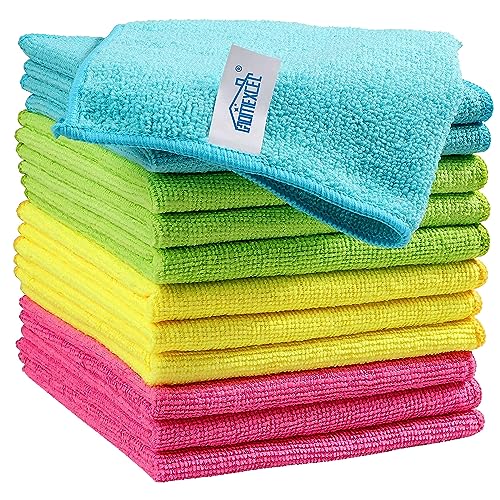
Effective Streak-Free Cleaning: Clean kitchen countertops, windows, mirrors, bathroom surfaces, stainless steel, car interiors, glass, and other delicate surfaces with just water or your favorite cleaner—these microfiber cloths deliver streak-free, neat results with minimal effort, making daily cleanup fast and simple

[Cotton-Like Microfiber for Gentle Steam Cleaning]: Designed with a cotton-like microfiber texture that feels soft and flexible under steam. Ideal as everyday accessories for Bissell Steam Shot, it helps lift dirt and residue without scratching sealed surfaces, making steam cleaning more comfortable and controlled
What Different Stains Need
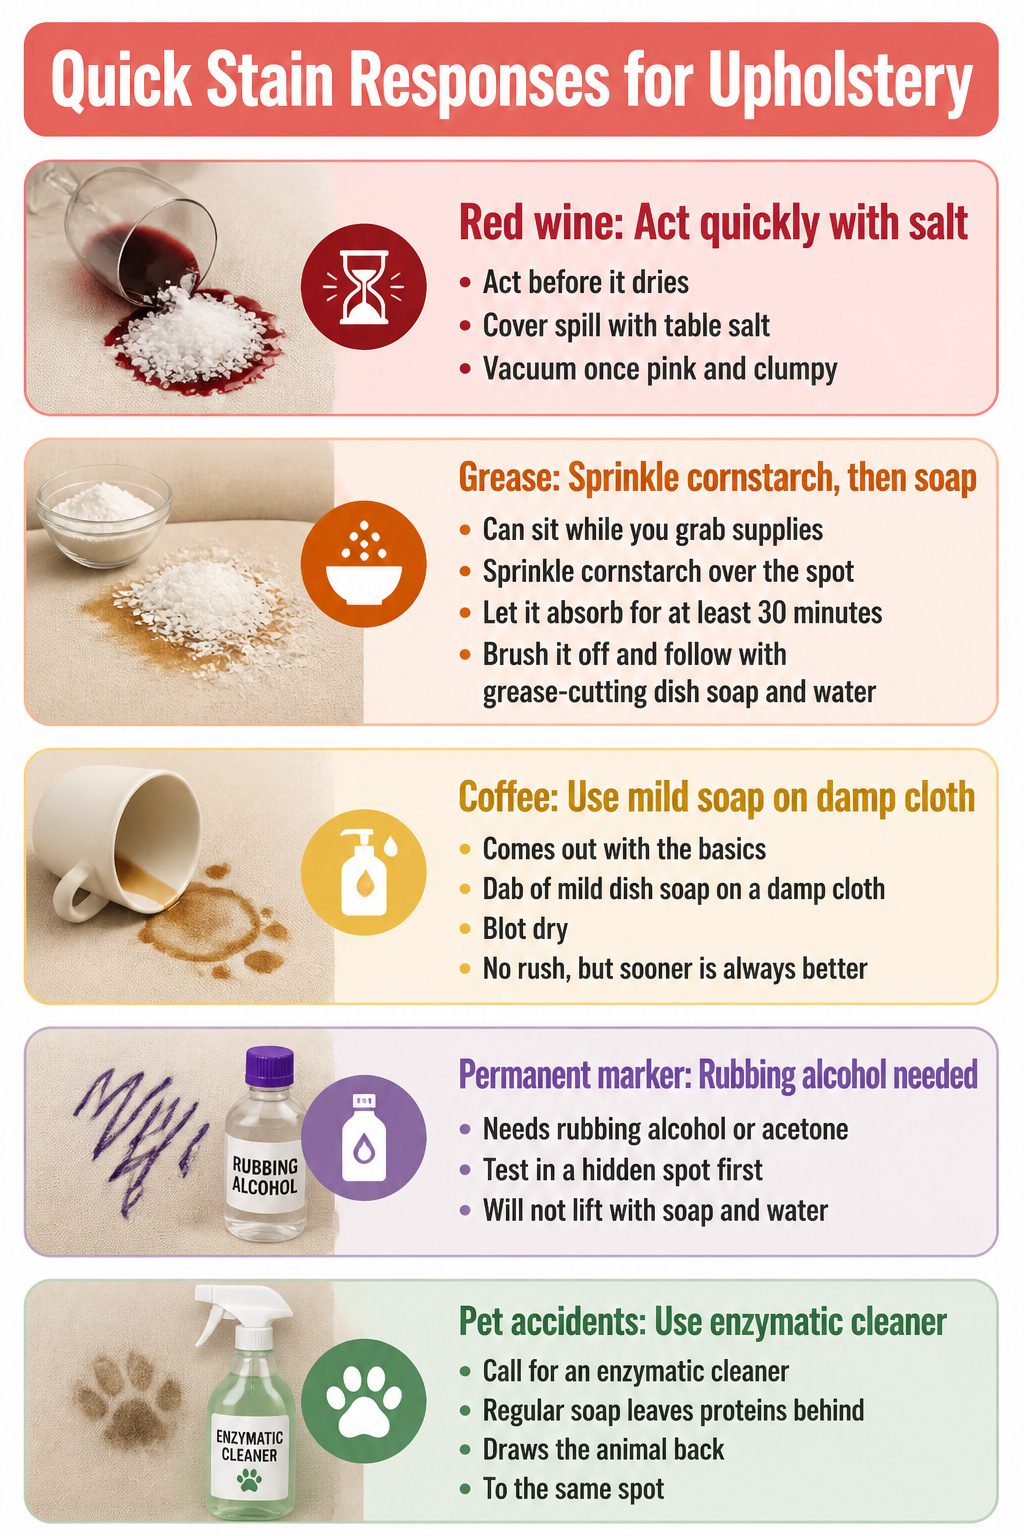
Not every stain plays by the same rules, and the first thing you reach for matters. Here’s what works, what can wait, and what needs you on your feet right now.
- Red wine needs action before it dries. Cover the spill with table salt to draw the liquid up, then vacuum once it turns pink and clumpy.
- Grease can sit while you grab supplies. Sprinkle cornstarch over the spot, let it absorb for at least 30 minutes, then brush it off and follow with grease-cutting dish soap and water.
- Coffee comes out with the basics: a dab of mild dish soap on a damp cloth, then blot dry. No rush, but sooner is always better.
- Permanent marker needs rubbing alcohol or acetone, though you will want to test in a hidden spot first. This one will not lift with soap and water.
- Pet accidents call for an enzymatic cleaner. Regular soap leaves proteins behind that draw the animal back to the same spot.
If you’re choosing between a paper towel blot and the right powder, pick the powder.

so whenever you’re on the move, working out, or need a quiet moment for yourself, smartwater is a smart way to hydrate.

Pure Life Distilled Water, Kosher, 128 Fluid Ounce (Pack of 6)

Premium Quality: Snugell takes pride in providing the highest quality distilled water. Our purification process removes impurities, minerals, and contaminants, leaving you with a reliable and pure water source.
Keep Them Clean Longer
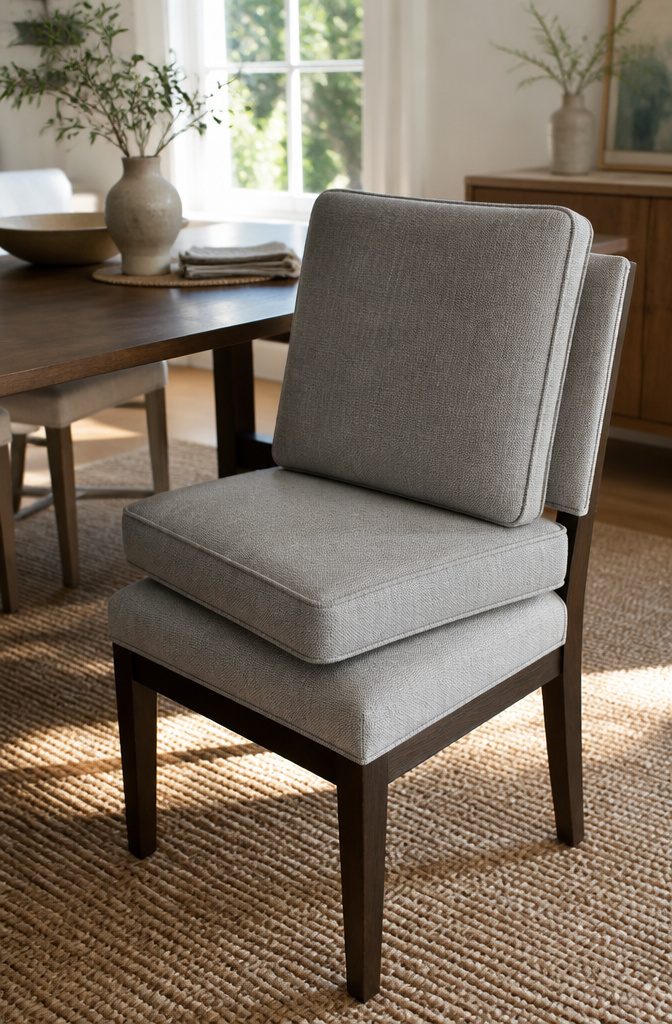
Cushions wear out in the same spot if they never move, so I flip and rotate mine monthly. That five-minute habit keeps the fabric from thinning on one side and the foam from compressing into a permanent dip.
Vacuuming the seats and backs once a month pulls out the grit that abrades fibers over time.
When something spills,Same-day spot cleaning keeps a surface stain from becoming a set-in problem; the longer it sits, the more likely it is to stay.
After a full clean, a stain guard treatment adds a barrier that lets you wipe up the next spill before it sinks in.
The fabric needs to accept it, so test a hidden corner first, and plan to reapply once a year. A $10 can lasts through several chairs and costs less than replacing a seat cover.
Loose screws on the frame let the fabric sag, and sagging fabric traps crumbs you cannot reach with a vacuum. I check the underside of my chairs every few months and tighten anything that wobbles.
These small habits matter more than any yearly deep clean.
When to Call a Pro
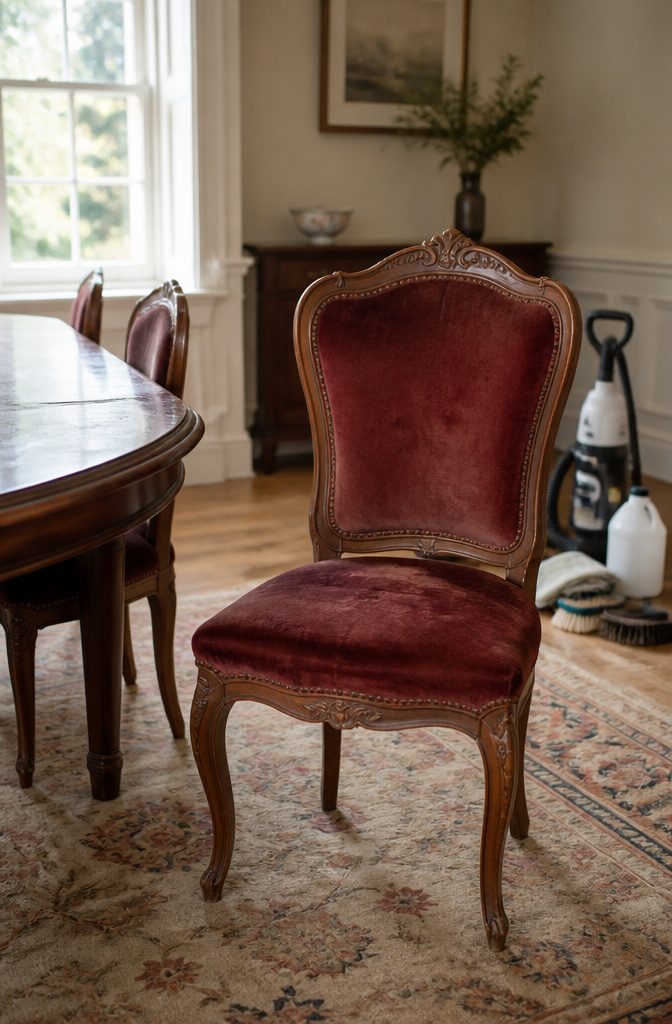
A professional extraction clean runs $50–150 per chair depending on your city, which beats replacing the fabric entirely.
That math becomes obvious fast when you’re staring at antique wood frames, silk or velvet upholstery, or springs that sag because the structure itself has shifted.
I draw the line at structural damage, personally. You can clean all you want, but if the frame or cushion filling has deteriorated, you’re treating symptoms.
Stains that have set for months are another place where home effort runs out of road.
Musty or contaminated cushions need sanitizing, not just surface cleaning, and the chemical treatments or steam extraction that shift them require equipment most of us don’t keep around.
Same for heavily soiled heirlooms where the wrong water ratio or brush pressure turns restoration into ruin. Knowing when to stop keeps the chair alive.
Frequently Asked Questions
What is the fastest way to clean dining chair cushions?
Thoroughly vacuum both sides with an upholstery attachment to pull out loose dirt, hair, and debris, then spot clean any visible stains with the right cleaner for your fabric code.
This two-step pass takes minutes and prevents grime from turning to mud when wet. Skipping the vacuum first is what turns a quick job into a longer scrub.
Can you put dining chair cushions in the washing machine?
It depends on the material; check the cushion tags or chair care label first for instructions.
Some removable covers may tolerate a delicate cycle, while others must be hand washed to avoid damage from agitation. The tag on the underside of the seat or tucked into a back seam tells you what the fabric can handle.
How do you sanitize dining chair cushions?
Wash removable cushion covers or spot clean fixed cushions with a sanitizing laundry detergent that contains antibacterial agents.
If your detergent lacks them, mix half a cup of bleach into one gallon of water, apply it, and rinse thoroughly so residue does not linger in the weave.
Always check that your fabric code allows water-based treatment before using any liquid solution.