


I always start by killing the power at the breaker. Safety first, no exceptions. Then I let fixtures cool down while I grab a soft brush and sweep off loose dirt and cobwebs, dry.
Water comes next, but I keep it gentle on metal housings and barely damp around glass. For that showroom shine, I apply tire shine to a cloth, not directly, and buff metal until it gleams. Dry everything thoroughly, flip the power back on, and your yard lights up like new. There’s a trick to keeping that glass spotless too.
Turn Off Power and Let Outdoor Fixtures Cool
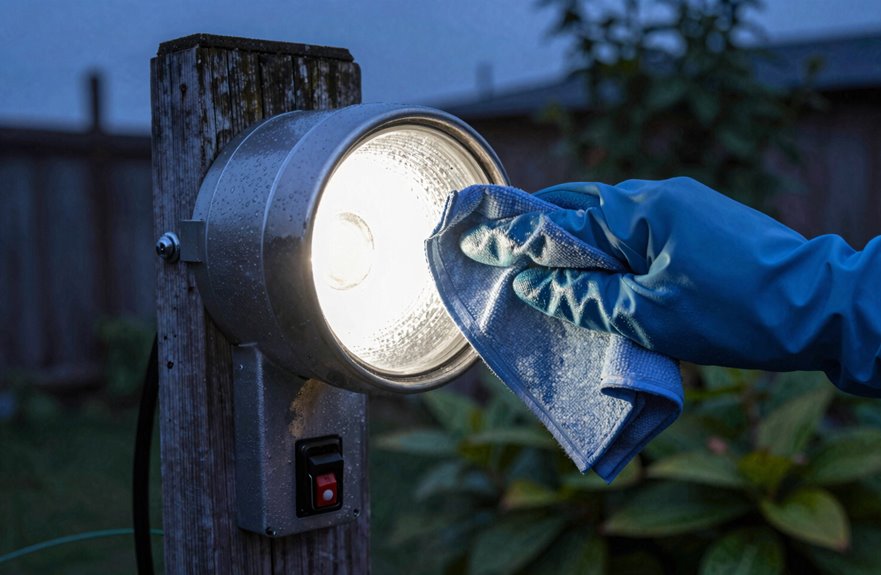
Before I even think about grabbing a rag, I head straight for the breaker box and flip off every outdoor lighting circuit I can find. Safety’s not optional, it’s step one, and I’m not taking chances with electricity near water.
Those outdoor lighting fixtures get hot. If they’ve been on recently, I give them time to cool down completely. Metal surfaces can burn you fast, and heat plus cleaning solution creates a recipe for warped parts or damage.
I always plan my cleaning for daylight hours anyway. Better visibility means I won’t miss grimy corners, and I can spot problems early. While I’m waiting for things to cool, I do a quick inspection. I check for loose connections, frayed wires, or anything that looks off. Catching problems now prevents failures later.

EXTENDABLE CONVENIENCE: Discover our duster kit with a telescoping 100-inch pole. Swap heads for flexible indoor and outdoor use. Effortlessly clear high areas like ceilings and fans, plus tough spots like vents

MULTI PURPOSE USE: Tires, car, truck, grills, spokes, bumpers, wheel well, concrete, decks, house, pots
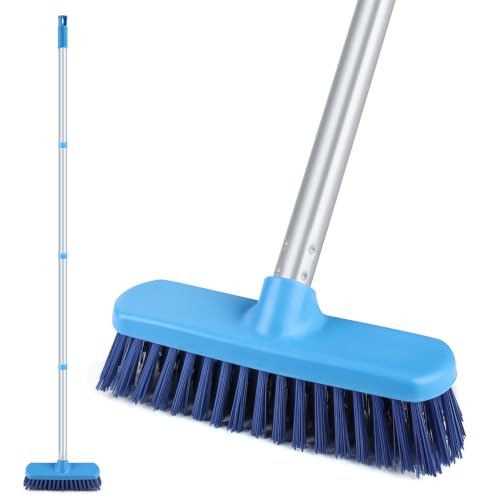
Scrub Brush with Long Handle: The shower cleaning brush consist of stainless steel pole and PP material brush head. The shower srubber brush length with 4 metal iron poles that can be adjusted from 16 inches to 50 inches as you want. Don't need bend or squat down yourself while cleaning
Brush Away Loose Debris Before Using Water
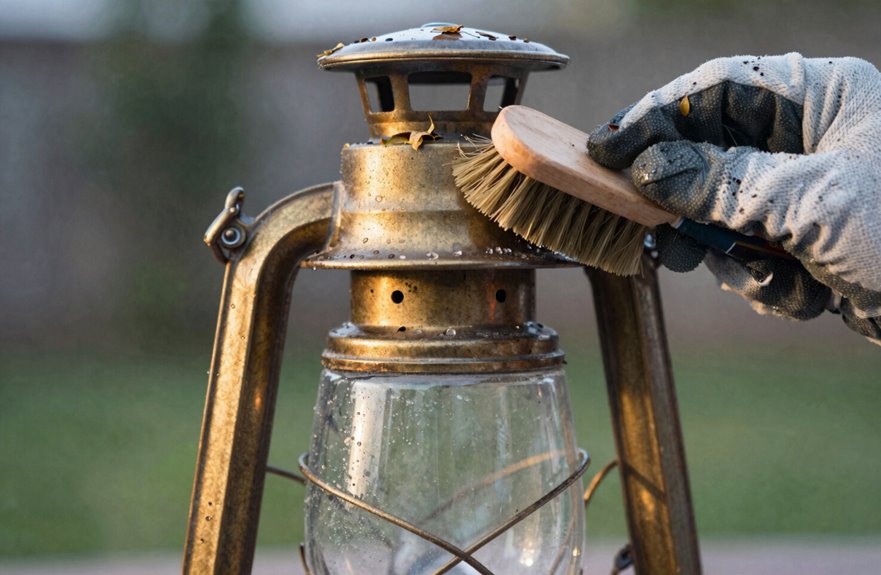
A dry brush is my go-to starting tool for this job. I grab a soft-bristled brush and sweep away loose dirt, cobwebs, and grit from my exterior lighting fixtures. I do this before any water touches the surface.
I always start with the metal housings first, then move to the glass. Dry debris comes right off, and I’m not trapping that grime against delicate surfaces later. Watching years of dust fall away makes this step worthwhile.
This simple step prevents muddy runoff during washing and keeps me from accidentally scratching the glass when I scrub. I’m also prepping my exterior lighting for the real cleaning ahead; soap and mild cleaners will handle the rest. Four minutes of brushing now prevents problems during the scrubbing phase.
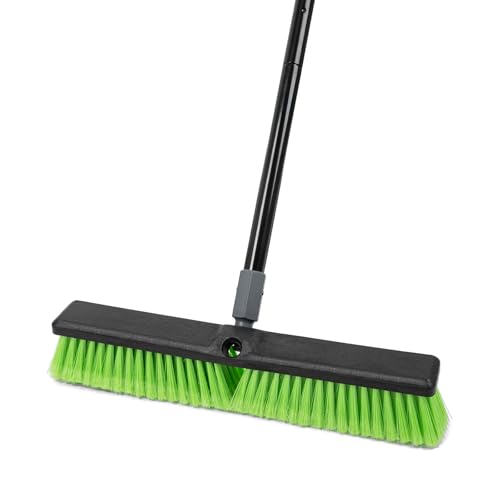
Soft Bristle Indoor Push Broom- The KalTell smooth surface push broom outdoor features soft polypropylene flagged fibers designed for picking up light debris such as lightweight dirt, sawdust, spackling powder and more. Perfect for a variety of surfaces, such as tile, sealed concrete and other hard flooring.

Two shoe brushes with soft and hard bristle, sealed in one plastic bag

Ergonomic Design: The peanut-shaped wood body of this hand scrub brush offers an ergonomic grip, ensuring comfortable use during extensive cleaning sessions. Ideal for those seeking a reliable bristle brush for cleaning various surfaces efficiently.
Clean Metal Housings Without Streaks or Drips
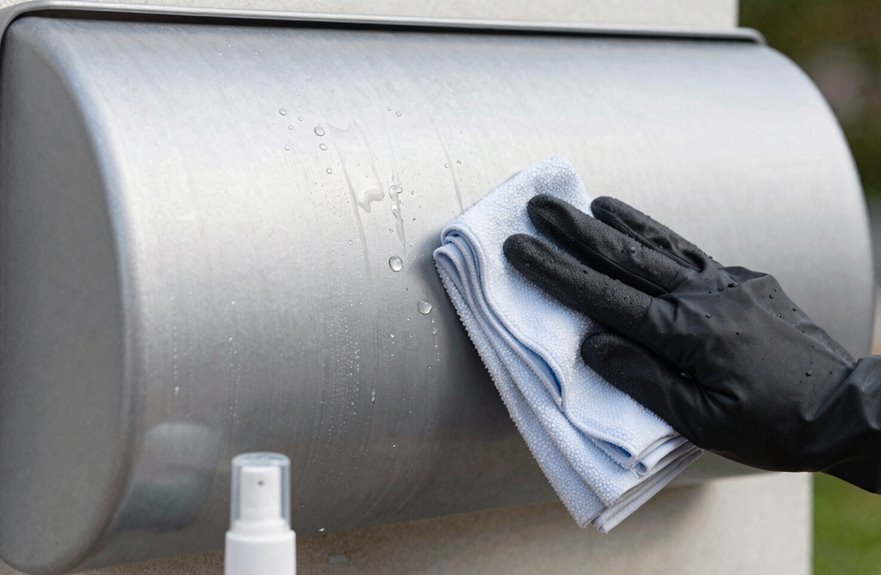
Metal housings are where I focus my real elbow grease, and I’ve got a trick that sounds weird until you see the results. I spray tire shine on a cloth, not directly on my outdoor lights, then wipe the metal housing smooth. No drips, no streaks, just shine, and I keep it far from the glass.
Before I even start, I brush off loose dirt and hose the top quick. That way, I’m not rubbing grit around like sandpaper. WD-40 works too, but I’m careful, keeping liquid off glass so nothing runs and streaks.
I finish with a soft, lint-free cloth, buffing till it’s dry. This prevents streaking and maintains the shine on your outdoor lights.
Your outdoor lights will look brand new with this method.

Super Absorbent & Multi-Purpose – Ultra-absorbent and soft to the touch. Perfect for dusting, shoe polishing, staining wood, painting, seasoning, and more.

MADE IN THE USA - Proudly made right here in the USA at our Wisconsin headquarters, Flitz delivers unbeatable quality you can trust. Our 400 GSM microfiber towels for cars are streak-free and lint-free, delivering reliable performance with every wipe
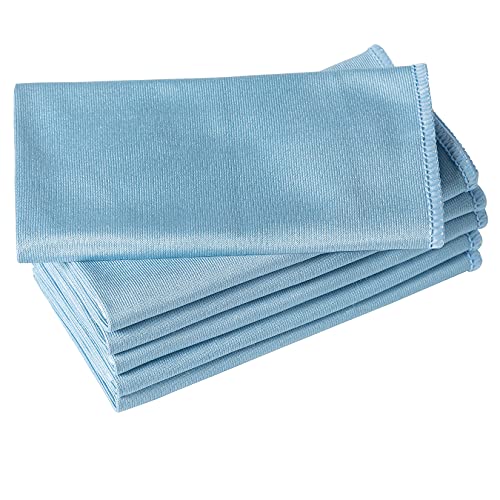
ABSORBENT & FAST DRYING - Microfiber material provides super absorbent water ability of the cloths makes quick drying large surface. They deliver extreme absorbency, so at the same time ensure quick drying.
Apply Automotive Tire Shine for Lasting Metal Polish
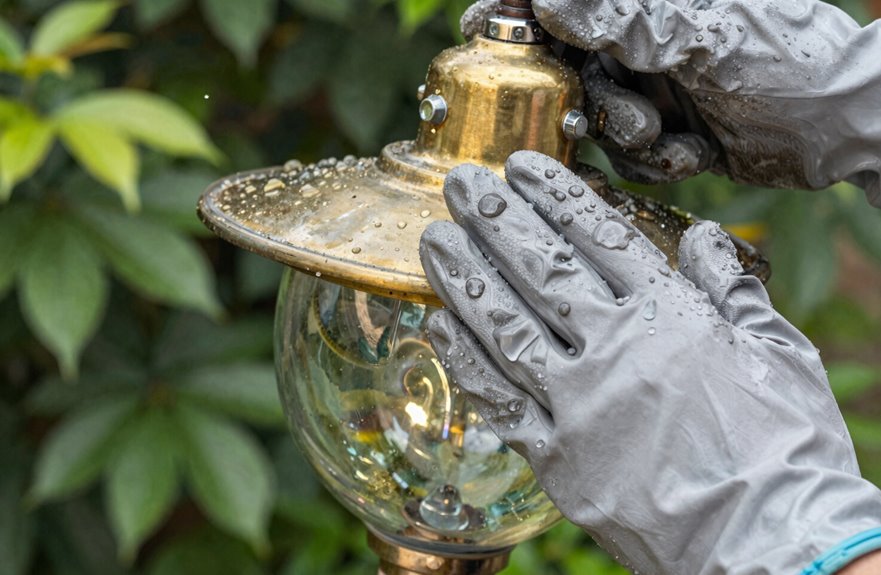
Why does tire shine work so well on outdoor lights? It’s the drip-free solution your fixtures deserve.
After brushing off loose dirt, spray tire shine directly onto those metal housings while avoiding the glass completely, or you’ll get hazy residue. No water needed, no taking anything apart. Just wipe, shine, done.
Your outdoor lighting fixtures look renewed, almost like you swapped them out for new ones. It stays put better than WD-40 ever could. No drips running down your siding, no mess.
This quick transformation delivers visible results. You’re part of a smart crowd who knows automotive products aren’t just for cars.

HIGHEST GLOSS TIRE SHINE: Synthetic polymer chemistry allows this tire shine spray to deliver our highest gloss tire shine. Your tires deserve the ultimate treatment which is possible with Meguiar's Ultimate Insane Shine Tire Coating.

LONG-LASTING CERAMIC PROTECTION - A true ceramic tire coating, not a wash-away spray. On clean, dry tires, it holds a clean satin-black finish up to 10x longer than ordinary tire sprays and dressings, so you reapply less often.
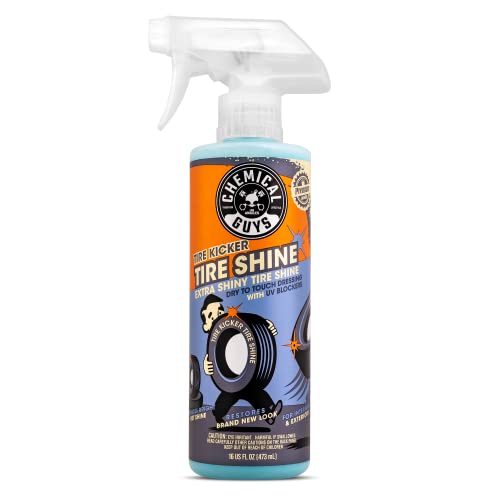
TIRE KICKER TIRE SHINE (TVD11316) – Sprayable tire dressing restores a deep, wet look to rubber, vinyl, and plastic surfaces while helping to protect against fading, cracking, and discoloration from the elements
Shield Glass Panels During Cleaning
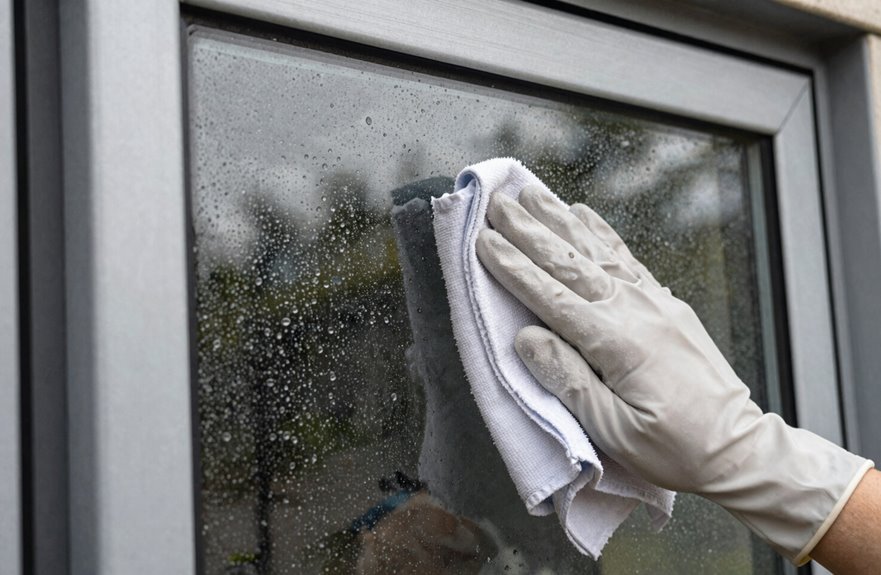
When you’re tackling outdoor lights, glass needs its own game plan. I’ve scratched too many glass panels rushing through, and you’ll want to shield yours from the start.
I always hose the top first, letting gravity do the work. Keeps water from sneaking into places it shouldn’t. Then I hit the metal with my soapy mix, working around those delicate glass panels like they’re precious cargo.
For the glass itself, barely dampen your cloth. No direct spray, no soaking wet rags. Just gentle wipes, quick and careful. Soap residue is the enemy. It dries visibly, attracts dust, and forces you to clean again.
Dry everything fast, especially those glass panels. Water spots require additional cleaning sessions.

Two 32 fl oz bottles of Windex Concentrated Outdoor Glass Cleaner are perfect for cleaning windows, patio furniture, brick and other outdoor surfaces

EASY TO USE HOSE END WINDOW CLEANER: the powerful sprayer attaches to any garden hose to mix and dispense a pro-strength cleaning solution

EASY TO USE HOSE END WINDOW CLEANER: the powerful sprayer attaches to any garden hose to mix and dispense a pro-strength cleaning solution
Dry Outdoor Fixtures Fully Before Powering On
Once those glass panels are spotless, I get impatient. Water and electricity don’t mix. Let’s dry these fixtures properly.
Here’s my drying routine that keeps everyone safe:
- Grab a soft, dry cloth and hit every surface — lenses, metal, glass
- Get into nooks where water loves hiding
- Give it time in airy spots if moisture’s trapped inside
- Double-check housings before you even think about that switch
Drying isn’t rushing; it’s respecting the work we just did. Your fixtures lasted this long because someone cared. Be that someone. Wait it out, flip the switch, and enjoy lights that actually work.

【Classic & Practical Design】This large porch light features 4 clear glass panes, which can emit bright light and illuminate the place at maximum, creating a beautiful lighting atmosphere outside or inside. The design of the top handle makes the wall light fixture look less rigid and adds a modern flair. The outdoor wall light is open at the bottom for easy light cleaning and bulb replacement. The clear lamp shade can showcase your bulb of choice to create a stunning light outside your home.

HEAVY-DUTY CLEANING POWER: our floor scrubber brush equipped with stiff & Dense stainless steel bristles, scrub brush tackles stubborn dirt, moss, algae, and mold with ease, ensuring a thorough clean on tough surfaces like concrete, tile, and decks
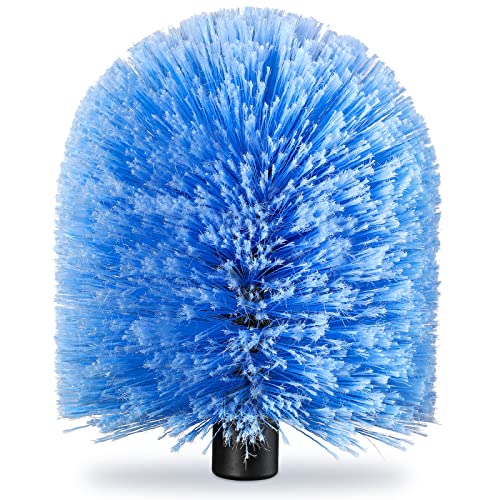
RECEIVED WITH FULL SHAPE: We designed a suitable-sized outer container that can completely protect the duster head from being deformed or smashed during transportation. And each product is hand-packaged to ensure that the shape remains full as the picture shows when you receive it.
Check Results: Are Your Lights Bright Enough Now?
The real payoff comes when I flip the switch and hold my breath. There it is, that glow spreading across my patio, warm and welcoming. I check brightness first thing, comparing it to what I remember, maybe even stepping next door to see how mine compares. If something feels off, dim or patchy, I note it right away. Gaps or hot spots mean I’ve missed a spot, or the lens needs tweaking. I jot down how it looks now so next season I have a baseline. When my lights shine right, I know my space is properly illuminated.

2-IN-1 SCRUB BRUSH: Scrub brush and scraper integrated design, you can clean the floor with the brush, then scrap the stained water with the scraper, improving effectiveness when you doing housework.
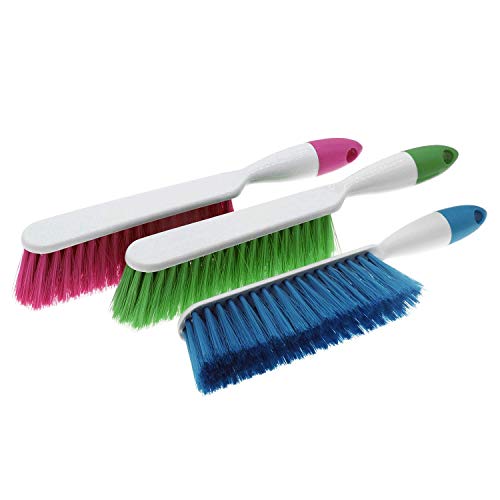
The dust removal brush is very suitable for cleaning clothes, beds,counter,furniture, cars, couch broom, and can also be used as woodworking brushes, fireplace brushes and keyboards.
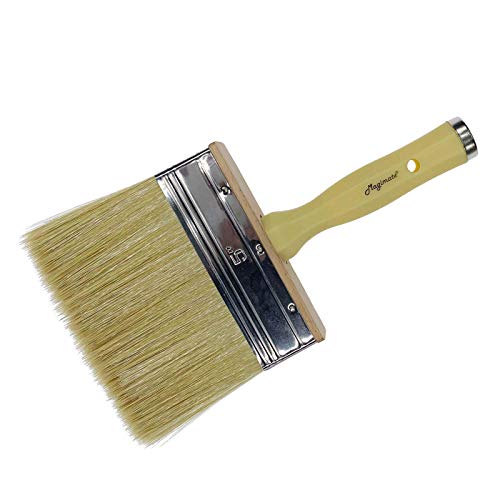
Brush Specs: 5” wide x 1” thick, soft synthetic filament blended with natural bristle. Hold more stain/sealer and paint smoothly, making your home improvement job a breeze.
Clean or Replace? When Maintenance Is Enough
I love how a quick scrub and some tire shine on the metal can make old fixtures look brand new, saving your cash for cooler upgrades like better spotlighting. You should watch for frayed wires, serious rust, or decayed housings, since those indicate replacement is actually the smarter, safer call. Knowing where to draw that line keeps your home looking sharp without investing in fixtures that are no longer functional.

Microfiber 16 x 12-inch cleaning cloth (24-pack); ideal for cleaning cars, trucks, boats, and more
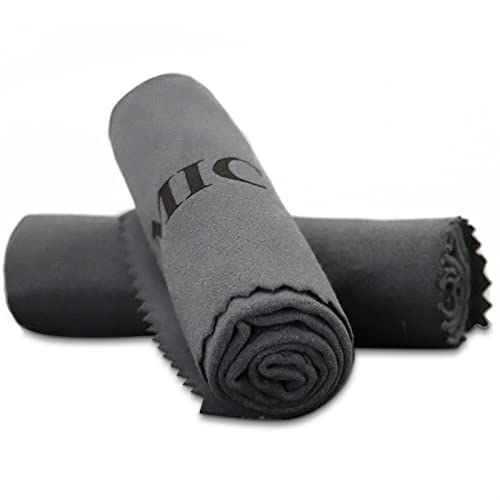
Cleaning & Polishing: Extend the life of guns and maintain high performance with the silicon cloth. Ideal maintenance for firearms, fishing reel, sporting equipment, metal tools and knives

Unparalleled Cleaning Performance: Our microfiber towels provide outstanding water absorption and adhesion; effortlessly absorb dirt and liquid, delivering exceptional cleaning results that will leave your car looking brand new
Signs Replacement Needed
How do you know when you’re just cleaning versus when you’re staring at a fixture that needs replacement? Regular inspections with solid maintenance tips help me spot the difference fast.
But sometimes, no amount of scrubbing saves a dying unit. Here’s when I pull the plug:
- Flickering or dimming that won’t quit after cleaning
- Frayed wires, water inside, or rust eating the housing
- Bulbs burning out constantly even with proper wattage
- Cracked glass, loose mounts, or breakers tripping repeatedly
If I’m fighting the same fixture month after month, I’m throwing good money after bad. Replacement is safer, smarter, and ensures outdoor lights that actually work without complications.
Maintenance Benefits Explained
Grabbing a soft cloth and some mild cleaner produces significant results: brighter light, better curb appeal, and fixtures that actually last. Outdoor lighting maintenance protects your investment.
I clean quarterly, especially spring and fall when pollen and debris accumulate. I always kill power at the breaker first; safety matters, and hot fixtures crack when touched. Different materials need different care: brass wants gentle polish, glass needs soft cloths, vinyl hates harsh chemicals.
Regular upkeep delays replacements, freeing cash for upgrades instead. You’re not throwing money at new fixtures; you’re making yours shine year after year. It’s a smart investment that maintains your property’s appearance over time.
Set a Seasonal Outdoor Lighting Maintenance Schedule
A solid seasonal schedule keeps your outdoor fixtures shining bright all year long, and it’s much easier than scrambling to fix problems after they happen. I stick to quarterly cleanings in spring, summer, fall, and winter, and bump up to monthly when pollen’s flying or leaves are dropping. Always flip the breaker first, as safety is non-negotiable.
A seasonal schedule keeps outdoor fixtures shining bright year-round, and it’s much easier than scrambling to fix problems after they happen.
Here’s my rhythm that keeps everything on track:
- Spring: Deep clean after winter grime and check for moisture damage
- Summer: Quick wipe-downs and trim back growing plants
- Fall: Frequent cleanings as debris piles up, plus inspect seals
- Winter: Light maintenance and plan any replacements needed
I time my cleanings with yard work days, so I’m already outside. This approach prevents dirt buildup and extends fixture lifespan without requiring extra time or effort.
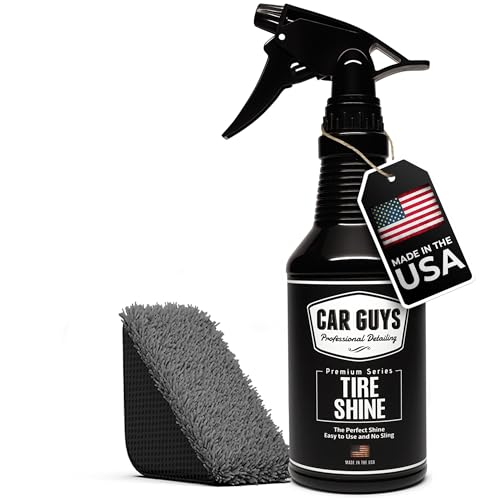
VERSATILE & EASY TO USE: Achieve your desired tire shine with CAR GUYS Tire Shine Spray! Whether you prefer a glossy, wet look or a smooth satin finish, our formula gives you complete control for the perfect finish. Dries to the touch, leaving no greasy residue or run-off, plus it comes with an easy-to-use applicator pad for precise application.

PROTECTS AND SHINES TIRES: One 16 oz bottle of Meguiar's Endurance Tire Gel and tire dressing with advanced macropolymers and copolymers that endure through washing and rain for a high-gloss car tire shine that lasts for weeks

[Tire Shine Spray]: 2-pack of Armor All Tire Shine Spray