
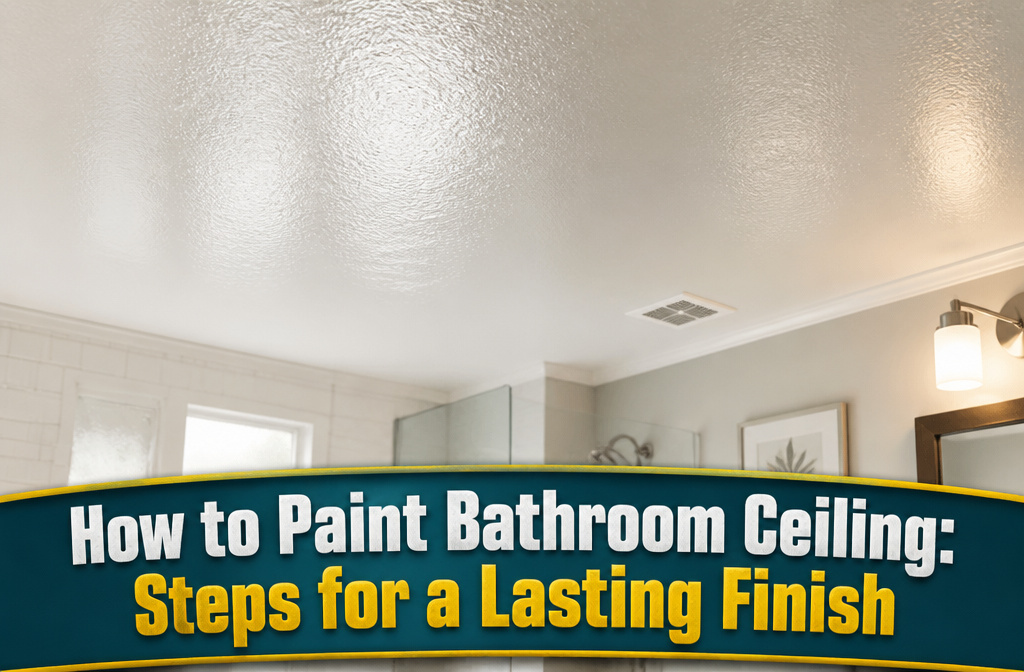

A bathroom ceiling painted right lasts years; painted wrong, it peels within months from trapped steam working under the edges. The difference is almost always primer. Skip it and moisture gets between the drywall and the paint film, failing from the inside out. KILZ Premium High-Hide Stain Blocking Primer runs about $40 to $80 for the whole job including paint, and that seal is what lets the finish coat do the work it was made for.
1. Gather Supplies
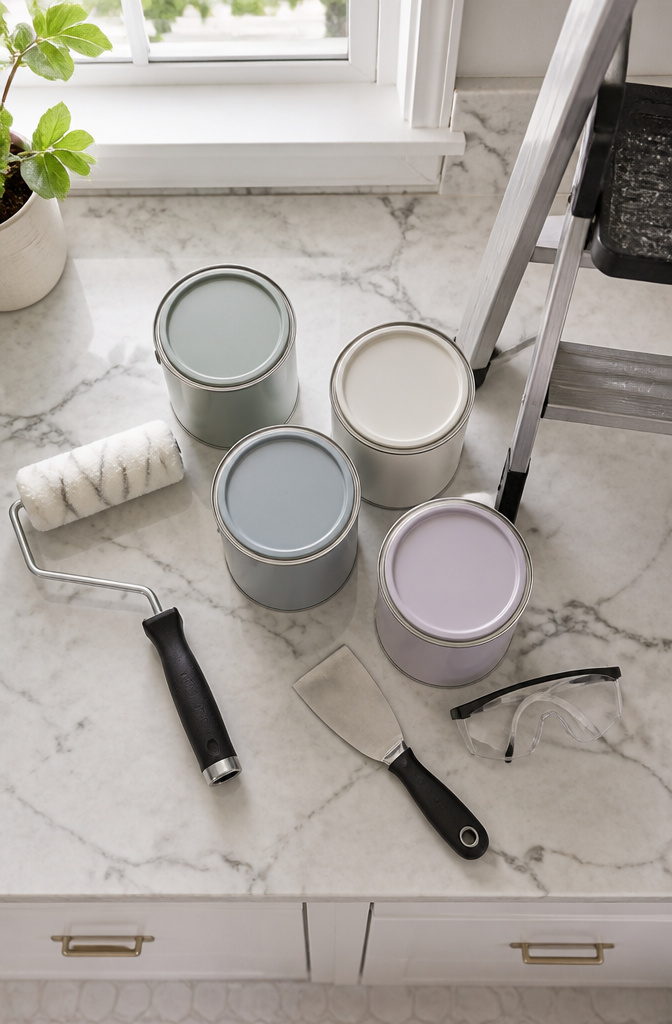
You will spend roughly $40 to $80 on materials for a small bathroom ceiling. That figure covers paint, primer, and every tool you need if you do not already own them.
Buy bathroom-specific ceiling paint with a mildewcide built in. Benjamin Moore Aura Bath & Spa carries a matte finish made for humid rooms and holds its color without encouraging mold. Zinsser Perma-White is self-priming and mildew resistant, which saves a step if you are working on a weekend timeline. Sherwin-Williams Duration Home in acrylic latex also holds up well against moisture and comes in a few sheens if you want a little reflectivity above the vanity.
For safety, pick up a pair of safety glasses, rubber gloves, and an N95 respirator. You will need the mask when cleaning mildew, sanding, or working with primer. A sturdy step ladder and plastic sheeting to cover the floor round out the big items. Use a heavy-duty degreaser and clean sponges to wash the ceiling first, then a paint roller with a 3/8-inch nap for smooth ceilings or a 1/2-inch nap if yours is textured. A 1.5 to 2.5-inch angled sash brush gets you into the corners, and an extension pole for the roller keeps you off the top rung of the ladder.
2. Prepare the Surface
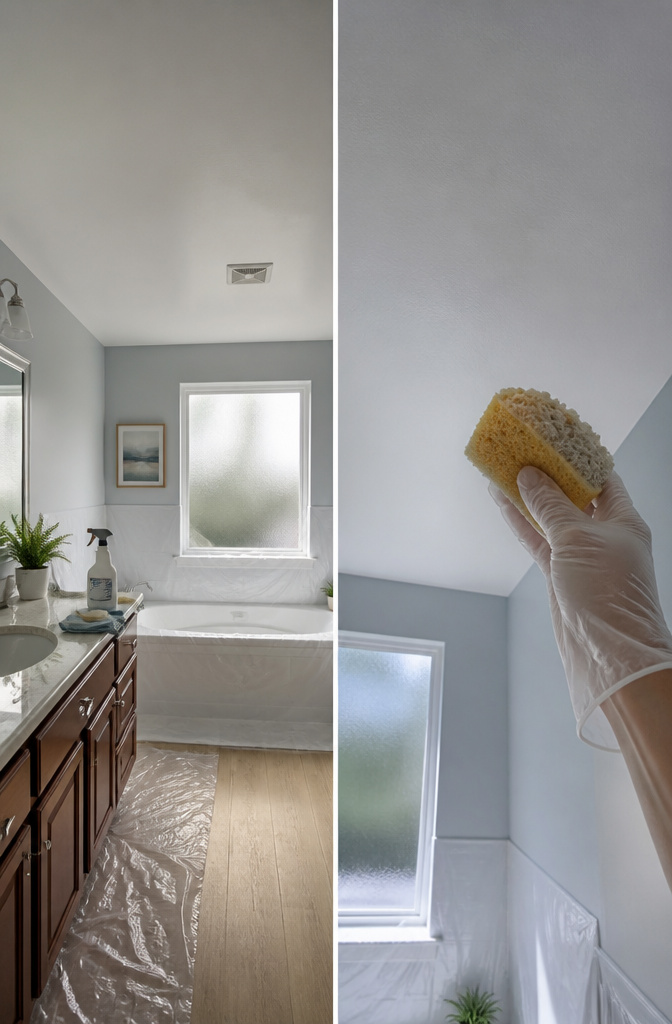
Everything that can walk out of the bathroom should. The hamper, the trash can, the extra shampoo bottles on the windowsill. What stays gets draped in plastic sheeting or old drop cloths, edges taped down at the baseboards so they don’t slide while you work. I usually spend more time on this step than feels reasonable, and I have never once regretted it.
The ceiling itself needs a real wash. Bathroom ceilings collect soap scum, hairspray residue, dust, and the sort of grease you do not notice until you run a sponge across it. Mix your degreaser to the ratio on the bottle and scrub with a sponge on an extension pole, working corners and anywhere above the shower or tub where mildew likes to camp. For spots that won’t lift, a dedicated mildew remover is worth pulling out. Rinse twice with clean water; any residue left behind will fight the paint adhesion and you’ll be back on the ladder in six months dealing with peels.
Let the surface dry fully. A damp ceiling will grab primer and paint and hold them loose, like a bad secret. Run the exhaust fan, set up a portable fan pointed up, and find something else to do for the afternoon. The repair step comes after this, once you can see what the cleaning revealed, but the cleaning itself is where lasting finishes are made or lost.
3. Repair Imperfections
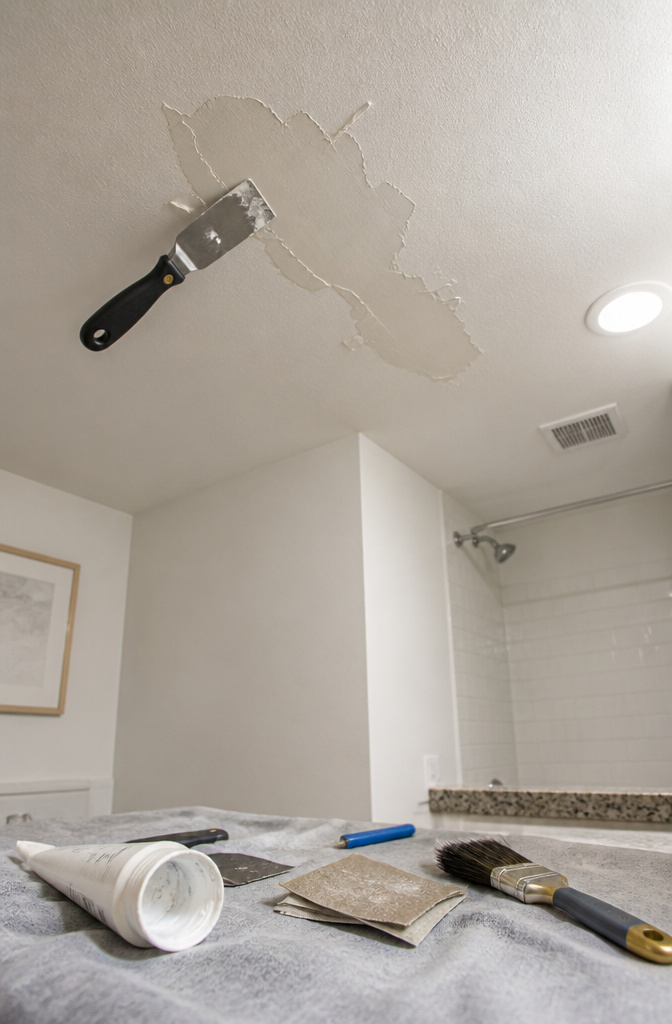
Peeling paint on a bathroom ceiling rarely stays put; it flakes wider with every shower until the whole patch looks tired. I like to scrape only what is already loose, then stop. Working with a putty knife, peel back the curling edges until the remaining paint feels firmly stuck. Sand the scraped spots smooth so the surface feels even under your fingertips, not just looks flat from below. Fill cracks and small holes with spackle, pressing it flush rather than leaving a mound to sand away later. Once the spackle dries, sand again until the repair disappears into the surrounding surface. The ceiling does not need to be perfect, just uniformly smooth; paint will hide minor flaws, but it cannot hide ridges or loose edges underneath.
4. Masking
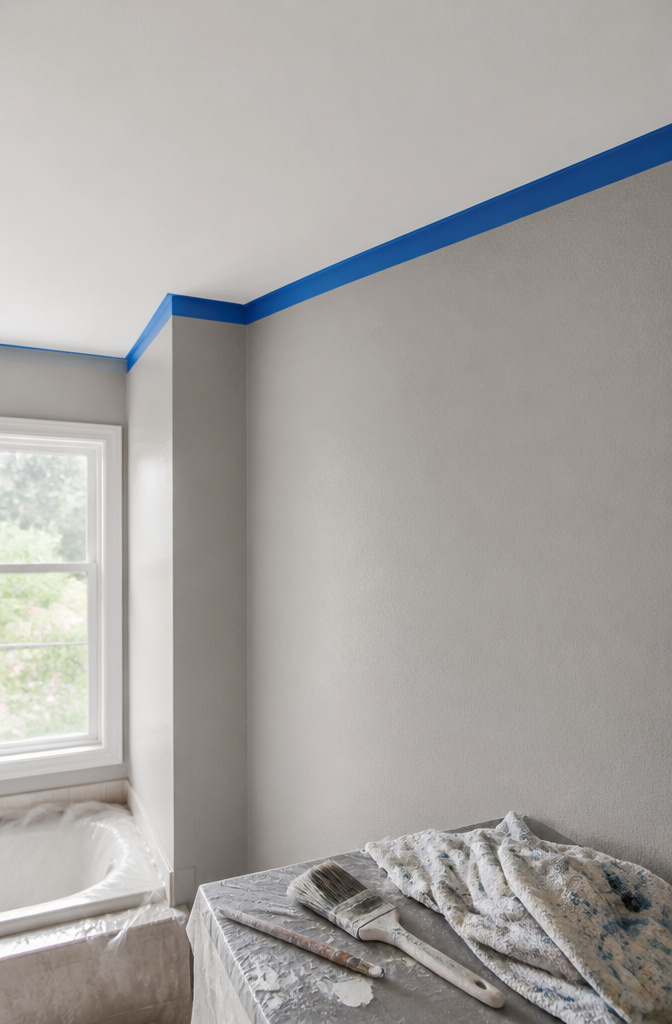
Painter’s tape is the difference between edges that look crisp and edges you’ll notice every morning until you repaint. Press the tape firmly along the wall where it meets the ceiling, working in short strips and running your thumbnail or a plastic putty knife along the seam to seal it. The tape should angle slightly so it doesn’t catch roller fibers.
Light fixtures and vent covers you chose not to remove need the same treatment, not just a quick border but tape tucked into any gap where hardware meets ceiling. If you are painting the walls next, skip the tape and let your ceiling paint carry two or three inches down the wall instead. You will tape the ceiling edge when you roll the walls, and you save yourself one round of taping. If the walls stay as-is, the tape stays worth the ten minutes it takes.
5. Prime the Ceiling
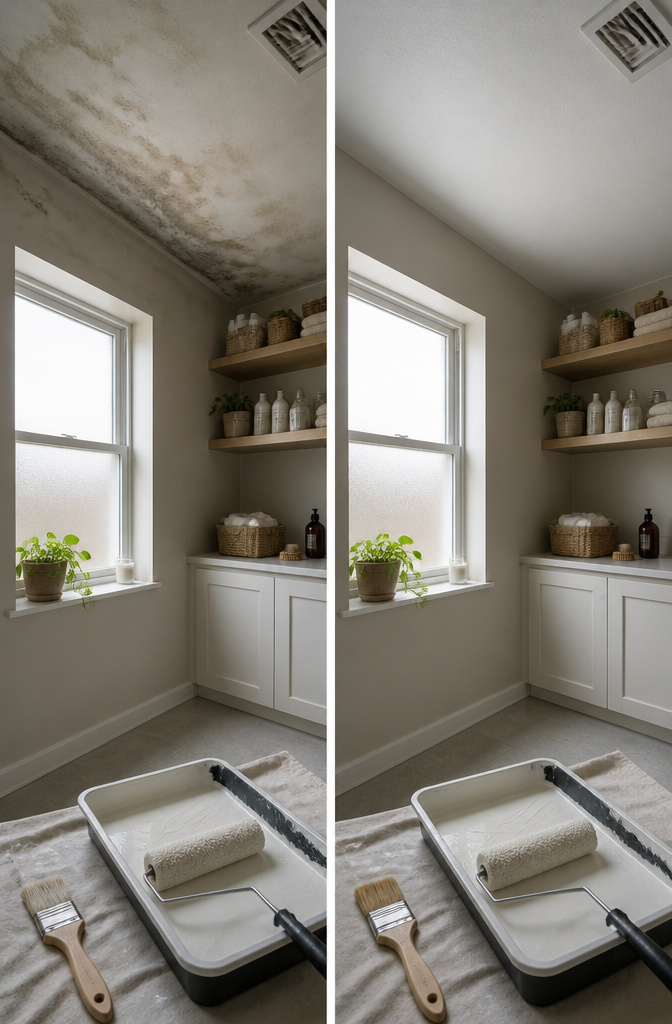
Primer is where a lot of weekend projects go quietly wrong. The paint itself might be the right sheen and color, but if you’re going over water stains, fresh drywall, or that funny yellowing that happens around the vent, skipping this step costs you a do-over in about eighteen months.
For those spots, a mold-resistant primer seals the surface before color ever hits it. KILZ Premium High-Hide Stain Blocking Primer handles the stain-blocking side and adds a moisture barrier that keeps new problems from bleeding through. Zinsser Perma-White does the same with a self-priming formula, which saves a pass if the rest of your ceiling is in decent shape and you’re only hitting problem zones.
I’ve watched plenty of people roll straight onto new drywall or a patched section, thinking two coats of finish paint will cover the same ground. It won’t. The porosity is different there; the finish soaks in unevenly and you end up with flashing that only shows once the steam hits it. Prime the stains, prime the repairs, and the ceiling paint can do the job it was made for.
6. Paint the Ceiling

Start with your angled brush and cut in a two-to-three-inch band around the entire perimeter where the ceiling meets the wall. Feather the edge slightly so you do not leave a ridge the roller will have to climb over.
Load your roller evenly, not dripping, and work from a corner across the surface in overlapping rows. Paint in a W or M pattern, then fill in the gaps without lifting the roller from the ceiling. The point is to spread the paint before it skins over, always keeping a wet edge by overlapping the previous section about half a roller width. Work methodically in one direction across the whole surface so the nap texture stays consistent. A low-nap cover handles smooth ceilings fine; if yours is textured, a three-quarter-inch nap pushes paint into the pockets.
Let the first coat dry fully, usually two to four hours for latex, before cutting in and rolling the second the same way. Two thin coats beat one heavy coat for coverage and durability, and they dry faster than you would think.
7. Allow to Dry
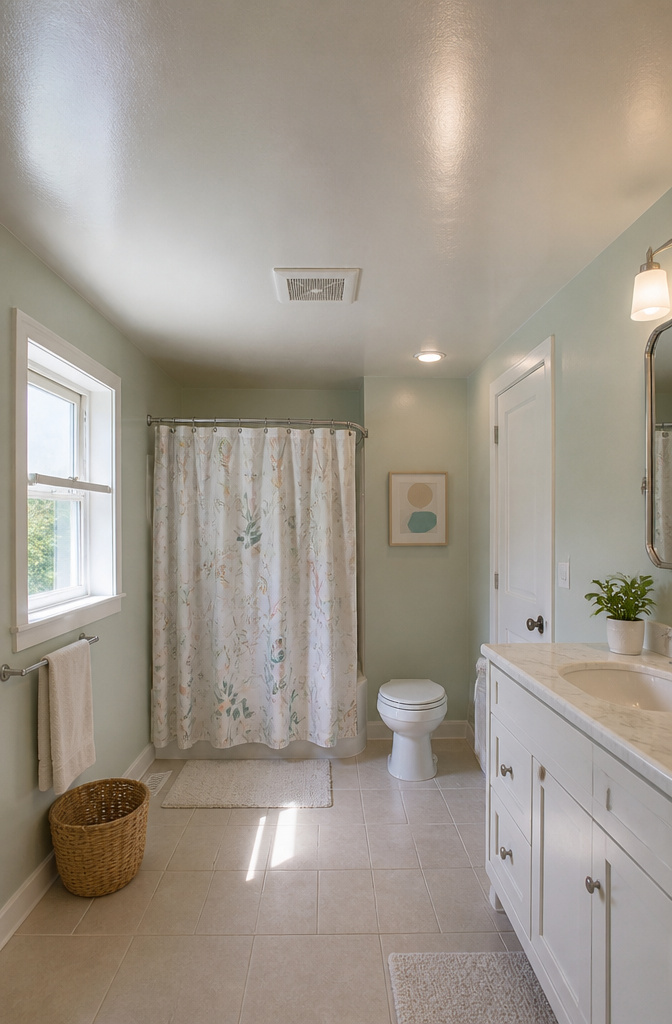
Latex paint needs two to four hours before it is dry to the touch, but that is not the same thing as being ready for the next coat. The surface may feel dry while the layer underneath is still soft, and brushing or rolling over it too soon drags the color underneath and leaves marks that telegraph through. I wait the full four hours in a bathroom, even when the can says two, because the humidity in that room is almost always higher than the rest of the house.
Hardness happens on a longer schedule entirely: three to seven days for enough hardness that the surface resists light knocks, and a full three to four weeks for the paint to reach its maximum durability. During that window, the ceiling is officially off-limits to steam. I keep the exhaust fan running continuously, leave a window cracked if the weather allows, and skip long hot showers. Excessive moisture while the paint is still curing weakens the film and sets up the exact problems, peeling and mildew, that bathroom paint is supposed to prevent.
8. Remove Tape
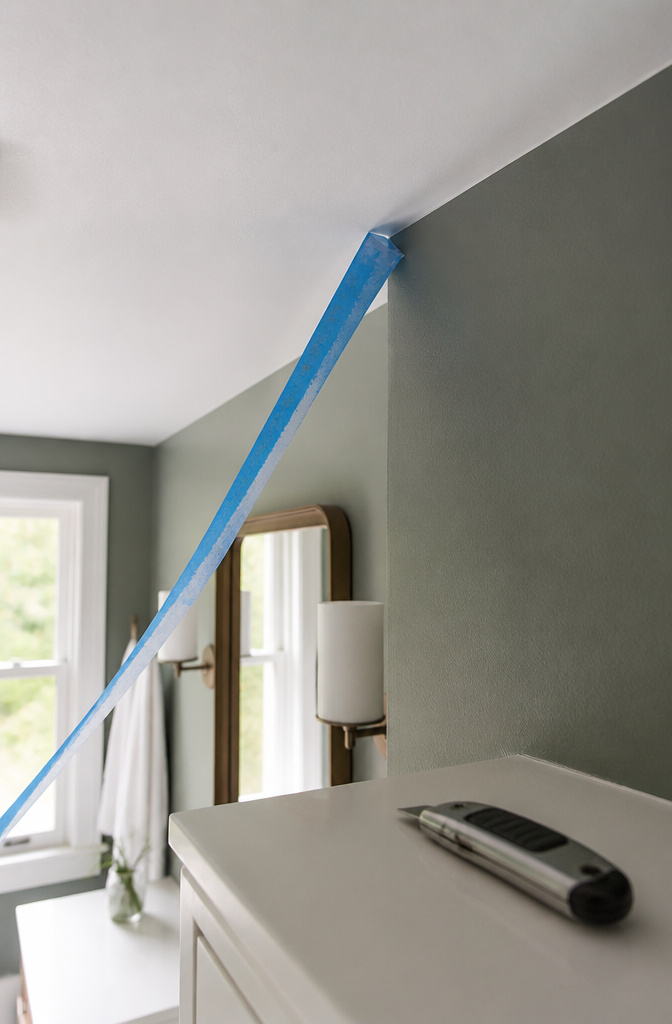
Pull the tape before the paint skins over. The sweet spot is while the final coat is still slightly wet, but not tacky enough to string; that’s when the edge lifts clean without tearing the new film. Angle the tape back at about 45 degrees and draw it slowly, keeping the line low and steady. Rush this part and you’ll ruffle the edge you just spent two coats building. If you spot-check too late and the paint has dried hard, lightly score the tape line with a utility knife before you pull; otherwise the skin can lift with the adhesive and leave a ragged scar. Work your way around the room in the order you taped it, and the ceiling meets the wall like it was always that color.
9. Post-Painting Care
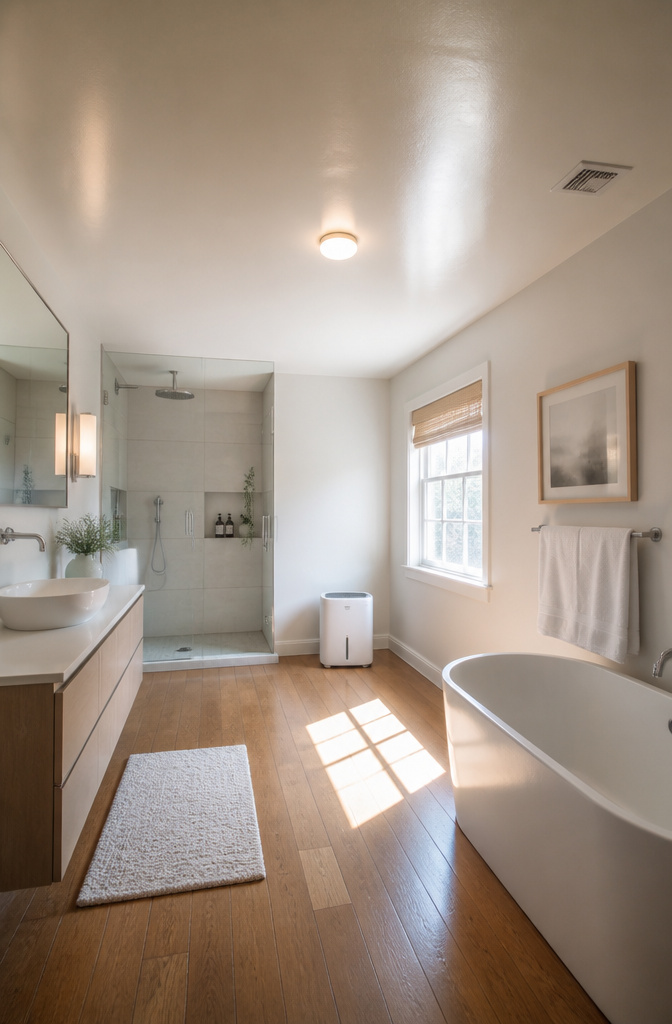
The paint will feel dry to the touch in a few hours, but full curing takes 3 to 7 days for useful hardness and up to 3–4 weeks for maximum durability. During that window, the finish is still soft and vulnerable to bathroom moisture.
Run the exhaust fan continuously for the first few days, and keep the window open if weather allows. Skip long, hot showers if you can help it; excess humidity while the paint hardens can lead to peeling or mildew down the line.
Once the ceiling is fully cured, clean it with nothing stronger than warm water, a drop of dish soap, and a soft cloth. Skip the abrasive scrubbers or harsh chemicals. They will dull or damage the finish you just spent a weekend getting right.
Choosing the Right Paint
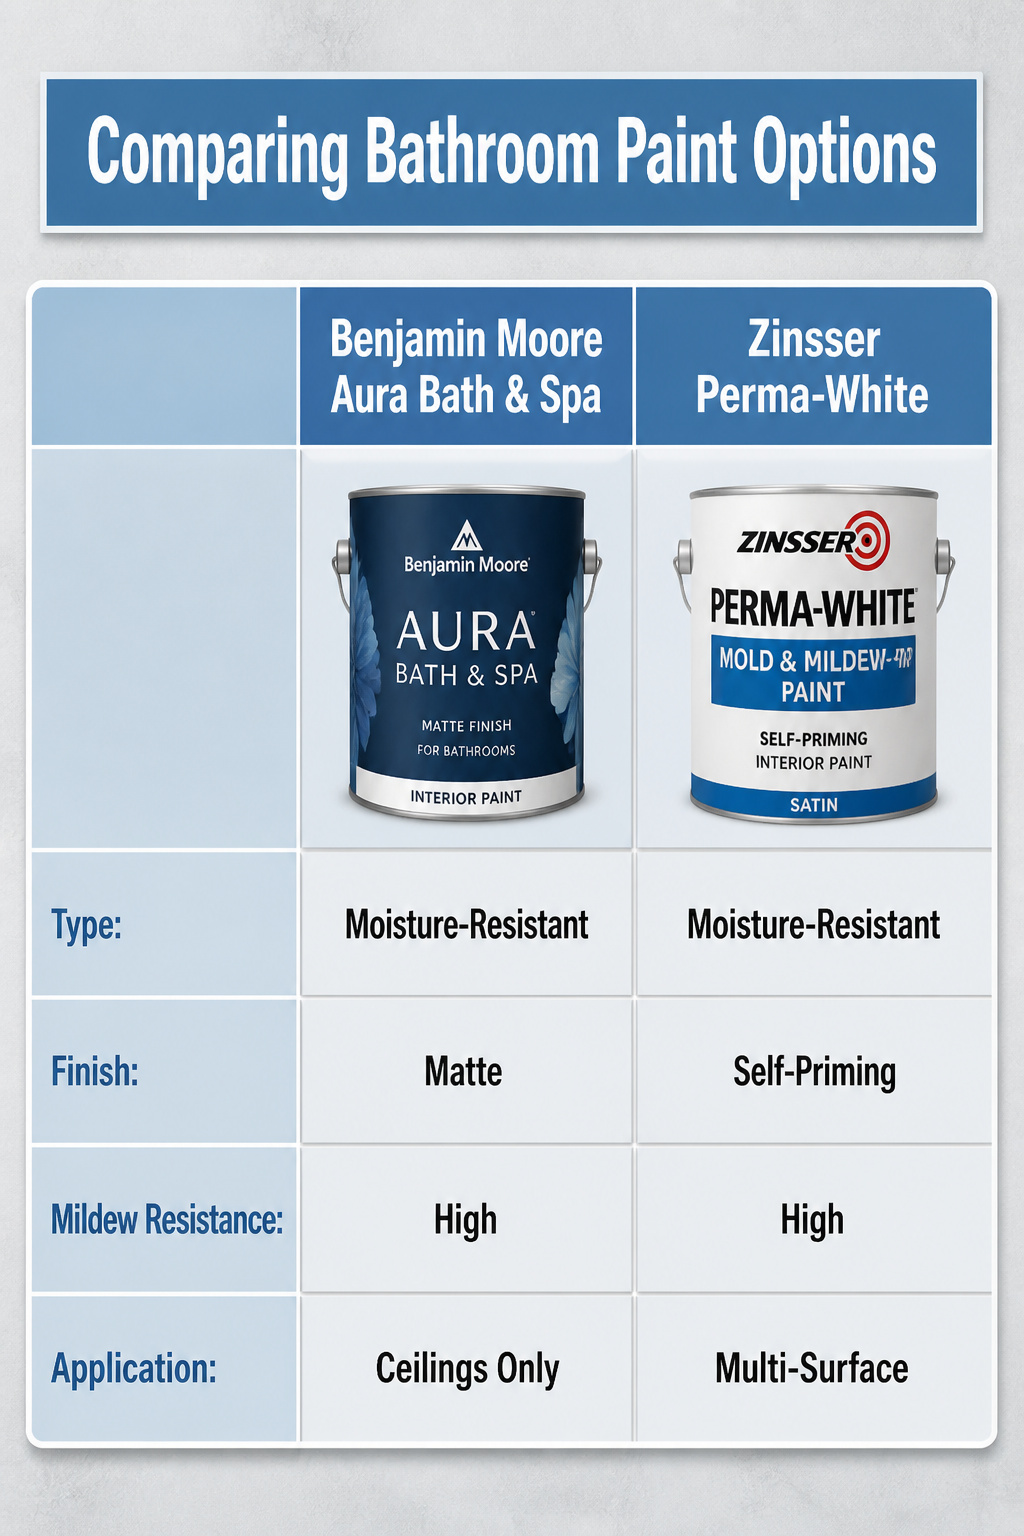
Standard ceiling paint is not built for what a bathroom throws at it. Steam from hot showers lingers overhead, and without moisture-resistant and mildew-proof paint formulated for bathrooms, that ceiling will blister, peel, or grow spots within a season or two.
Bathroom paint differs from standard ceiling paint in a few specific ways. It contains additives that let moisture bead and evaporate rather than soak through the film. It also resists the mold spores that thrive in humid, poorly ventilated spaces, which protects both the surface and the air you breathe.
I have seen two products come up repeatedly for this exact job: Benjamin Moore Aura Bath & Spa, which carries a matte finish meant specifically for humid rooms, and Zinsser Perma-White Mold & Mildew-Proof Paint, which self-primes and works on ceilings, walls, and trim. Sherwin-Williams Duration Home Interior Acrylic Latex and Behr Premium Plus Ultra Interior Ceiling Paint also get mentioned often, but the first two tend to dominate the conversation when the goal is a finish that actually lasts.
Ventilation During and After
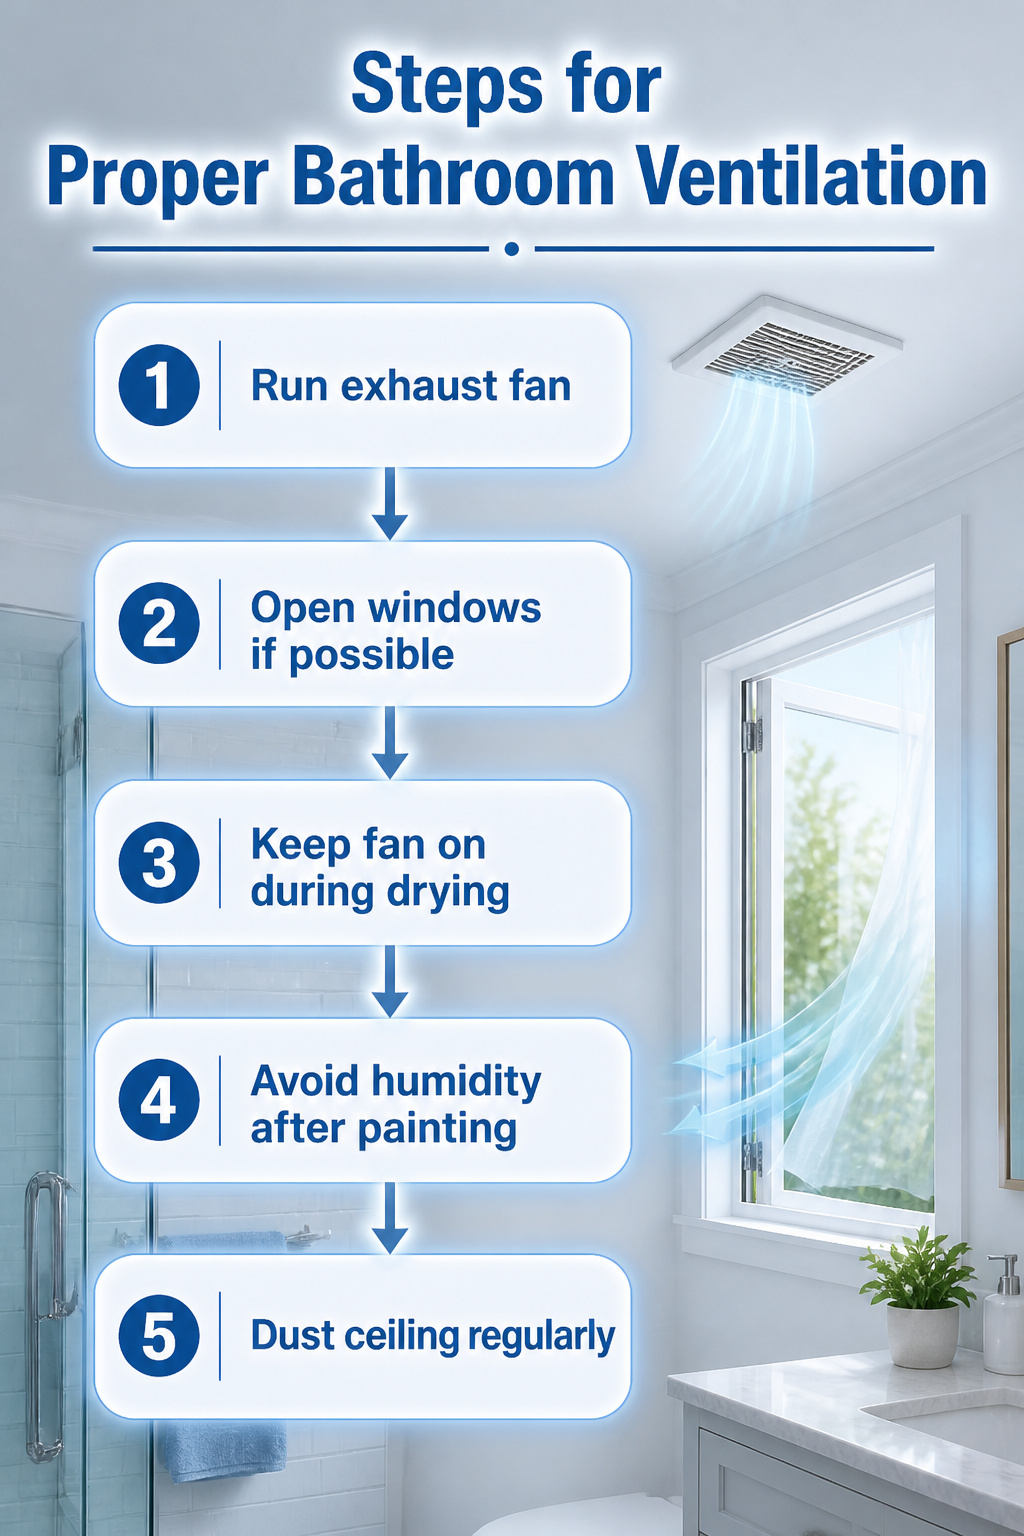
A bathroom ceiling needs air moving through the whole process, not just while the brush is wet. Running the exhaust fan or cracking a window during painting pulls fumes out and keeps the surface drying at a steady rate. Humidity sitting on fresh paint is what causes that patchy, tacky finish you’ll have to live with for years.
The drying window matters too. Paint feels dry to the touch in a few hours, but real hardness takes three to seven days for practical use and up to three to four weeks for full cure. During that stretch, the fan stays on continuously, weather permitting with open windows, and long hot showers are a bad idea. The paint is still settling; steam gets under it and starts the peeling you just fixed.
Once the ceiling is fully cured, the habit doesn’t stop. Running the exhaust fan during and after every shower is what keeps the paint job from becoming a do-over. Dust the ceiling now and then with a soft dry cloth so grime doesn’t bond to the finish. The ventilation is the maintenance, and the maintenance is what makes the paint last.
Mistakes That Ruin Bathroom Ceilings

Bathroom ceilings are essentially mini-saunas, and most failures start with treating them like any other room. Steam rises, hits that cooler surface, and the wrong paint gives it nowhere to go.
Skipping primer is the fastest way to watch your weekend’s work come down in sheets. Moisture gets trapped between the drywall and the paint film, and adhesion fails from the inside out. I’ve seen ceilings that looked fine for two months, then peeled in long strips once humidity worked its way under the edges.
Flat paint belongs nowhere near a bathroom ceiling. It soaks up condensation instead of shedding it, creates a porous home for mildew spores, and stains the moment someone forgets to turn the fan on. The cheap can from the hardware store aisle might say "interior," but regular interior paint isn’t formulated for this environment.
Poor surface prep multiplies every other mistake. Soap scum, hairspray residue, and existing mildew left under new paint become active failure points. That layer acts like a sandwich spread between coats, and once moisture finds a gap, it travels. Clean, dry, primed, then painted with moisture-resistant finish: miss any link and the chain breaks within a year.
Keeping the Ceiling Fresh
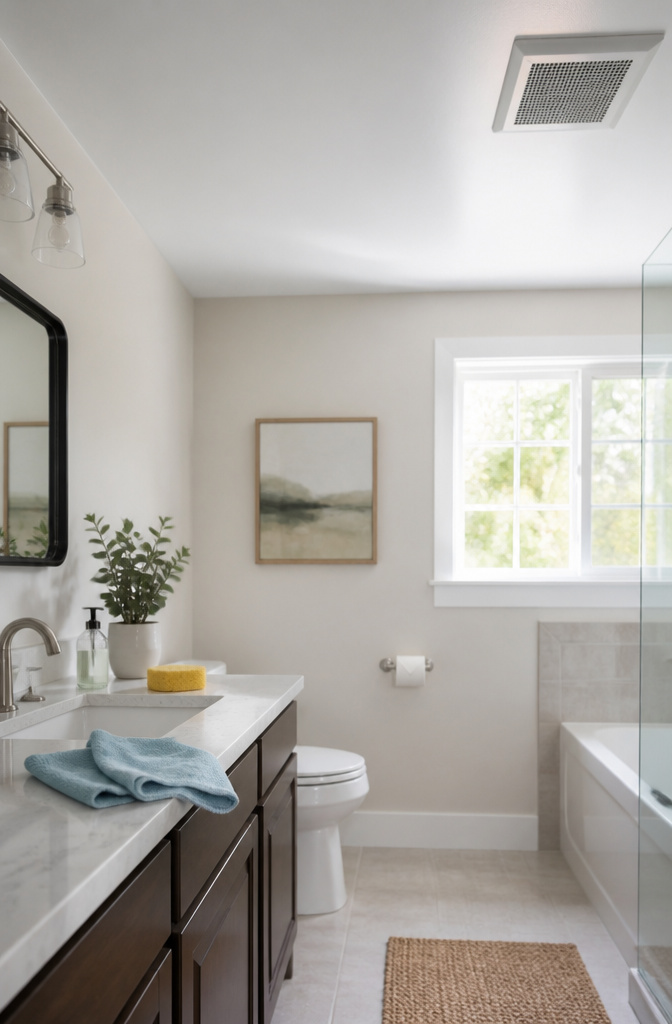
A quick wipe with a damp microfiber cloth every couple of weeks keeps dust and moisture from settling into the new paint. Pay attention to the corners where the ceiling meets the walls, since that’s where bathroom grime likes to collect first.
Ventilation matters more than scrubbing, though. I run the exhaust fan during showers and leave it on for about fifteen minutes after, which pulls the wet air out before it can linger on the surface. If the fan’s weak or nonexistent, a small dehumidifier works, or even cracking the window when weather allows.
On average, bathroom ceilings benefit from a fresh coat every few years, depending on ventilation and humidity levels. Push that closer to three or even five years by staying on top of both habits. The first sign of trouble is usually a faint dull spot or softening at the edges, not full peeling, and catching it early means a light cleaning instead of another weekend with the roller.
Frequently Asked Questions
What type of paint should I use for a bathroom ceiling?
Use bathroom-specific ceiling paint with a mildewcide built in, such as Benjamin Moore Aura Bath & Spa, Zinsser Perma-White, or Sherwin-Williams Duration Home. These products resist moisture and fight mold spores, while standard ceiling paint will blister, peel, or grow mildew within a season or two.
How do I prepare my bathroom ceiling for painting?
Remove everything you can from the room, cover what stays with plastic sheeting, then wash the ceiling with a heavy-duty degreaser to remove soap scum, hairspray residue, and grease. Rinse twice with clean water, let the surface dry fully with fans running, then scrape loose paint, sand smooth, and spackle any cracks or holes before priming.
How long does it take for bathroom ceiling paint to dry?
Latex paint dries to the touch in two to four hours, but wait the full four hours in a bathroom before recoating due to higher humidity. The paint reaches useful hardness in three to seven days, and full curing takes up to three to four weeks; keep the exhaust fan running and avoid long hot showers during that window.
Can I paint my bathroom ceiling the same color as the walls?
Yes, you can paint the ceiling the same color as the walls for a seamless look. If you plan to paint the walls next, skip taping the wall-ceiling edge and let your ceiling paint carry two to three inches down the wall; you will tape that edge when you roll the walls later, saving yourself a round of masking.