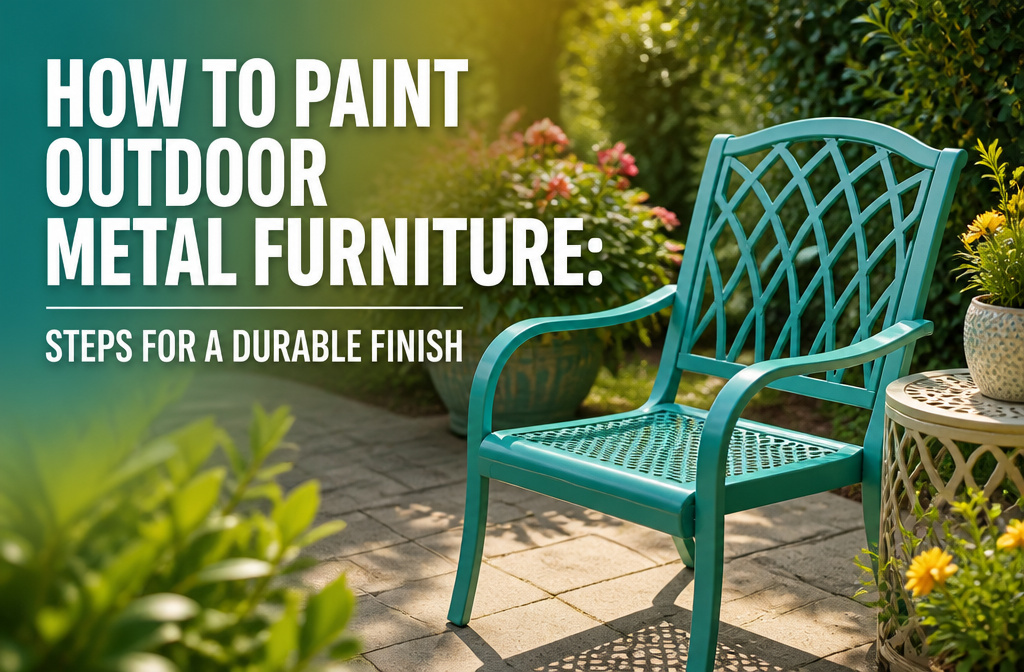

A single patio chair repainted for under $25 and a full weekend of work will outlast replacement furniture by years, but only if the prep work happens in the right order. Most people reach for spray paint too soon and watch it peel by September. The real fix is waiting for bare metal to dry completely after degreasing, not forcing heat that traps moisture in seams and ruins the bond.
1. Assess the Condition

The first step in any paint job is knowing what you’re actually working with. Most outdoor metal furniture is either ferrous metal (wrought iron or steel, heavier and prone to rust) or non-ferrous metal (aluminum or copper, lighter and rust-free). A magnet will tell you which you’ve got if the weight hasn’t already given it away.
I like to give every piece a full inspection before I sink a weekend into it. Look for rust pockets, paint that’s lifting or chalking, and any spots where the metal itself looks thin or compromised. Tap along legs and joints; if something flexes more than it should, that is structural damage paint will not fix.
A little surface rust is fine. You will sand that out in the next step. Deep pitting, cracks at welds, or a frame that wobbles no matter how tight the bolts are, though? Those are your line between restore and replace. I have rescued plenty of rusty pieces from the scrap heap with nothing more than elbow grease and fresh paint, but I have also walked away from chairs that were too far gone to be worth the materials cost. The fifteen minutes you spend here decides whether the next two days of work actually buy you another season or two outside.
2. Clean the Furniture

Outdoor metal furniture collects more than you notice until you look close. Garden hoses, even a soft-bristle brush with mild soapy water, lift off the obvious dirt. What they miss is the thin film of grease from sunscreen, grill smoke, or simply handling that keeps new paint from gripping. I reach for Dawn liquid dish soap or another degreaser first, especially around armrests and welds where hands rest most.
Rinse thoroughly afterward, because any soap residue left behind becomes a slick spot under primer. The furniture has to dry completely before you sand or prime; cool, ventilated air is your friend here, not forced heat that traps moisture in seams. A raw morning where metal still feels cold to the touch means waiting longer.
3. Remove Rust and Old Paint

Flaking paint and loose rust have to go, or the new coat is wasted money. A wire brush knocks off the big pieces fast, and medium-grit sandpaper smooths what is left behind. A paint scraper works too for the spots where you need leverage. You do not need the metal bare everywhere, but the surface must be smooth enough that nothing catches under your thumbnail. Any rust that is still firmly stuck can stay; it will be locked down in the next step. What you are after is the stuff that would peel later and take your fresh paint with it.
4. Prime the Surface

Any bare metal or patches where rust still lingers need a coat of rust-inhibiting primer before the color goes on. I use Rust-Oleum Rust Reformer when the surface is pitted or the old finish is scraped down to raw steel. It chemically converts what is left of the rust and keeps new corrosion from creeping under your paint layer.
A plastic bristle brush works better than wire for knocking off loose flakes beforehand. Metal bristles can gouge soft steel and leave spots that catch water later. Once the surface is dust-free, spray the primer in thin passes, following the lines of the frame rather than cutting across them. Two or three light coats beat one heavy coat that drips on the underside of a chair leg.
Drying times vary by product, so check the can rather than guessing. Most rust reformers set up enough to paint over in about 20 minutes. The surface should feel smooth, not tacky, before you switch to your topcoat. If it feels gritty, a quick pass with very fine sandpaper followed by a tack cloth will fix it without stripping the primer back off.
5. Paint the Furniture

Spray paint made for metal and outdoor use is the only kind worth buying here. I hold the can 8 to 10 inches from the surface and move in steady sweeps, letting the natural lines of the furniture guide me rather than trying to blanket it all at once. Two or three thin coats beat one heavy coat every time. Each layer needs to dry to the touch before the next goes on, usually a couple of hours between them.
Temperature matters more than I expected when I started reading up on this. The sweet spot is 50 to 90 degrees Fahrenheit with humidity below 85%. Too cold and the paint stays tacky for days; too humid and you get a dull, bumpy finish that looks chalky by September. I have learned to check the forecast the night before and move the pieces under a carport if the morning grass is still wet.
6. Seal the Finish

A clear coat is optional, but I would not skip it on anything that sits in direct sun. Look for a clear oil-based urethane rated for outdoor use, preferably one with UV protection to slow fading. The same spray routine applies: back and forth, 10 to 12 inches out, following the lines of the piece for an even coat. Light sanding between coats with 200-grit or finer paper keeps the surface smooth if you decide to add a second layer.
Give the piece a full 24 hours to cure before anyone sits down. Most spray paint feels dry to the touch in about an hour, but the finish is not tough yet. Humidity and temperature swing that window, and rushing it means dings and butt prints that do not buff out. A warm, dry spot with decent air flow is the place to let it sit. The paint hardens, the metal is sealed, and the chair gets a few more years of looking like you actually tried.
What the Project Costs

A single patio chair or small side table usually costs under $25 to repaint, start to finish. Most of that goes toward two or three cans of spray paint formulated for metal and outdoor use, with a separate can of rust-inhibiting primer if the piece is pitted or peeling. Sandpaper runs a few dollars for a mixed pack of 80-grit and 100-grit sheets, and a roll of steel wool or a simple paint scraper handles anything the paper cannot reach. I skip the electric sander unless I am tackling a full dining set, and I never skip primer on bare or rusty spots, since paint alone will lift by the next season. A drop cloth is any old sheet or cardboard box flattened out. The only place I have ever regretted saving money is on paint labeled for metal and exterior use; indoor or all-purpose sprays chip fast in sun and rain, and redoing the job costs more than the right can would have.
Paint Types That Last Outside

Spray paint labeled specifically for metal and outdoor use is the only kind that will hold up through real weather, not just the label most people grab on autopilot. When a can says "formulated for metal," that usually means it carries bonding resins that bite into slick surfaces and a harder acrylic or enamel shell once cured. For outdoor metal furniture, those bonding resins matter more than they would on wood or plastic, bare metal has nothing for standard paint to grip.
Rust-Oleum and Krylon dominate this aisle for a reason. Rust-Oleum’s 2X Ultra Coverage line doubles up pigment load, which helps on patio chairs with slats and scrollwork where you are feathering the can at angles. Krylon runs closer to a paint-and-primer-in-one, which saves a trip if the piece is only lightly weathered, I have used their satin finishes when I wanted something that would read softer than high-gloss in afternoon sun.
"Rust-resistant" on the label generally signals an oil-based or modified enamel that flexes slightly as the metal expands and contracts. That flexibility is what keeps the finish from cracking after three hot summers. If the piece is already pitted with rust, though, no spray paint, not even one labeled rust-resistant, will seal that in. You are better off with a dedicated rust reformer as a base layer, then your topcoat. The brands above make those too, and matching systems tend to play nicer than mixing manufacturers.
Safety and Ventilation

Spray paint fumes aren’t something to take lightly, even in a breezy backyard. A respirator mask and nitrile gloves sit on my workbench for every outdoor furniture project, and I trade the garage door for wide open space if the weather turns sketchy. Some primers hit touch-dry in 20 minutes, which feels fast enough to tempt you into moving pieces too soon. Full cure is a different story. Let the finish sit untouched for 24 to 48 hours, and pick a warm, dry stretch of days so humidity doesn’t stall the hardening underneath. Your patience here is what keeps the new coat from sticking to fingers, leaves, or the drop cloth you forgot you left underneath.
Why Repaint Instead of Replace

A full metal patio set runs into the hundreds, sometimes thousands, and most of it ends up in a landfill because the finish wore thin. That’s the part that never sat right with me. The frames are usually solid; it’s just paint and patience standing between you and another five or ten years outside.
I gave a hand-me-down metal set this treatment last spring. Faded powder coating, spots where rust had started chewing at the legs, cushions so sun-bleached they’d turned a strange uniform gray. Nothing structurally wrong with any of it. A weekend of sanding, priming, and spraying left it looking like something I’d actually bought, and the whole refresh stayed under $20.
The math barely needs stating. Replacement furniture versus a few cans of spray paint at $7 to $8 each — most chairs need about three cans for two proper coats, and even a bulk buy that saves 15% doesn’t change how small the total stays next to a new set. More than that, though, keeping workable metal out of the waste stream costs nothing extra. You’re just choosing not to toss something repairable because the finish looks tired.
Frequently Asked Questions
What type of paint should I use for outdoor metal furniture?
Use spray paint specifically labeled for metal and outdoor use, with bonding resins that grip slick metal surfaces and a hard enamel shell after curing. Rust-Oleum and Krylon both make reliable lines; Rust-Oleum 2X Ultra Coverage works well for detailed frames with angles, while Krylon’s paint-and-primer formulas suit lightly weathered pieces. Skip indoor or all-purpose sprays, which chip fast in sun and rain and cost more to redo than buying the right can first.
How long does the paint take to dry?
Spray paint feels dry to the touch in about an hour, but the finish needs a full 24 hours to harden enough for use. Full cure stretches to 48 hours in cooler or more humid conditions, so check the forecast and pick a warm, dry stretch. Rushing it leaves dings and fingerprints that will not buff out.
Do I need to use a primer before painting?
Bare metal or rusty spots need a rust-inhibiting primer first, or the paint will lift by next season. A dedicated rust reformer like Rust-Oleum Rust Reformer chemically converts remaining rust and blocks new corrosion from creeping underneath. If the old finish is intact and only lightly weathered, a paint-and-primer-in-one spray can skip the separate primer step.