
You want a quieter bedroom so you can sleep, focus, or relax without outside noise stealing your calm.
I’ll show you practical steps you can take right away, from quick fixes like weatherstripping and heavy curtains to bigger changes like thicker doors, window upgrades, and wall treatments.
You can cut most common noise with a few targeted, affordable changes that block gaps, add mass, and absorb sound.
I’ll help you figure out which solutions fit your room and budget by walking through how to assess your space, seal doors and windows, improve walls, and treat floors and ceilings.
Expect simple upgrades you can do yourself plus choices for more permanent fixes, so you can pick what works for your situation and start hearing the difference fast.
Why Soundproofing Your Bedroom Matters
I want my bedroom to be a calm place where I can sleep, focus, and relax without sudden noise.
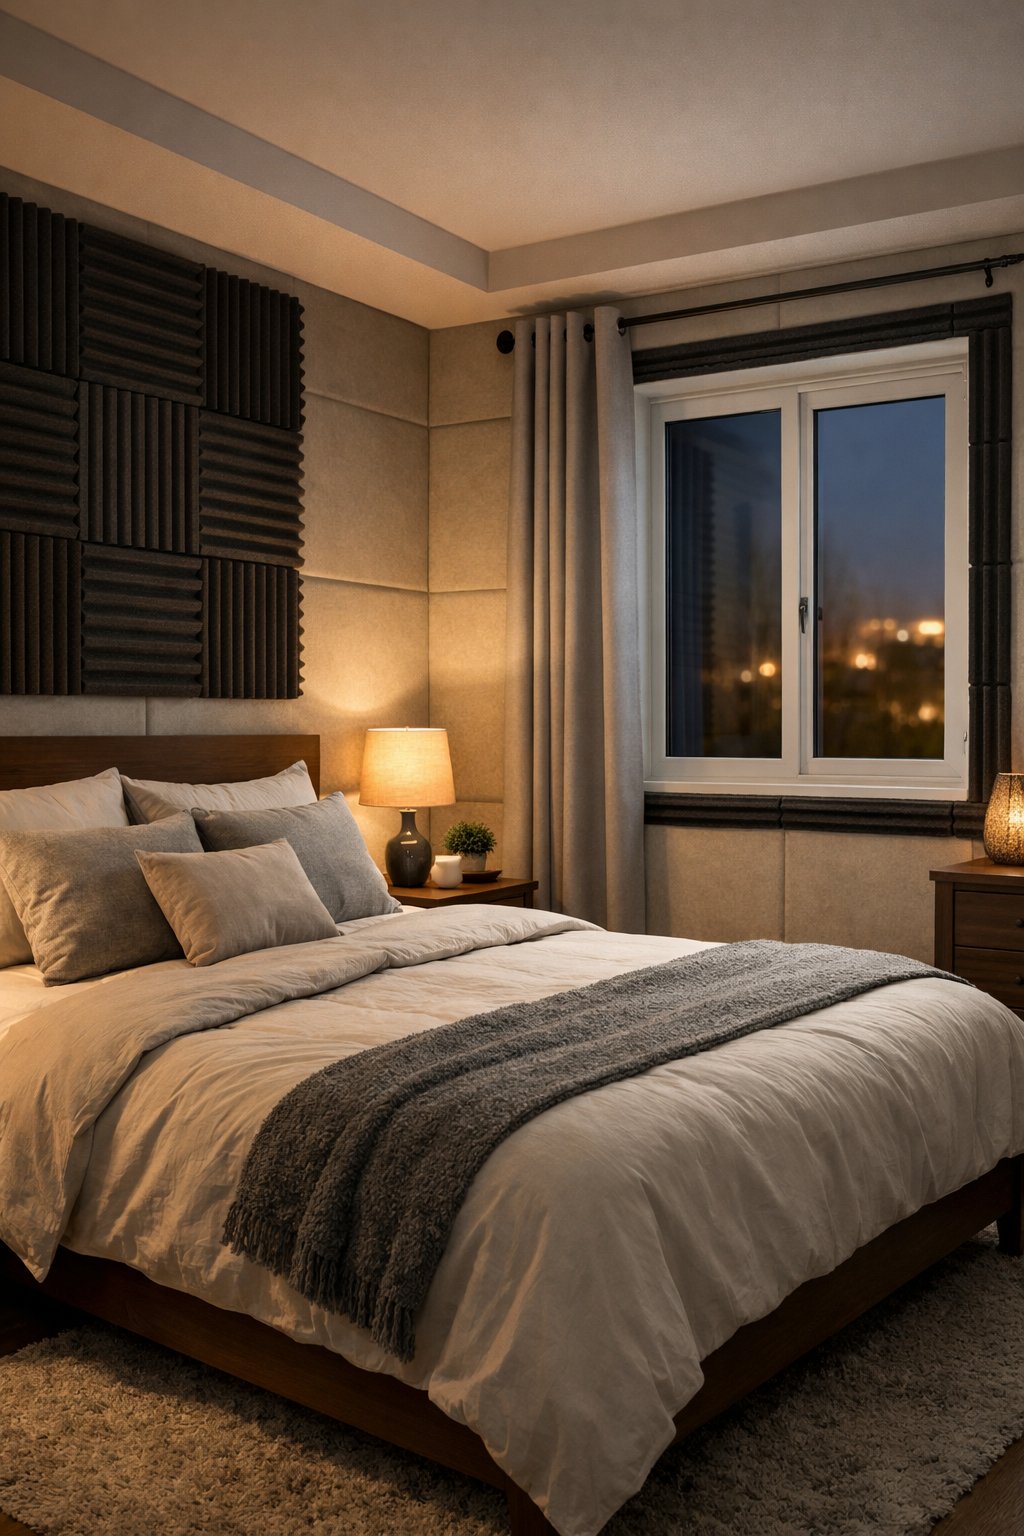
Reducing sound makes daily life easier and helps me control the things I can—like the door, windows, and furniture layout—to cut down on sound that wakes me or distracts me.
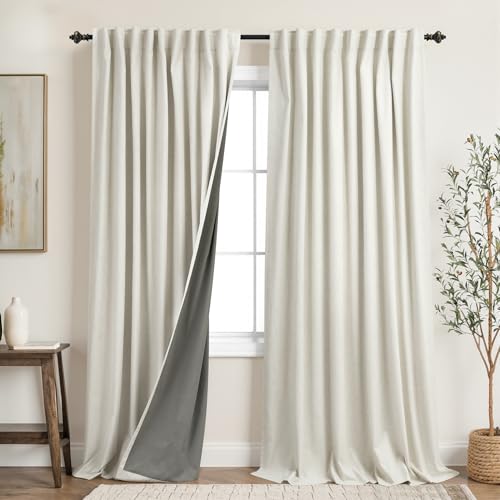
100% BLACKOUT: These linen textured curtain panels block out 100% complete sunlight and UV rays,turning day into night.Help on you and your kids sleeping.
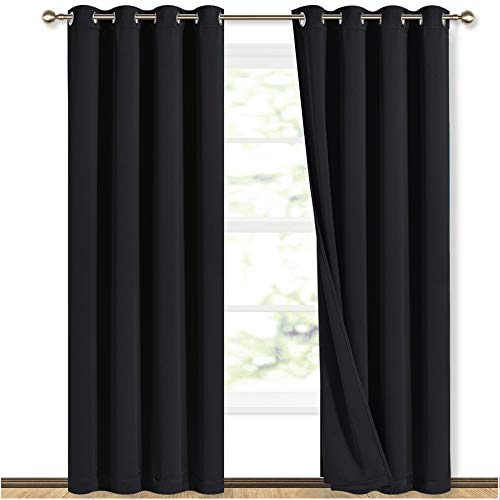
Complete blackout curtains block light and reduce noise for better sleep - 2 layer construction with blackout lining
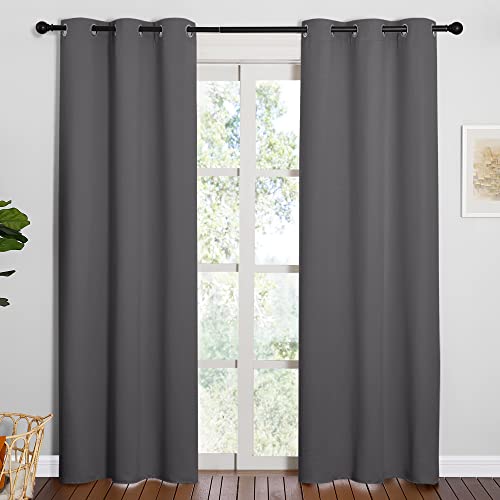
READY MADE: Set includes 2 BLACKOUT PANELS of 42" wide x 84" length with 6 grommets top each. Quality fabric without liner feels soft and heavy.
Impact of Noise on Sleep Quality
Noise can wake me up or stop me from falling asleep.
Sudden sounds, like car horns or a barking dog, cause brief awakenings that break deep sleep stages.
Over time, this lowers the amount of restorative sleep I get and makes me feel tired the next day.
Even steady background noise, such as traffic or neighbors’ voices, raises stress hormones and makes it harder to stay in deep sleep.
I notice poorer memory, slower reaction time, and more irritability when my nights are noisy.
Soundproofing and noise reduction help keep these interruptions low so I actually rest.
Benefits of a Soundproof Bedroom
A soundproof bedroom gives me clearer, longer sleep and better daytime energy.
When I reduce noise, I fall asleep faster and wake up less during the night.
That helps my mood, focus, and health.
Soundproofing also improves privacy and concentration.
If I work or study from my room, lowering outside noise cuts distractions.
Simple steps like sealing gaps around doors, adding heavy curtains, or moving a bookshelf against a shared wall can reduce noise noticeably.
I can pick solutions that fit my budget, from low-cost weatherstripping to more serious soundproofing upgrades.
Common Sources of Bedroom Noise
I find most bedroom noise comes from three places: windows and streets, thin doors or shared walls, and things inside the home.
Windows let in traffic, sirens, and lawnmowers.
Thin, hollow doors let sound leak from hallways and living rooms.
Shared walls carry neighbors’ talking or TV noise.
Inside-the-house sources include HVAC systems, plumbing, and footsteps from above.
Even room layout matters—bare walls and hard floors reflect sound and make noise feel louder.
Identifying which source affects me most helps me choose the right soundproofing steps, like sealing gaps, adding curtains, or using foam panels to absorb reflections.
Assessing Your Bedroom’s Soundproofing Needs
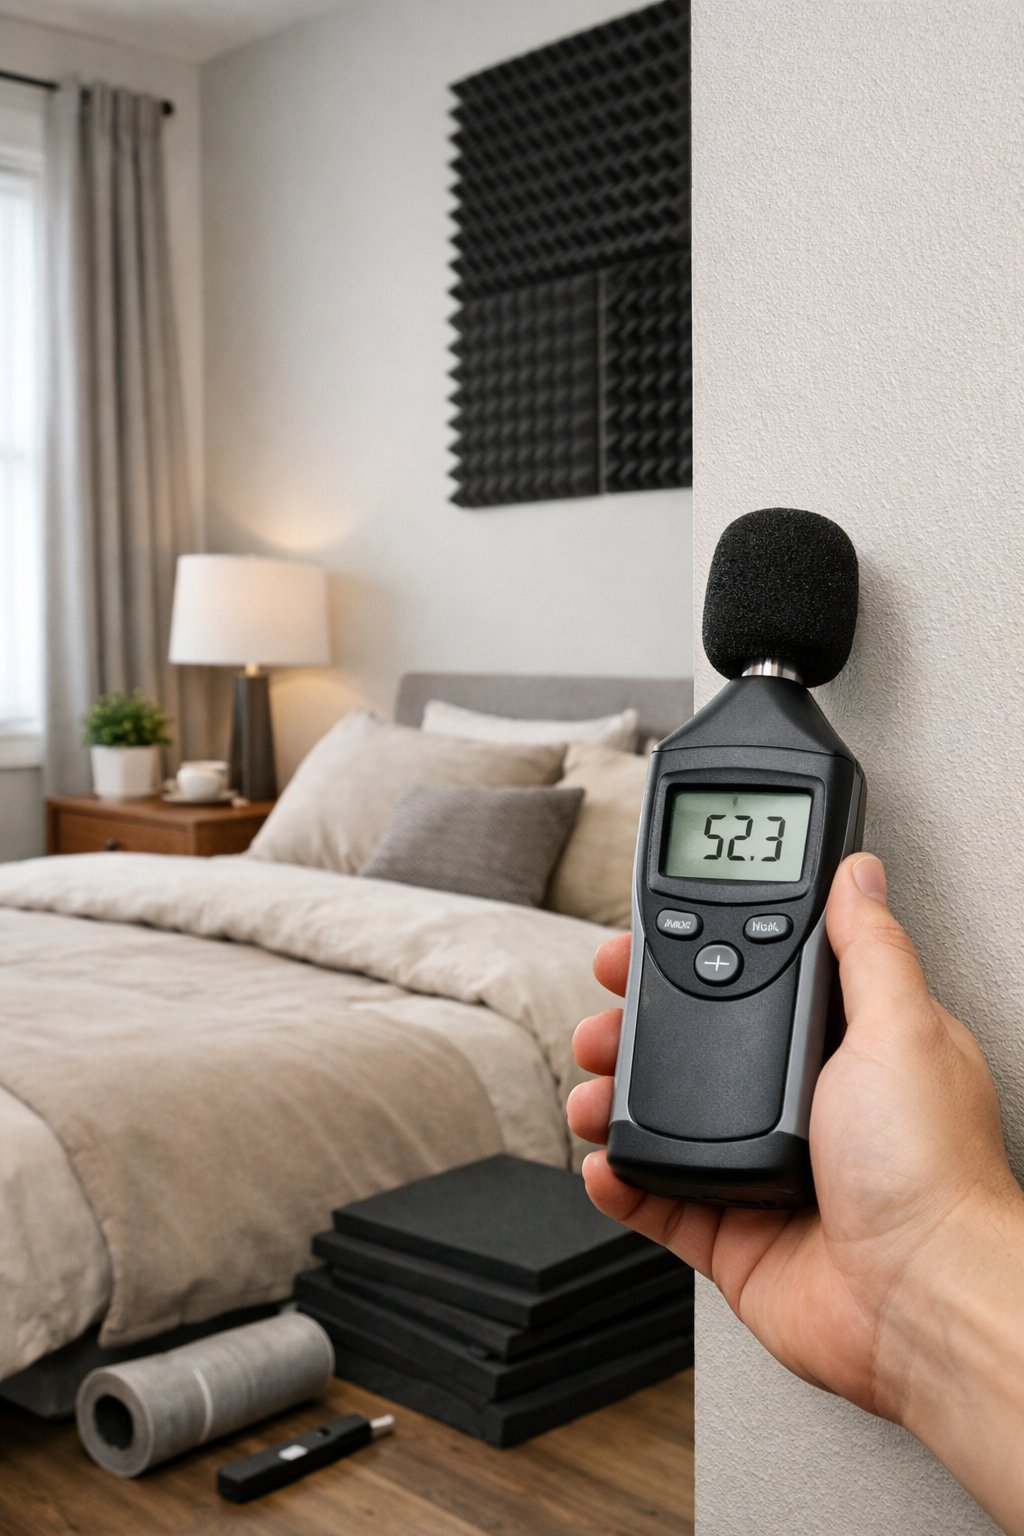
I start by checking where sound comes from, how it moves through surfaces, and what parts of the room I can change.
Knowing the exact noises, how they transmit, and the room’s structure helps me pick fixes that work and save money.

PREMIUM MATERIALS - The Door Draft Stopper are made of silicone material, which can bend and deform. Draft stopper for bottom of door is very flexible and will not damage your floor. Door strip is also very sturdy and has a longer service life. Size: 2” W x 39” L

Thickened Silicone Material-Heat And Cold Resistant:Door Draft Stopper is made of pure silicone material, easy to bend and deform.Smooth surface, high resilience.Draft Stopper for Bottom of Door puts up with all the abuse, it has no "compression memory", wont't damage the floor, and is pliable enough that you can easily still open the door along the crooked floor and against daily wear

BLOCK DRAFTS EFFECTIVELY - High-quality door draft stopper made from industry-grade silicone with exceptionally strong adhesive. Our door sweep for the bottom of doors puts an end to all draft problems, cold air, and dust (for exterior doors and indoors). Size: 2” H x 39” L
Identifying Noise Sources
I listen in different spots and at different times.
I note if noise is outside (traffic, neighbors, pets) or inside (TV, appliances, footsteps).
I write down when noise is worst — morning, late night, or only on weekends.
This helps me target fixes like window upgrades for street noise or floor underlay for footsteps.
I also check what type of noise it is: steady low rumble, sharp bangs, or voices.
Steady noise often needs mass or insulation.
Bangs and impact noise need damping or decoupling.
Voices and music are airborne and often reduced by improving STC-rated barriers like doors and walls.
Understanding Sound Transmission
I think about sound transmission paths: through air (airborne) and through structure (impact or flanking).
Airborne sound travels through gaps, windows, and thin walls.
Impact sound travels through floors, joists, and shared walls.
I use simple tests.
I close doors and windows and note change.
I press my ear to a wall or floor to feel vibrations.
If sound drops a lot when I close a door, gaps were the main problem.
If low bass still comes through, I need heavier mass or sealed, decoupled assemblies to raise the room’s STC.
Evaluating Existing Room Structure
I map the room: wall types, window size and type, door type, floor and ceiling construction.
I look for hollow doors, single-pane windows, shared walls, and thin drywall.
I note electrical outlets, vents, and baseboards because gaps there leak sound.
I measure wall thickness and, if possible, check for insulation in cavities.
I also measure room dimensions and furniture placement; heavy furniture and bookshelves can add absorption.
I list upgrades that fit my situation: sealing gaps, adding mass (more drywall), decoupling (resilient channels), or soft treatments (curtains, rugs) depending on what the room already has.
Sealing Doors and Windows for Maximum Silence
I focus on closing the gaps where most sound sneaks in: door edges, the bottom sweep, window frames, and the glass itself.
Small seals and added mass make the biggest difference to reduce street noise and neighbor sounds.

Soundproofing - Acoustic foam panels triangular grooves structure for better noise absorption, helps to reduce and absorb unwanted echoes, waves, reverb and flutter echoes for better recording effect.

Exceptional Sound Absorption:These pyramid acoustic panels are engineered to effectively absorb sound waves, reducing echo and reverberation. With a high NRC (Noise Reduction Coefficient), they create a quieter, more acoustically balanced environment, ideal for recording studios, home theaters, and offices.

Acoustic Principle- Bass Trap is a kind of sound absorbing structure specially used to absorb specific low-frequency standing wave. It is a special acoustic processing device installed in the corner and ceiling. It is perfectly good for improving the low frequency response, eliminating or delaying the standing wave, making the sound much clearer, and improving the quality of sound system.
Applying Weatherstripping and Door Sweeps
I start with weatherstripping on the door frame.
Measure the top and sides, clean surfaces, and stick self-adhesive rubber or silicone weatherstripping to create a tight seal when the door closes.
Rubber weatherstripping works well because it compresses to fill uneven gaps and resists wear.
For the bottom, I use a door sweep or a wraparound door seal.
A door sweep with a rubber flap or bristles seals the gap without dragging on the floor.
Install by screwing the sweep to the door bottom or using an adhesive model for rentals.
A tight sweep cuts airflow and noise by several decibels.
If the door is old, check for warped jambs or uneven floors.
Small shims behind the strike plate or a thicker sweep can fix those issues.
Using Acoustic Caulk and Draft Stoppers
I use acoustic caulk where gaps are irregular or permanent.
Acoustic caulk stays flexible and blocks sound better than regular caulk.
Run a continuous bead around window frames, door trim, and any cracks in the wall near the door.
Smooth it with a finger or tool for a clean seal.
Draft stoppers help when I need a temporary or non-permanent fix.
A fabric draft stopper or rolled towel at the door bottom reduces drafts and knocks down low-frequency thumps.
For windows, removable foam strips or rubber draft seals fit into the sash gap to stop wind and reduce traffic noise.
I avoid gaps near hinges and strike plates—sound finds even tiny holes.
Check after installation and add more caulk or a second layer of weatherstripping if needed.
Upgrading to Solid Wood Doors and Acoustic Windows
When I need serious reduction, I replace hollow-core doors with a solid wood door.
Hollow-core doors let sound pass easily; a solid wood door adds mass and can cut 20–30 dB in some cases.
Match the door size to the frame and fit new weatherstripping for the best result.
For windows, acoustic windows or double- and triple-pane upgrades make a big difference.
I consider window inserts if full replacement is too costly.
Inserts fit inside the frame and create an air gap that lowers noise by 10–15 dB.
Choose inserts with good seals and install per manufacturer instructions.
If replacing windows, pick glazing with thicker outer or inner panes and an insulating spacer.
Proper installation and sealing matter as much as the glass type.
Installing Soundproof Curtains and Window Inserts
I hang soundproof curtains or heavy blackout curtains as a first step.
Choose curtains with dense fabric and a full overlap over the frame.
Mount the rod 4–6 inches above and 4–6 inches wider than the window to create a seal around edges.
Curtains lower mid- and high-frequency noise and also reduce echo in the room.
For low-frequency traffic or bass, I add window inserts.
Inserts are acrylic or glass panels that sit inside the window frame and create a sealed air gap.
Combine curtains with inserts for layered protection.
The insert handles the bulk of outdoor noise while the curtain dampens remaining sound and blocks light.
For rentals, use removable curtain rods and stick-on weatherstripping to avoid permanent changes.
Improving Wall Soundproofing
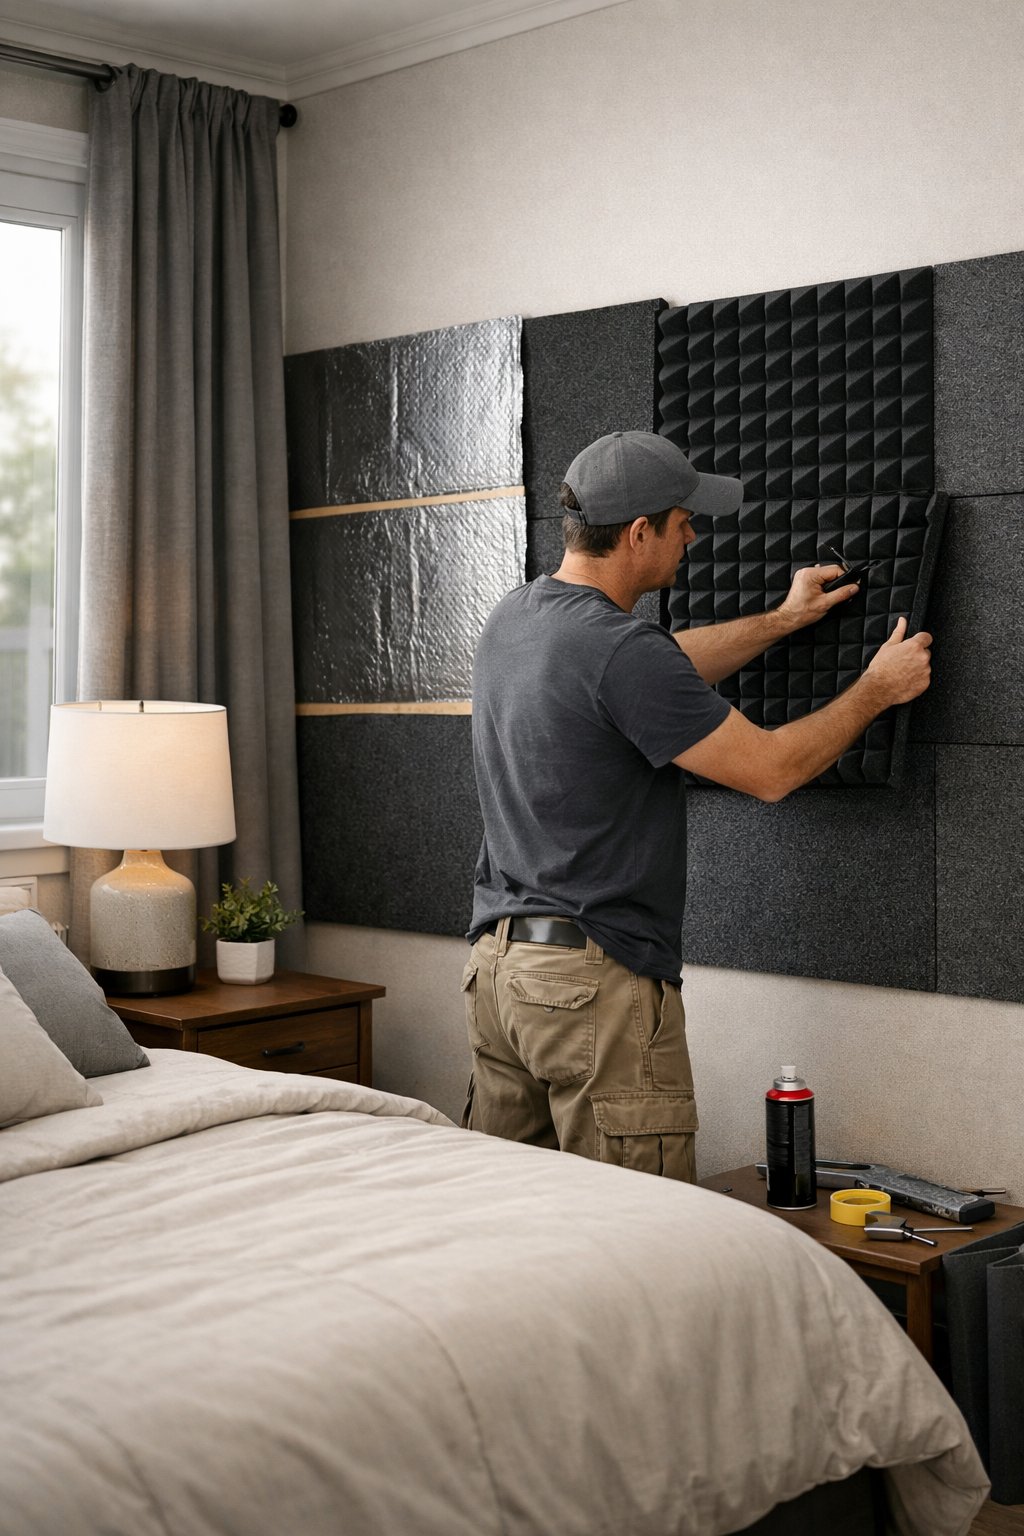
I focus on practical steps you can take to cut noise through walls.
Below I explain specific materials, where to place them, and which choices give the biggest benefit for the cost.

【Size of This Foam Tape】1/2 inch Wide x 1/4 inch Thick x 21 ft Long x 2 rolls. The Neoprene sponge foam tape is easy enough to customize and cut to size with scissors or blade, and bend easily and conform to any shape
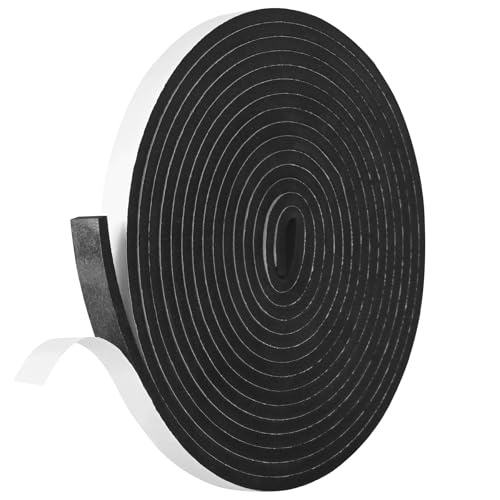
【Size of This Foam Tape】1/2 inch Wide x 1/4 inch Thick x 16.5 ft Long x 1 roll. The Neoprene sponge foam tape is easy enough to customize and cut to size with scissors or blade, and bend easily and conform to any shape

[Newly upgraded mesh adhesive]: The upgraded mesh adhesive ensures the longest adhesion, is easy to operate, and is highly prone to peeling and sticking. Moreover, the presence of grid lines can ensure that the adhesive is firmly attached to the strip without leaving any traces
Adding Mass with Drywall and Soundproof Drywall
Adding weight slows sound.
I suggest installing an extra layer of standard drywall (sheetrock) or using soundproof drywall made with damping layers.
For a retrofit, hang a second 5/8″ drywall layer over the existing wall.
Stagger joints and screw into studs through resilient clips or hat channel if you can; this reduces vibration transfer.
If you choose soundproof drywall, pick panels labeled for sound control (often heavier or with a viscoelastic core).
They cost more but save space versus multiple drywall layers.
Seal all seams and perimeter with acoustic caulk to stop sound leaks.
Even one well-sealed additional layer often lowers mid and high frequencies noticeably.
Using Mass Loaded Vinyl and Rockwool Insulation
Mass Loaded Vinyl (MLV) adds dense, thin mass without huge thickness.
I cut MLV to fit between studs or attach it over existing drywall, then cover with drywall or paneling.
Use screws and washers or acoustic-rated adhesive; overlap seams and seal with acoustic tape.
MLV works well for blocking low-frequency noise when combined with other layers.
Rockwool (mineral wool) fills cavities to absorb airborne noise.
I pack it tightly in stud bays behind the drywall or use thicker batts for better low-frequency performance.
Rockwool resists moisture and won’t settle, so it keeps its sound absorption over time.
Together, MLV plus rockwool gives both blocking and absorbing action: MLV stops transmission, rockwool reduces echo inside the wall.
Installing Acoustic Panels and Foam Paneling
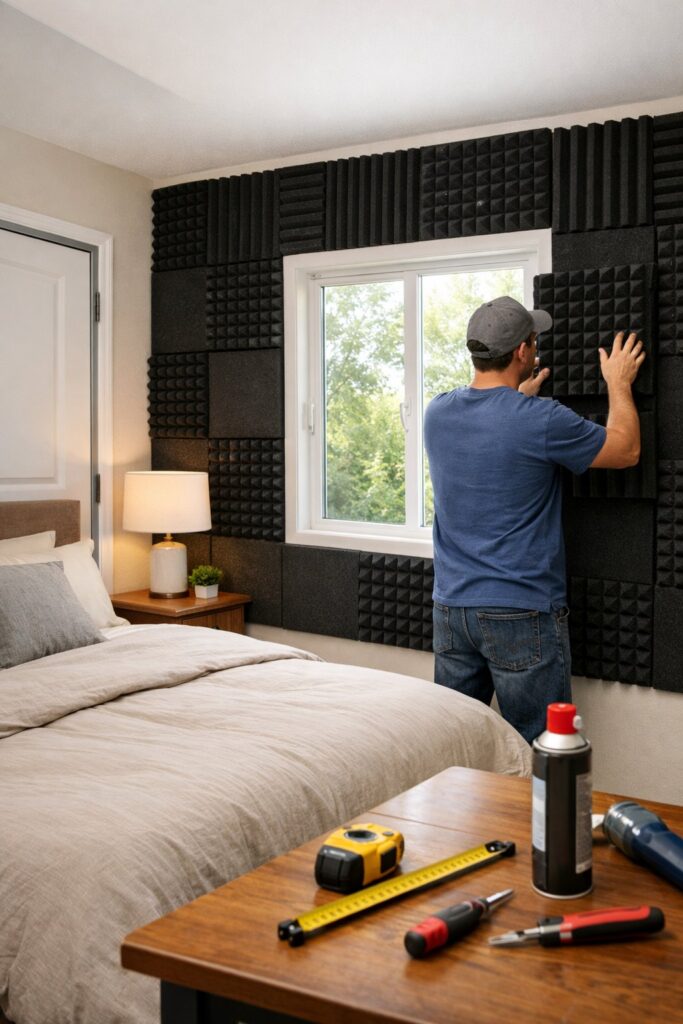
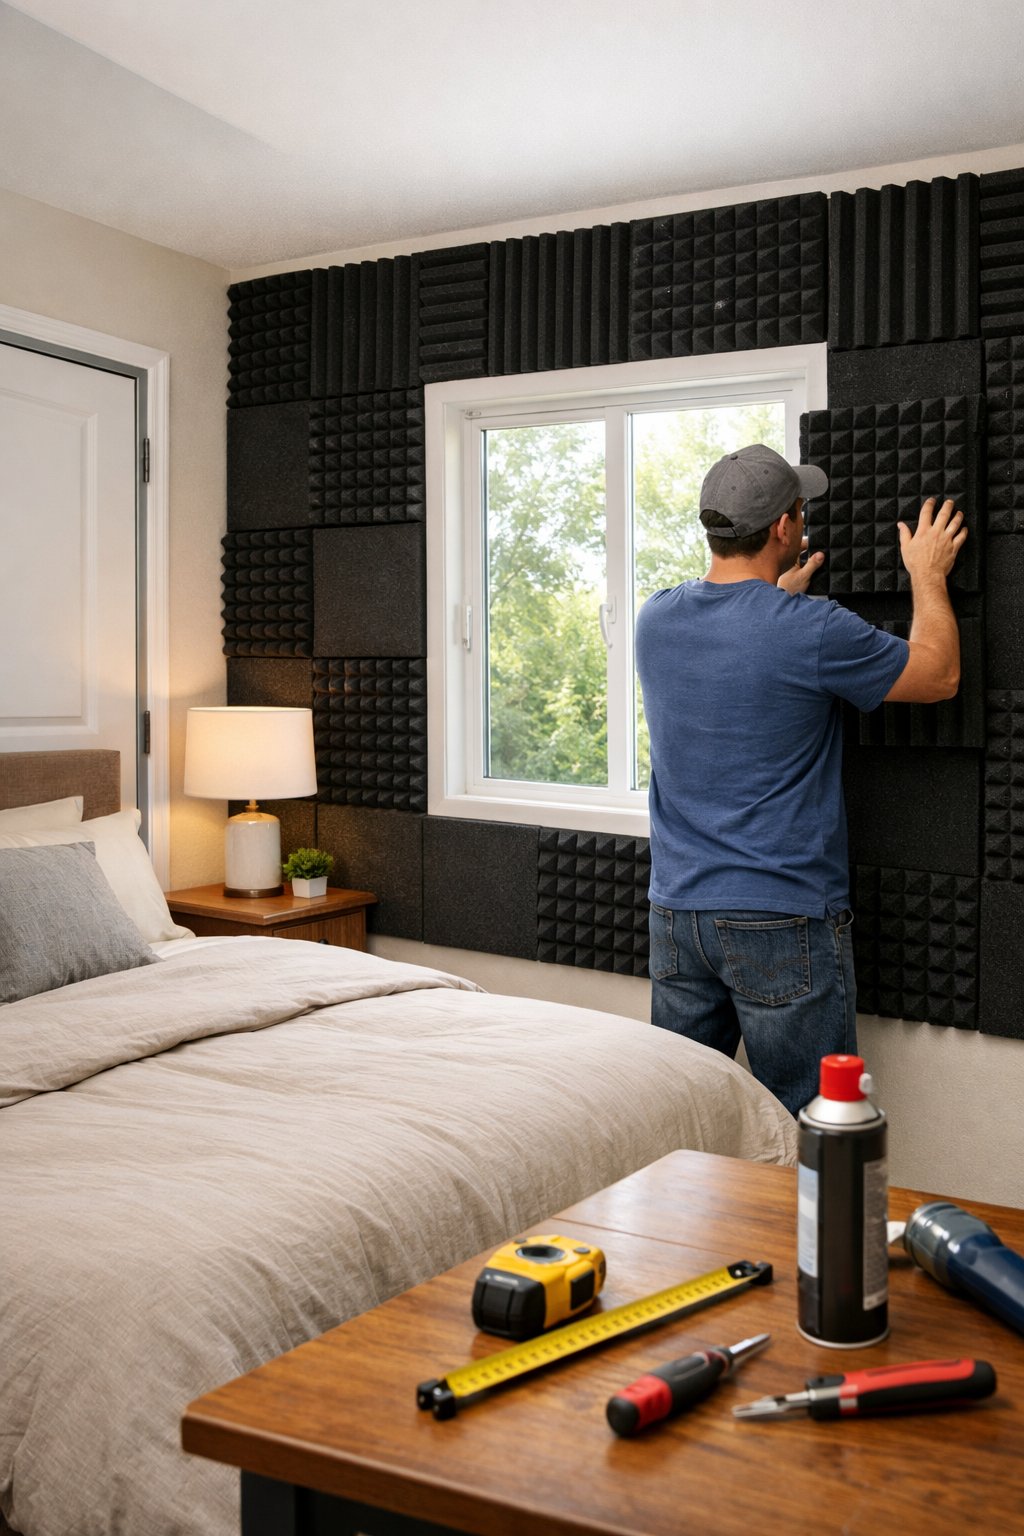
Acoustic panels and foam paneling control reflections and reduce echo inside the room. I place panels on walls that face noise sources or where sound bounces the most.
For best results, mix panel types: thicker fabric-wrapped panels for mid/low absorption and acoustic foam panels for higher frequencies.
Mount panels with removable clips or heavy-duty adhesive so you can test positions. Use a combination of wall coverage and corner bass traps if bass from neighbors is a problem.
Remember panels improve room acoustics but do not add mass; pair them with mass solutions (drywall, MLV, or rockwool) when the goal is true soundproofing rather than just echo control.
Enhancing Floor and Ceiling Soundproofing
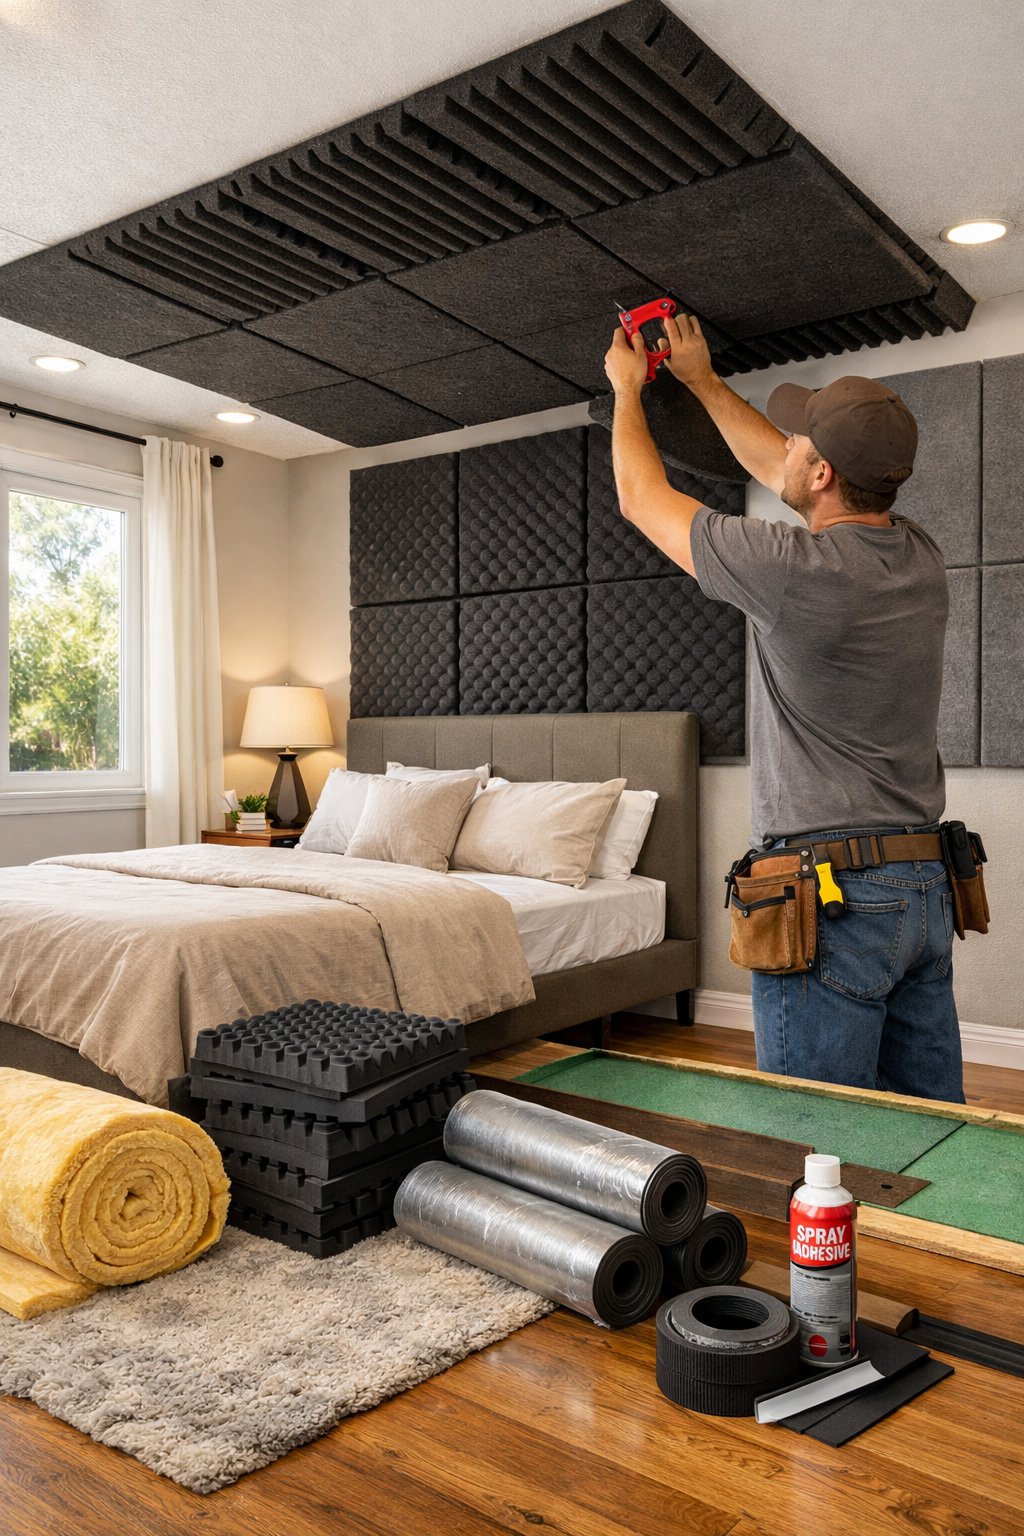
I focus on the surfaces you walk on and the surfaces above you. Small changes on floors and ceilings often cut the loudest noises: footsteps, dropped items, and echoing voices.

【Ultimate Audio Clarity Enhancer】 Crafted from advanced 30kg/m³ high-density polyurethane foam, JBER acoustic wall panels amplifies sound absorption, mitigating disruptive echoes and reverberations for crystal-clear audio recording and playback, enhancing your creative and professional workspaces

Effective Sound Absorption – High-Density Acoustic Felt: Made from premium high-density acoustic felt, these soundproof wall panels effectively absorb mid- and high-frequency noise, improving room acoustics and reducing echoes. Ideal for home studios, offices, bedrooms, and gaming rooms.

Leaf-Inspired Design: Sculpted with flowing leaf lines, these panels bring natural rhythm to modern interiors. A blend of organic art and acoustic purpose that turns walls into quiet, living surfaces.
Installing Rugs, Carpet, and Rug Pads
I start with rugs and carpet because they reduce both impact and airborne noise quickly. Choose a dense, low-pile carpet or a thick area rug; these trap sound and lower echoes.
Under every rug I place a quality rug pad—look for pads labeled “sound absorbing” or made of dense felt or rubber. The rug pad stops slipping and adds a layer that absorbs impact energy before it reaches the subfloor.
Measure the room and buy a rug that covers high-traffic zones, especially under beds and seating. For apartments, use wall-to-wall carpet plus a heavyweight pad underlay to reduce footsteps below.
Clean and replace pads if they compress over time, since thin or flattened pads lose much of their sound control.
Applying Flooring Underlayment and Rubber Mats
When I want longer-term improvement, I add an underlayment beneath new flooring. Flooring underlayment comes in foam, cork, or dense rubber and reduces both impact sound and minor airborne transmission.
Match the underlayment to your flooring: cork or rubber for hardwood/laminate, dense foam for vinyl, and specialized acoustic underlay for tile. Install it continuous across the room and seal seams where recommended.
Rubber mats work well over existing floors when you can’t replace flooring. I use interlocking rubber mats in workout or high-impact areas to cut heavy thuds.
For shared buildings, a 3–6 mm acoustic rubber underlay beneath floating floors gives clear improvement. Check product STC/ IIC ratings if you need measured performance numbers.
Using Ceiling Clouds and Acoustic Ceiling Panels
I treat ceilings when noise comes from above or when room echo needs cutting. Ceiling clouds are suspended panels that absorb sound in the middle of the room.
I hang them above beds or seating areas to cut direct reflections and reduce reverberation. Choose panels made of mineral wool or dense polyester for better sound absorption.
Acoustic ceiling panels attach directly to the ceiling or drop-in grid. I pick high NRC (noise reduction coefficient) panels for maximum absorption.
Install panels to cover at least 15–25% of the ceiling area for noticeable results, focusing over noise sources. Combine ceiling treatments with insulation in the joist cavity if possible to address sound transmission between floors.
Simple Soundproofing Upgrades and Accessories
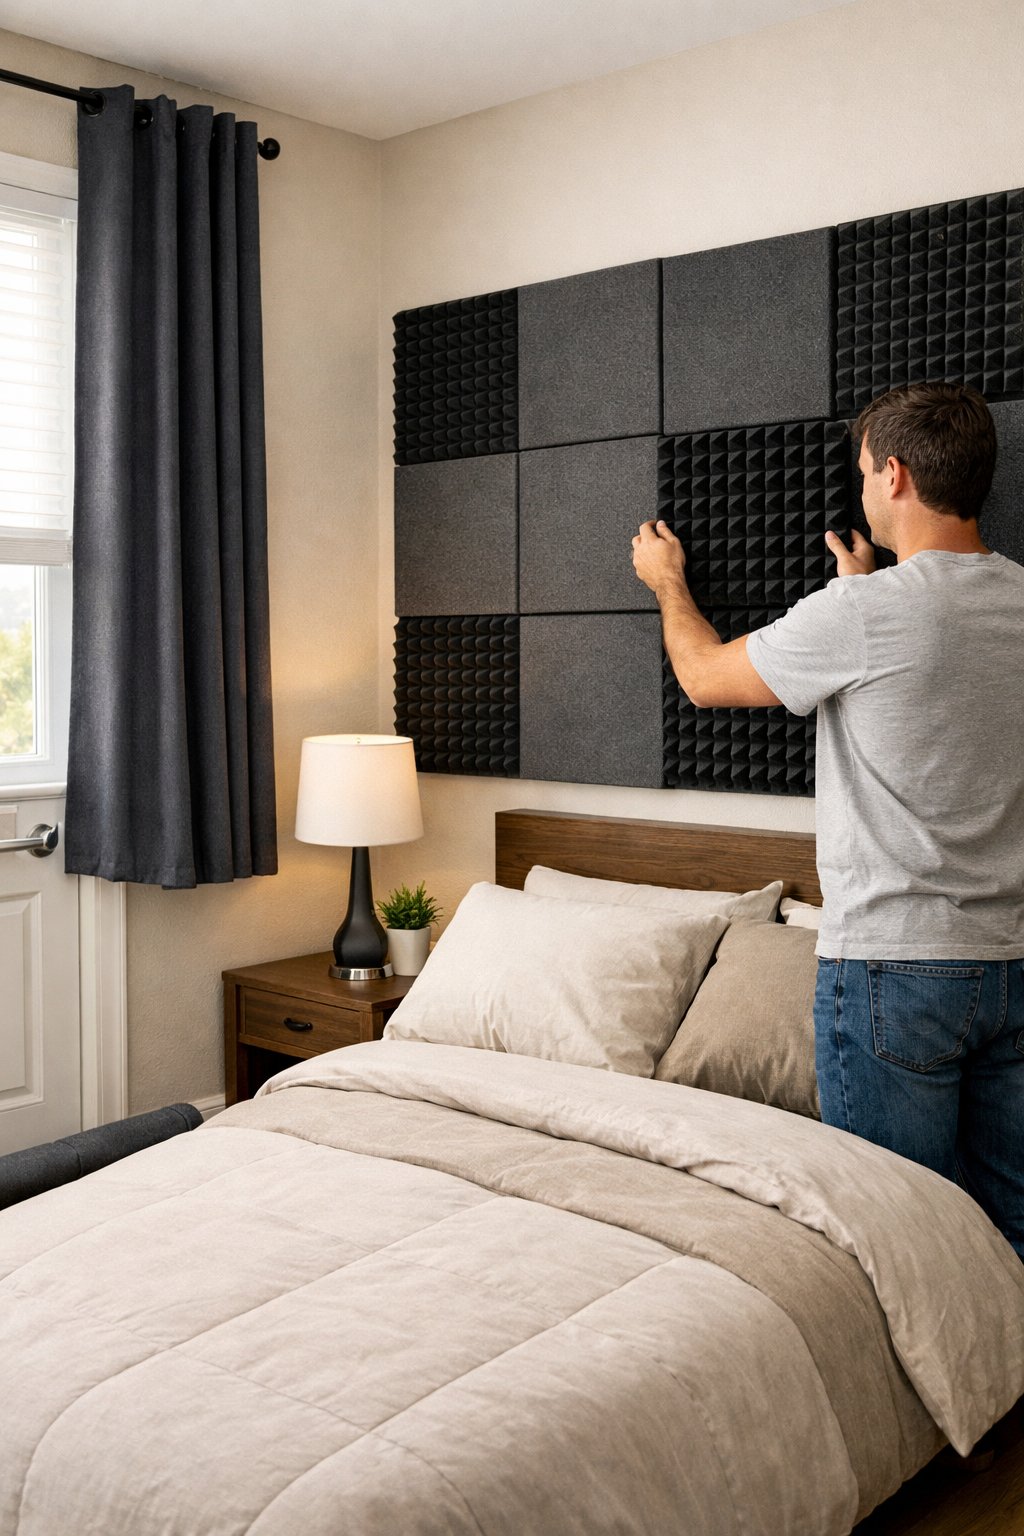
I focus on fixes that cost little, take little time, and make a real difference. Small changes to furniture, fabrics, and sound machines can cut echoes, block street noise, and help you sleep better.
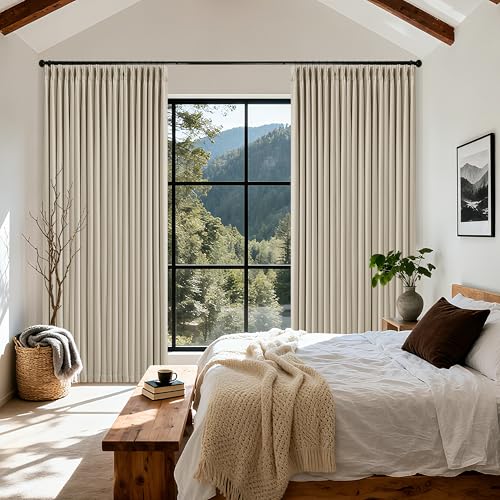
Double Layer 100% Blackout Curtains: Our 100% blackout curtains feature a thick linen textured fabric and a 100% blackout liner. Fully blocks sunlight and UV rays. 450GSM thick material adds a premium texture, not only creates a private space for undisturbed sleep or relaxation but also provides thermal insulation - keeping the room cool in summer and warm in winter

3 LAYERS - Package includes 2 panels total width 104 inch. 1 layer in front (grey), 1 layer in back(grey) & 1 detachable felt fabric lining in the middle. No Toxic & formaldehyde.
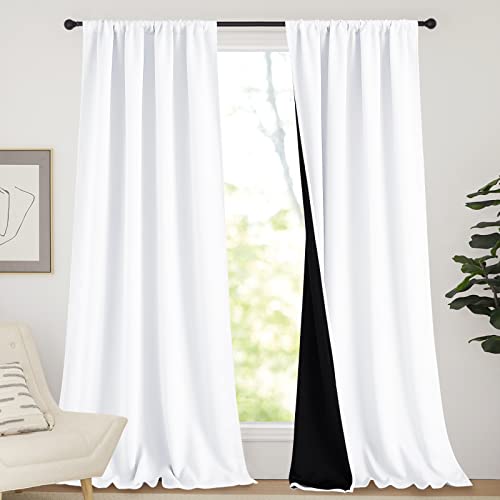
Ready Made: 2 panels per package. Each Classic Lined Curtain measures 52" wide x 95" long (Total width is 104"). 2.7-inch rod pockets are recommended with no greater than a 1.7-inch rod for maximum movement. Create pleats easily, adding decorative style.
Arranging Furniture and Upholstered Headboards
I place heavy furniture against shared walls to block sound paths. A tall bookcase filled with books or dense boxes works well.
Leave a small gap for airflow but push the heaviest pieces where noise is worst.
I use an upholstered headboard to reduce noise transfer through the bed wall. Choose a thick, fabric-covered headboard with dense foam or batting inside.
Mount it so it sits flush with the wall; even a 2–3 inch foam-backed headboard lowers high-frequency noise and dampens impact sounds from slamming doors or neighbors upstairs.
Rugs under the bed and a soft mattress pad help absorb sound that bounces off floors. If my room has hard floors, I layer a pad beneath rugs to trap more sound.
These moves trade little space for noticeable quiet.
Adding Soundproof Blankets and Sound-Absorbing Decor
I hang soundproof blankets over thin walls or across a window during noisy hours. Pick blankets labeled for sound absorption with dense fiberglass or mass-loaded vinyl layers.
Attach with removable hooks so you can take them down when not needed.
Sound-absorbing curtains work well at windows and over doors. I pick heavy, multi-layer curtains that extend past the window frame by at least 6 inches on each side.
That overlap reduces flanking noise from gaps.
I add wall panels or thick textile art to break up echoes. Look for panels rated for sound absorption (NRC values listed).
Placing panels at reflection points—opposite the bed and near the ceiling—drops room echo and makes voices sound softer.
Deploying White Noise Machines
I use a white noise machine to mask unpredictable noise like traffic or neighbors. Set it to a steady sound such as fan, rain, or broadband white noise at a comfortable volume—enough to cover sudden spikes but not so loud it wakes you.
Position the machine near the head of the bed, about 1–2 feet away, not hidden in a closet. That gives a consistent sound field around your ears and improves masking without blasting the whole room.
If I travel or sleep in different rooms, I use a small portable white noise unit or an app with a timer. Combine white noise with the other upgrades above for the best quiet—furniture placement, blankets, and curtains reduce incoming sound while the machine fills remaining gaps.
Choosing the Right Soundproofing Solutions for Your Needs
I focus on practical steps: what works for walls, doors, and windows; how much it costs; and whether you need a quick fix or a long-term upgrade.

Premium Thickened Flexible Silicone Material - Heat And Cold Resistant: OXRQ Door Draft Stopper is made from high-quality silicone, which is flexible and durable & easy to bend and rebound in one second, superior in performance and durability to other rigid plastic products on the market. Smoothly surface, high resilience. Strong Adhesive stick firmly and won't damage your door and floor, you can easily open the door along the door bottom seal or against daily wear.
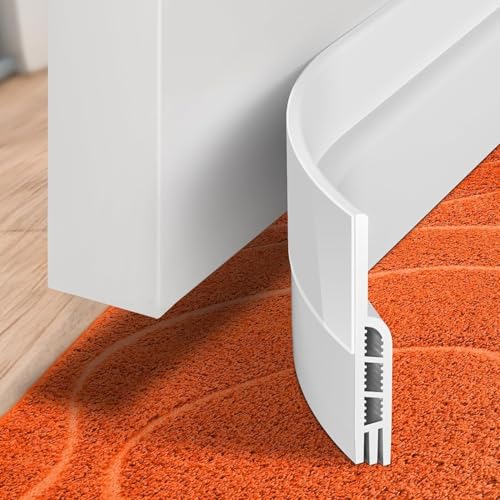
Robust adhesion: door draft stopper, Sheets, rolls & strips, 41inch length by 2inch width, filling gaps up to 1 inch, equipped with exceptionally strong adhesive that remains intact over time, ensuring a secure bond for enduring door protection; If you have doubts about the size and color of the product, you can consult our customer service before purchasing

Draft Guard, Blocks Cold Air, Keeps Warm Air In: Seals the gap under interior doors to stop chilly drafts from entering and warm air from escaping. Maintains a steady room temperature so your home feels cozy in winter and cool in summer.
Comparing DIY and Professional Methods
I weigh DIY and pro methods by effectiveness, time, and skill. DIY fixes like weatherstripping, door sweeps, thick curtains, rugs, and acoustic foam can cut light noise and echo for under $100–$500.
They work best when noise enters through gaps or reflects inside the room.
For serious issues—thin shared walls, heavy street noise, or low-frequency bass—I recommend professional solutions. Pros install double drywall with Green Glue, add Mass Loaded Vinyl (MLV), decouple walls with resilient channels or isolation clips, and upgrade windows.
These methods raise the room’s STC and cost more: expect $1,000–$5,000 or higher depending on scope.
I decide based on the noise source, my budget, and how permanent the fix should be. If I rent, I favor reversible DIY measures.
If I own and need real sound blocking, I hire a pro for structural work.
Budgeting and Evaluating Product Effectiveness
I set a budget by listing problem sources (windows, door, wall) and ranking fixes by cost per decibel reduced. Low-cost items: acoustic caulk ($10–$30), door sweeps ($10–$50), heavy curtains ($30–$200).
Mid-range: MLV rolls ($2–$5 per sq ft), better insulation ($0.50–$2 per sq ft). High-end: double drywall with Green Glue, new soundproof windows, or decoupling systems ($1,000+).
I check product claims against measurable metrics like STC ratings or decibel reduction. Look for independent test data and installation guides.
Read reviews that mention the same noise type you have (traffic, voices, bass). I also factor in installation time and tools.
A cheaper product may cost more if I don’t install it correctly.
Long-Term vs. Temporary Fixes
I choose long-term fixes when the noise source is constant and disruptive.
Long-term options: adding mass (MLV or extra drywall), using Green Glue, building staggered or double stud walls, and installing insulated soundproof windows.
These raise property value and work for low frequencies, but they cost more and need construction time.
Temporary fixes suit renters or short-term needs.
I use thick rugs, bookcases against walls, removable MLV panels, acoustic foam, and sealing gaps with removable weatherstrips or draft stopper.
These help mid- to high-frequency noise and are cheap and reversible.
I balance permanence, cost, and noise type.
For steady loud noise I invest in long-term work.
For occasional disturbances I stack temporary solutions first and upgrade later if needed.