
I think raised beds work best when you get the basics right from the start. First, scout a sunny spot with eight hours minimum of direct sunlight, positioning it near your kitchen and a hose so you’ll visit it daily. Keep the width under four feet and about ten inches tall, allowing kids to reach the center without stepping in soil. Build with untreated cedar or redwood, avoiding pressure-treated lumber. Layer cardboard on the bottom, loosen the dirt below, and fill with Mel’s Mix or a compost-topsoil blend. Add a grid and plant. Following each step prevents years of common gardening mistakes.
Position Your Raised Bed for Sun and Daily Access
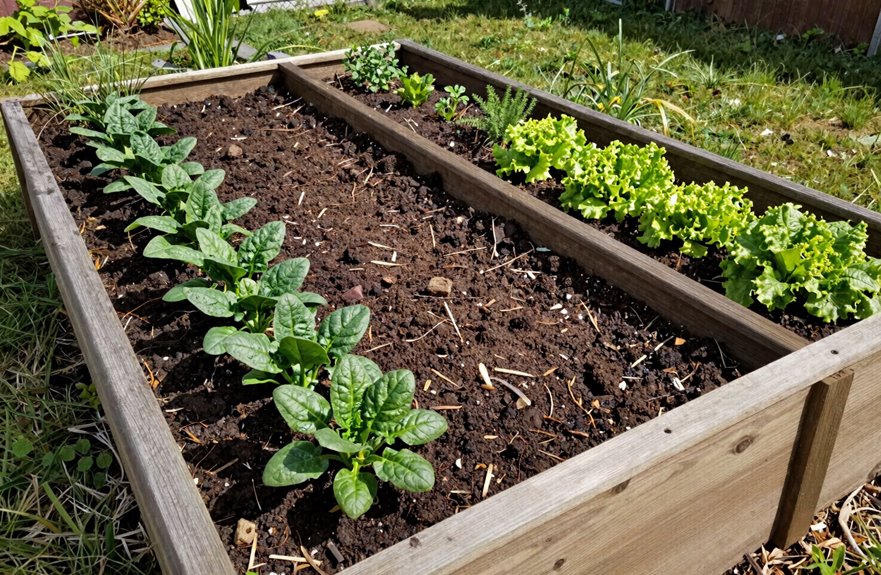
Where do I even start with positioning? I grab my coffee, head outside, and scout for sun exposure—eight hours minimum, or my tomatoes sulk all season. And I always place my raised bed right where I’ll walk past daily, because out of sight means out of mind, and I’ve killed too many plants that way.
But shade’s tricky. I dodge tree cover and root competition like they’re poison ivy. Your plants need every drop of light they can get.
Access matters significantly. I tuck my bed near the kitchen or patio, somewhere I’m already hanging out, so harvesting feels like a reflex, not a chore. And the water source. I’m talking hose, spigot, something close. Dragging cans across the yard gets old quickly.

Garden Covers for Raised Beds: Includes 2 rectangular mesh garden nettings (garden bed is not included) 102.36" * 53.15" * 19.68" in size is perfect for covering 8 * 4FT raised garden beds, flower planter boxes; featuring fine mesh of 0.05in, which keep insects out of the plant while allowing sunlight, air and rain to pass through. And a pack of 12 garden clips for positioning.

Spacious Planting Area: This raised garden bed provides a generous 44 cubic feet of planting space and 1.5 feet of depth, making it perfect for cultivating lettuce, tomatoes, or colorful flowers in a wooden planter box.

LARGER & MORE DIVERSE SPACE: Two 4x2x1.4ft (122x61x43cm) raised garden beds provide deeper and expanded planting area and higher yields. 17'' tall planter box is ideal for deep rooting plant like potatoes, carrots and other vegetables, fruits, flowers, herbs
Size It So Kids Can Reach the Middle
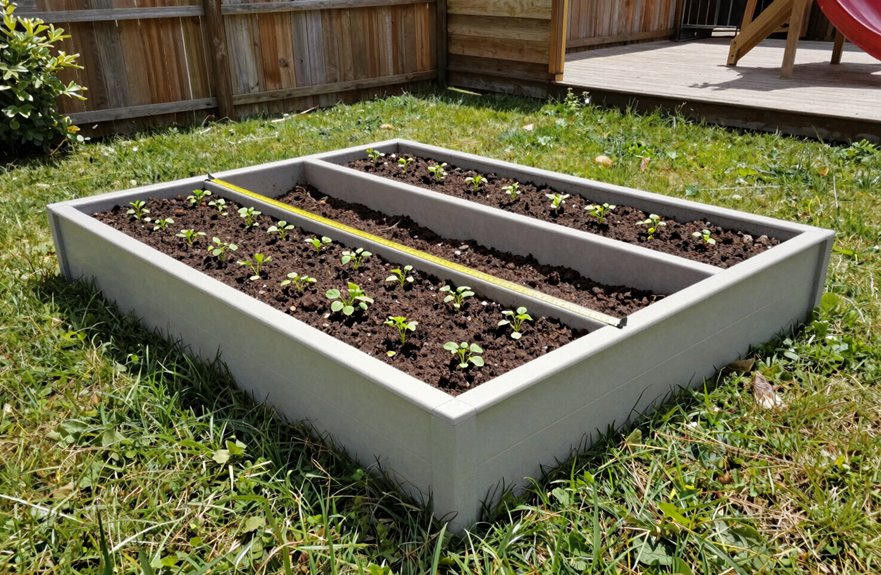
I always keep my beds under four feet wide so my kids can plant, weed, and harvest without climbing inside and wrecking the soil. I pay attention to arm reach, because there’s nothing worse than watching a little gardener strain halfway across and trample your lettuce just to grab a cherry tomato. You want enough room for roots to spread, but not so much that the middle becomes inaccessible and requires you to tend it yourself.

Elevate Your Garden - Opt for a brilliantly engineered raised garden bed to revolutionize your gardening. Its spacious design, measuring 48x24x30 inches, allows for the cultivation of multiple vegetable varieties alongside a plethora of herbs, optimizing your gardening space for ease and diversity.
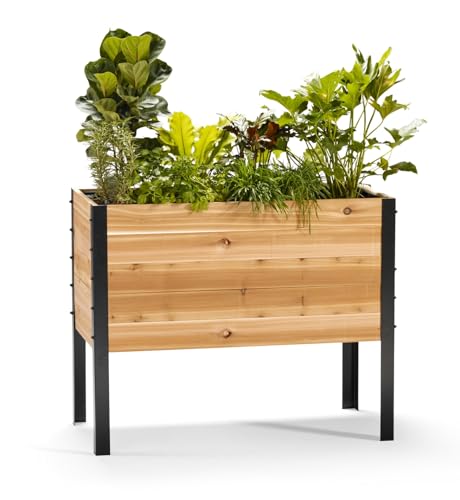
CULTIVATE AN EXQUISITE HERB OASIS ,Our Food-safe Elevated Outdoor Plant Box Presents an Attractive and Functional Layout for Cultivating Your Beloved Herbs, Vegetables, Fruits, Blossoms & Other Greenery Above the Soil , A Breathtaking Complement to Every Cozy Nook!

🪵 Solid American Cedar: Crafted from untreated 100% solid American cedar boards, it is ideal for growing vegetables, herbs, and flowers.
Ideal Width for Children
Kids need to actually reach their plants, right? Getting the raised beds width right makes or breaks a kid’s gardening experience. I stick to 3–4 feet total width because child’s reach significantly impacts bed accessibility.
- 3 feet (36 inches) works perfectly for toddlers and preschoolers who kneel close
- 4 feet hits that sweet spot most builders use, balancing space with planting ergonomics
- 24 inches from each edge lets small hands grab the middle without straining
- Never go wider than 4 feet, even if you’re extending length
- Narrower beds mean kids weed and harvest independently, which builds real confidence
I want every child in our gardening community to feel capable, not frustrated. When children can touch every plant, they develop genuine independence and enthusiasm for gardening.
Arm Reach Matters
How wide is too wide when you’re trusting little arms to do the real work? I’ve learned the hard way that raised bed width makes or breaks a kid-friendly accessibility garden. I keep mine under 4 feet, and 3 feet feels even better for center reach. My daughter can plant seeds in the middle without doing that awkward stretch-and-fall thing. And bed height? I go 12–18 inches, perfect for small bodies, less bending, happier helpers. Shorter lengths, maybe 6–8 feet, mean less tripping when they’re running to check “their” plants. I want them in this garden, feeling capable, not frustrated at the edge. We’re building belonging here, one reachable tomato at a time. Kids who can reach the center will grow alongside their plants.
Growing Space Balance
Why does size matter so much when I’m picking out a raised bed? Because I want my kids right there with me, digging in the dirt, not standing on the sidelines.
I nail the balance by focusing on these specifics:
- I keep raised bed accessibility front and center, so nobody’s excluded
- I cap my bed dimensions at four feet wide. Any wider, and little arms can’t stretch across
- I plan my reach from edges carefully, checking that small hands can grab the middle tomato
- I grab 8-foot boards for length, skipping anything over 10-12 feet that might bow
- I lay out my square foot garden grid in that 4×8 space. Everyone gets to plant.
Height matters too. Six inches minimum, but I’m aiming for 18 when I can. Better drainage and happy roots mean kids who feel genuine ownership of this garden.
Build With Safe Wood That Lasts
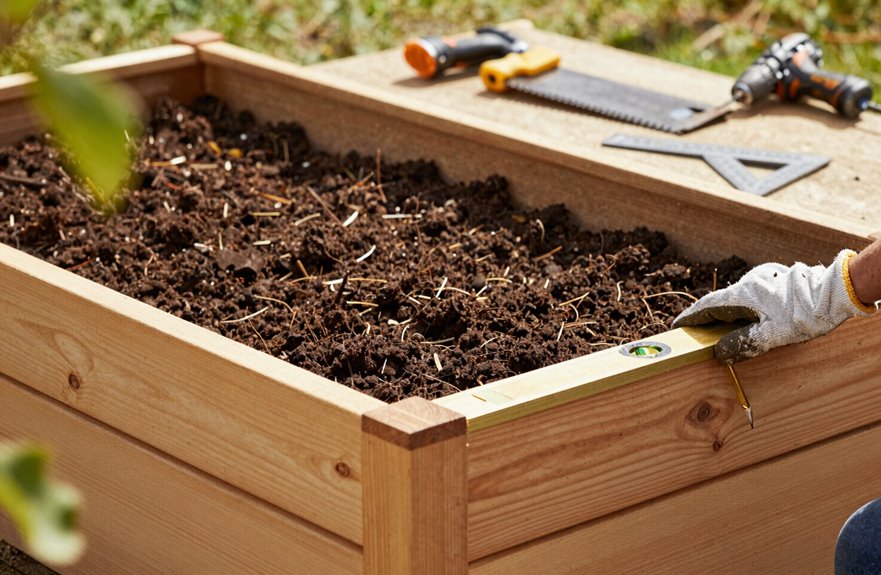
So where should I start when I’m picking wood for my raised bed? I always begin with raised bed wood safety, because what’s touching my soil matters. I reach for durable untreated lumber: cedar, redwood, cypress, oak, black locust, or osage orange. These woods last years without leaching chemicals. I grab 2-inch boards for the body and 1-inch trim, balancing toughness with my back and budget. I hunt for FSC-certified or repurposed lumber when I can, skipping anything pressure-treated. Old CCA wood is not an option, as it contains arsenic. For extra life, I’ll brush a non-toxic finish like linseed or tung oil on exterior surfaces only. These soil-friendly lumber options prevent chemical leaching into your garden bed, keep your vegetables free from toxic residue, and protect soil integrity.

【BEGIN YOUR GARDEN JOURNEY】: Size: 6x3x1 FT; Quantity: 2Pack, accessories for both products packed in one box. The large outdoor planters box offers ample soil capacity to provide an ideal growing space for a variety of crops!Also there are multiple sizes and colors you can choose to fit your gardens!

【Spacious and Versatile Design】The OZMSHF raised garden beds outdoor provide ample growing space for vegetables, herbs, and flowers. Its raised design maximizes planting capacity, making it an excellent choice for gardening enthusiasts who want to grow medium to deep-rooted plants such as broccoli, beans, peppers, and more.

PERFECT FOR YOUR GARDEN: The raised garden beds outdoor is 4x4x1ft, with a round design that provides ample growth space for vegetables, herbs, flowers, fruits, and other plants in the backyard. The planters for outdoor plants not only decorates your garden but also allows you to enjoy the joy of harvest
Raise It 10 Inches for Easy Tending
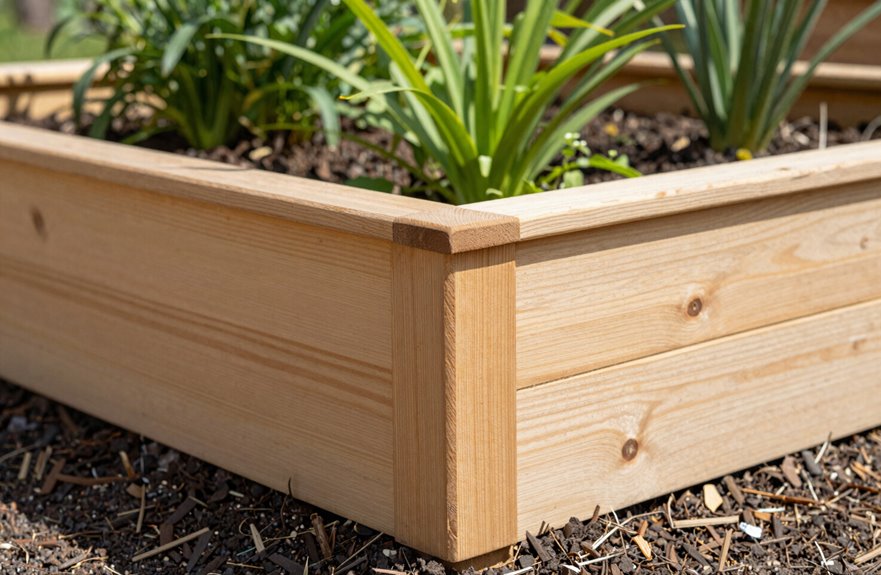
I set my beds at 10 inches because it hits this sweet spot. Kids can actually reach in and help plant seeds without me hovering, and my back doesn’t scream after an afternoon of weeding. That soil warms up faster in spring so I’m planting weeks earlier. It’s practical, comfortable, and makes gardening feel less like a workout.

FOR USE: Ideal for raised garden beds and outdoor containers.

- OMRI LISTED FOR ORGANIC USE: Charlie’s Compost is OMRI listed and suitable for organic gardening, making it a trusted soil amendment for vegetables, fruits, flowers, trees, lawns, raised beds, and container plants.
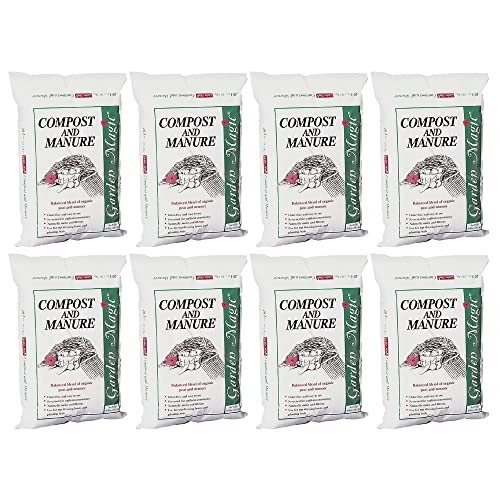
Premium Quality Garden Soil: Carefully curated mix of natural, organic reed sedge peat and compost animal manure provides your plants exceptional balance of nutrients
Kid-Accessible Height
How high should you go when you’re building a bed the kids can actually use? I set my raised beds at 10 inches, and it’s been the sweet spot for kid-friendly gardening. That bed height lets little ones reach the center without climbing in, and they feel like real gardeners, not just spectators.
- Kids can plant seeds without stretching or tipping forward
- The soil warms faster, so we get growing sooner together
- Drainage stays solid, no soggy roots to frustrate young helpers
- I can fit plenty of soil volume without overwhelming them
- Add a removable grid, and everyone gets their own square to tend
This accessibility means my kids come back daily, checking their plants. The daily engagement is what makes this approach successful.
Gentler Back Strain
Why fight your garden when you can work with it? Raised bed accessibility starts at ten inches, and it’s a back-saver.
I plan my beds with back-friendly dimensions because bending kills my motivation. That ten-inch height means I’m not folding myself in half to weed or harvest. I pair that bed height and reach smartly; four feet wide max, so I can grab the center without twisting, no stepbacks needed.
I used to ache after planting. Not anymore.
For side-access planned gardening, I add paths and sometimes a removable grid. It keeps me facing forward, no awkward reaching. I’ll get into the payoff next, but your spine will benefit from day one.
Faster Soil Warmth
Because I’m itching to get my tomatoes in the ground weeks earlier, that ten-inch height is my hidden ace. That raised bed height traps solar heat effectively, and I’m talking real soil warmth that kicks roots into gear. More volume means less heat bleeding into chilly spring air, and my beds warm up quickly after sunny days. Bed drainage stays solid, so I’m not stuck with soggy, cold muck slowing my early-season growth.
And I’m not bending forever while I wait for dirt to cooperate.
That ten inches delivers these benefits for early planters:
- Higher soil volume holds daytime heat longer
- Less heat escapes to cold air overnight
- Roots hit warm microclimates deeper down
- Moisture stays balanced, not waterlogged
- Easier access while checking progress
The result is faster soil warmth and better growing conditions.
Layer Cardboard, Loosen Soil, Build in Drainage
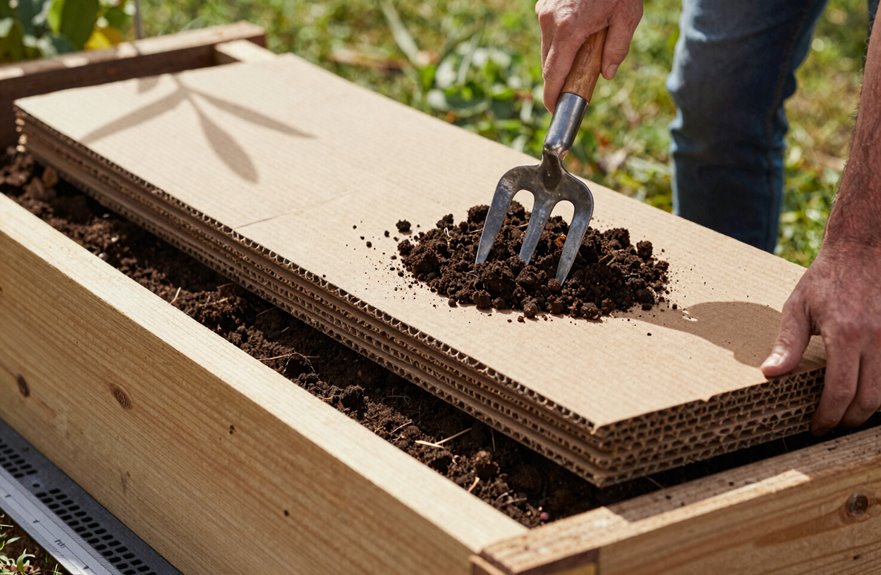
Where exactly should you start once your raised bed frame is sitting there, waiting? I like to grab my cardboard and get layering. This is your weed barrier, and it’s effective. I press that cardboard flat against the ground, overlapping edges so nothing sneaks through.
I don’t just drop my bed on hard dirt. I loosen what’s underneath, breaking up compacted spots so drainage flows free and roots can push down deep. And drainage? I always build it in. I’ll slope the base slightly, maybe add a liner if my yard’s tricky.
Here’s my quick visual:
| Step | What I Do |
|---|---|
| Flatten cardboard | Blocks weeds, starts clean |
| Overlap edges | Seals gaps tight |
| Loosen soil | Roots breathe, water moves |
| Check slope | No pooling, happy plants |
| Test drainage | Pour water, watch it flow |
This approach prevents weeds and allows water to move through the soil so plant roots develop properly.

Perfectly adapts to every stage of plant growth-from seedlings to fruitful harvests! Our upgraded cucumber trellis can extend freely from 17 inches to 50 inches, and rotatate from 0° to 180°, providing the ideal space for cucumbers, tomatoes, peas, beans and vegetables.The A-frame design allows double-sided planting, enhancing the airflow, and sunlight for healthier, stronger growth. Perfect cucumber trellis for raised garden bed, greenhouses , gardens, patios, and vegetable fences.


Adjustable Height Trellis (17" to 50") – Perfect for Raised Beds & Tall Vines, grow Any Climbing Plant! DIY from Compact Seedlings to Towering Vines! Match your raised bed cucumber trellis needs: Start at 17" for young plants, then extend to 50" as they grow! Customize height—ideal for beans, peas, and tall outdoor climbing plants.
Fill With Mel’s Mix or Compost-Topsoil Blend
Some gardeners swear by Mel’s Mix, and I’m one of them. It’s a simple blend: one-third compost, one-third vermiculite, one-third peat moss. It drains exceptionally well. You have soil mix options, which gives you flexibility.
Raised beds need filling, and getting the composition right matters for plant success. Consider these options:
- Skip peat moss products in your raised beds soil mix; use organic and sandy loam instead
- Mel’s Mix works well for loose, fluffy roots that develop strong air circulation
- Compost-topsoil blend works great too: half native soil, half compost, economical and straightforward
- 18 cubic feet fills a 4×6 bed 9 inches deep, about six wheelbarrows
- Layer, water, layer again to help the soil settle before planting
You’re ready to start growing.

SOIL WILL NOT BE WASHED AWAY: Fabric garden bed is deep enough for suitable root growth. Grow bags provides additional protection for your garden bed, preventing soil from being washed away and avoiding the surrounding environment to become dirty and messy.

Generous Planting Space: Ample bed space provides your plants and vegetables with room to thrive, promoting healthy growth and robust yields.
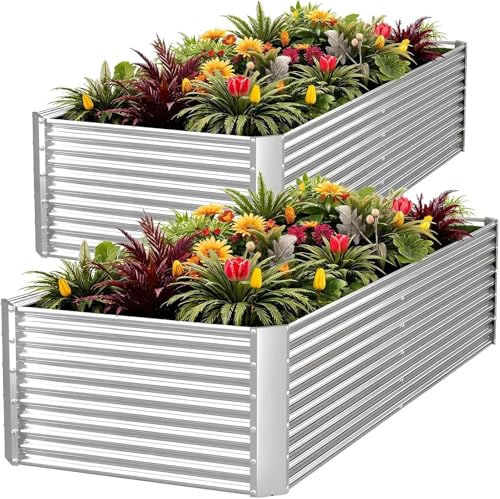
More spacious planting space: At a 16-inch depth the extra height provides ample space for root development, better drainage, and improved soil quality. It also reduces the strain of bending over, as gardening in raised beds means you don’t have to stoop as far while tending, weeding, or harvesting your plants, making the process more comfortable and convenient.
Grid, Plant, and Start Growing This Weekend
Ready to get your hands dirty this weekend? I built my first raised bed in two days with my kids, and you can too. We started by checking sun exposure—eight hours minimum—and picked a spot near our hose, right along our daily walk to the car. I kept my bed under four feet wide so I could reach everything without stepping in my soil mix.
For grid planning, I followed Mel Bartholomew’s square-foot method, marking off 12-inch sections with string. This method improves spacing and crop rotation season to season. Fill that frame first with compost, topsoil, or Mel’s Mix. Grab your seeds, drop them in those grids, and you’re ready to start growing.

Raised Garden Bed with Wheels - Our raised garden bed with wheels allows for convenient mobility, so you can easily move it indoors or outdoors without worrying about harsh weather conditions. The movable garden bed allows you to easily transport and move plants to capture the right amounts of sun or shade. You can enjoy a long lasting gardening solution that prioritizes both functionality and sustainability

DEEP PLANTER FOR MAXIMUM YIELD: With 16" of soil depth and a spacious planting area, this elevated bed supports healthy root vegetables like carrots, beets, and radishes while allowing more crops per bed, boosting overall harvest and garden productivity

LARGE PLANTING SPACE: 8.4 cubic feet of space can support your choice of flowers, succulents, vegetables, and more