
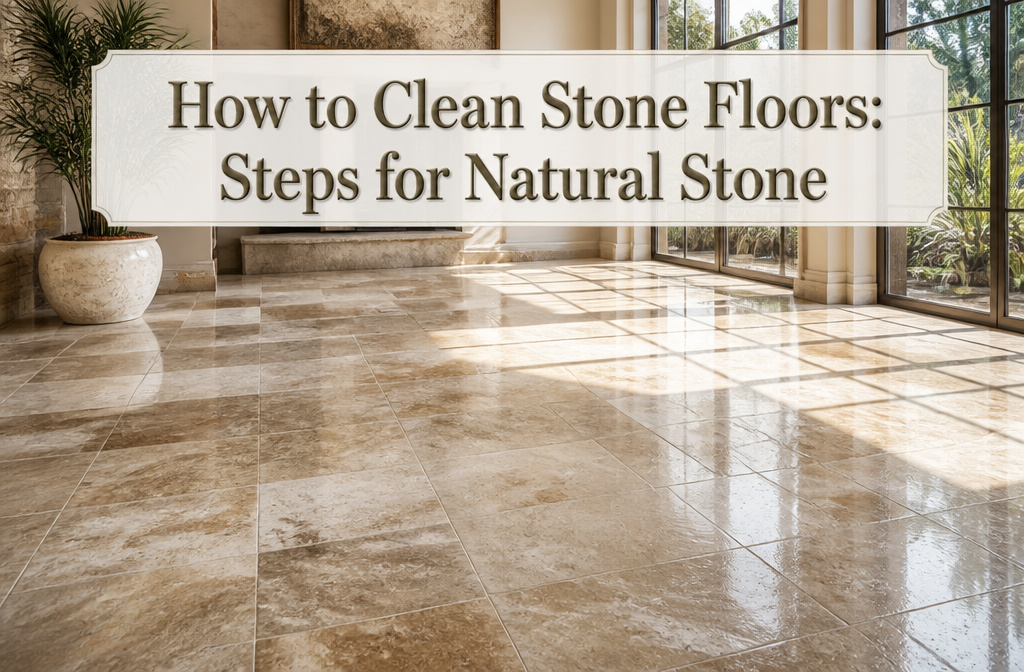

A clean stone floor takes about an hour, a pH-neutral cleaner, and the restraint to stop before the mop is wet. Most people get the mop wrong; barely damp means wrung until it feels almost dry, or water seeps into pores and grout and leaves mineral spots that do not wipe off later.
1. Remove Debris
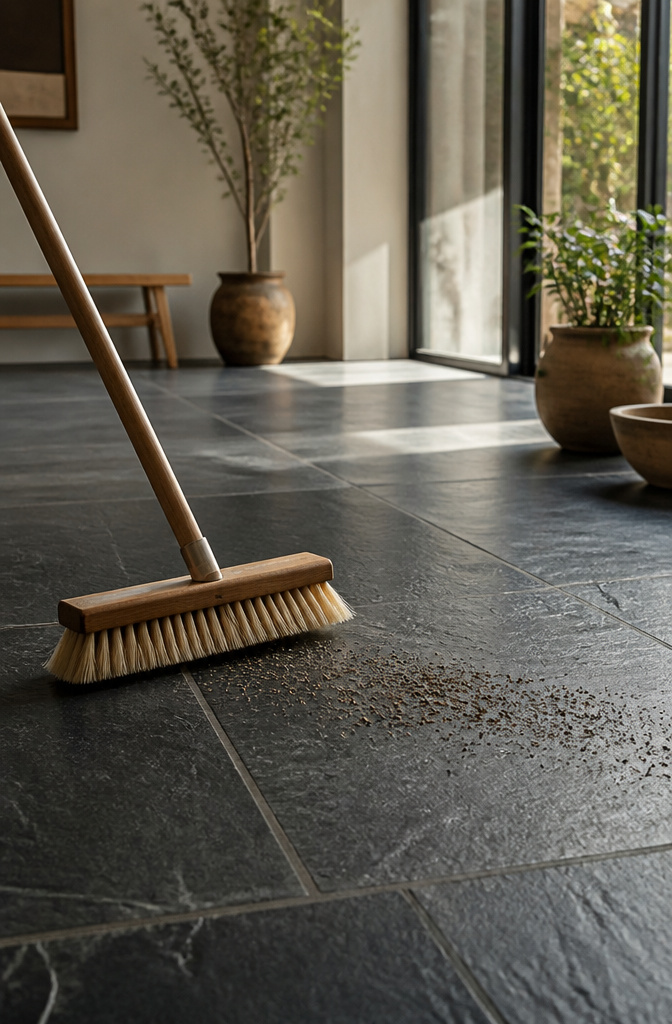
Loose dirt and grit are the fastest way to ruin a stone floor. They scratch the surface when you walk on them, and once moisture hits they turn into an abrasive paste. Sweep or vacuum with a soft brush attachment before you bring out any mop or cleaner.
A regular broom works fine for a quick pass, but a vacuum with a soft brush head pulls grit from grout lines better. Check the wheels and attachments first; worn plastic or metal edges can leave scratches you will not buff out. Dark stone and slate need extra care here, since scratches show up more visibly than on lighter marble or limestone. The pros I trust skip the vacuum entirely on dark floors and stick to a soft push broom.
Wait until mud is completely dry before you sweep. Wet grit spreads, and pushing it around while damp only works it deeper into the stone. Once the surface looks and feels clear underfoot, you are ready for water.
2. Prepare Cleaning Solution
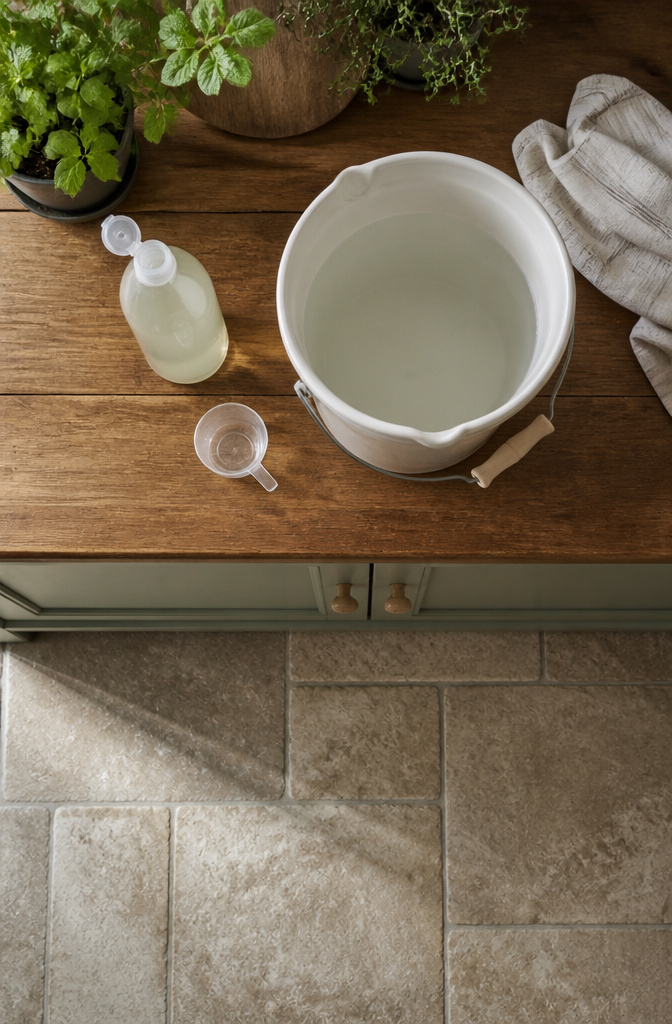
The water needs to be warm, not hot, and you need far less cleaner than you probably think. I fill the bucket first, then add the pH-neutral cleaner, a capful or whatever the label says. A cleaner with a pH of 7 won’t remove the finish or eat into the stone itself, which is exactly what acidic or alkaline products do over time. Anything below 7 is acidic (vinegar falls here, around 2 or 3), and it will strip sealant and eventually etch the surface. Alkaline cleaners above 7 cut grease fine, but they leave a residue that damages the stone if it isn’t completely rinsed and neutralized after. You want the middle. Some bottles say "suitable for natural stone," but I still do a patch test behind a door or under a rug because every floor is a little different and the weekend you have is too short to fix a damaged finish.
3. Mop the Floor

A damp microfiber mop is the tool for this job, and barely damp is the goal. I wring mine until it feels almost dry to the touch; excess water seeps into the stone’s pores and pools in grout lines, which causes more problems than it solves.
I work in small sections, maybe six to eight feet at a time. The cleaning solution starts drying almost immediately in most homes, and once it sets on the surface, streaks follow. Rinsing the mop pad frequently matters more than you’d think. A dirty pad drags grit around instead of lifting it, so I swap to a clean one the moment it looks used. Some people keep a small bucket of fresh solution nearby just for this.
Two methods exist, and the choice depends on your floor’s condition. A spray bottle with pH-neutral cleaner and a dry microfiber pad works well for maintenance cleans; you spritz, let it sit a minute, then mop. The bucket method, with the pad dipped and well-wrung, handles kitchens better where stuck-on food needs more water to release. Either way, the pad should never sit sopping. Let the floor dry completely before rugs go back; trapped moisture breeds mold.
4. Rinse and Dry

Rinse your mop pad every few minutes so you are not pushing dirty water across stone that already looks clean. Two buckets make this simpler: one with your pH-neutral mix, one to squeeze the gray water into. That keeps the solution weak enough that some cleaners do not even need a second rinse, though I still like to go over the floor with clean water if the stone is light-colored or porous.
Water left sitting is where trouble starts. Stone drinks it in, grout traps it, and hard water leaves mineral spots that do not wipe off later. I dry each section right after I mop it, using a soft cloth or a dry microfiber pad to buff the surface. It takes an extra minute per area, but skipping it means coming back tomorrow with vinegar and regret.
5. Spot Clean Stains
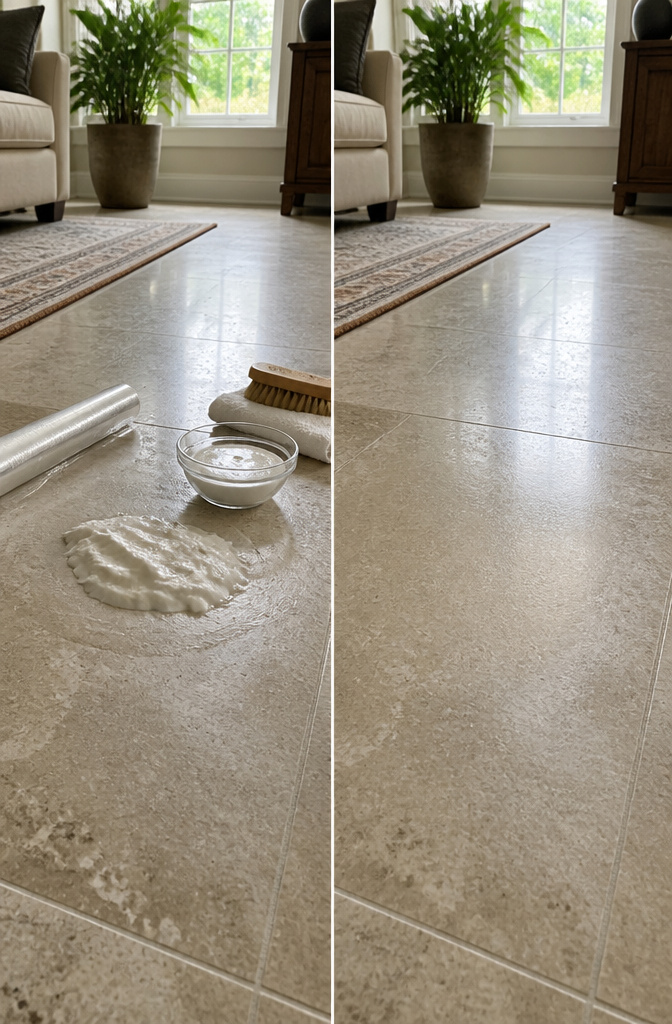
Some stains will not budge with your regular mopping routine, and that is where a poultice or a specialized cleaner comes in. A simple poultice made from baking soda and water, spread to about a quarter-inch thick and left under plastic wrap for 24 to 48 hours, can draw out organic stains like coffee or wine that have settled into the stone. I keep a small container of it mixed and ready because the sooner it goes on, the less likely I am to need a second round.
For faster results, I have started keeping Fila Cleaner Pro and Lithofin Power Clean on hand. Both can be applied directly to the stain, left to work, then rinsed away. Fila Cleaner Pro handles everyday buildup but also tackles ingrained dirt when you increase the concentration, while Lithofin Power Clean works neat for spot treatment or diluted across the whole floor. Whichever you choose, rinse thoroughly afterward. Residue left on stone dries into streaks and rings that look worse than the original stain ever did.
6. Seal the Floor
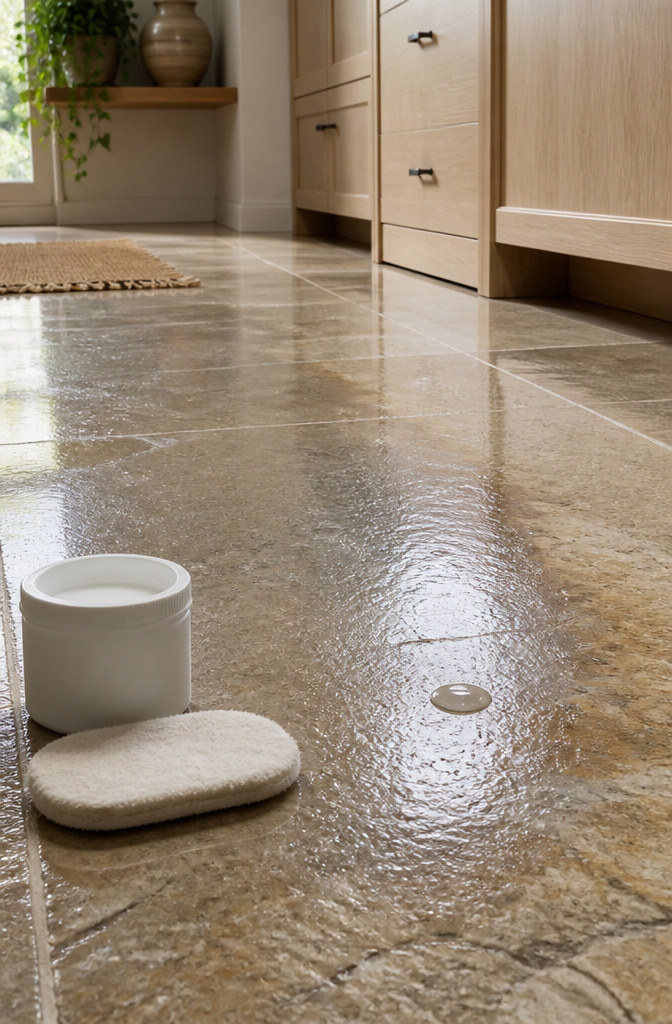
Once the floor is fully dry, a fresh coat of sealant is the only thing standing between the stone and the next coffee spill. I tend to think of it as the step people skip because the floor looks fine, which is exactly when you need it most.
The water drop test takes all the guesswork out of timing. Drip a few drops onto a discreet corner and wait fifteen to thirty minutes. If the water beads up, your sealant is still doing its job. If it sinks in and darkens the stone, you are overdue.
Most kitchens, hallways and living areas can go three to five years between resealings. Bathrooms or anywhere the humidity stays high will likely need attention sooner. The test works the same no matter the room, so I keep a kitchen timer handy when I check, mostly so I do not forget the puddle and come back to a stain I caused myself.
What to Use and What to Skip
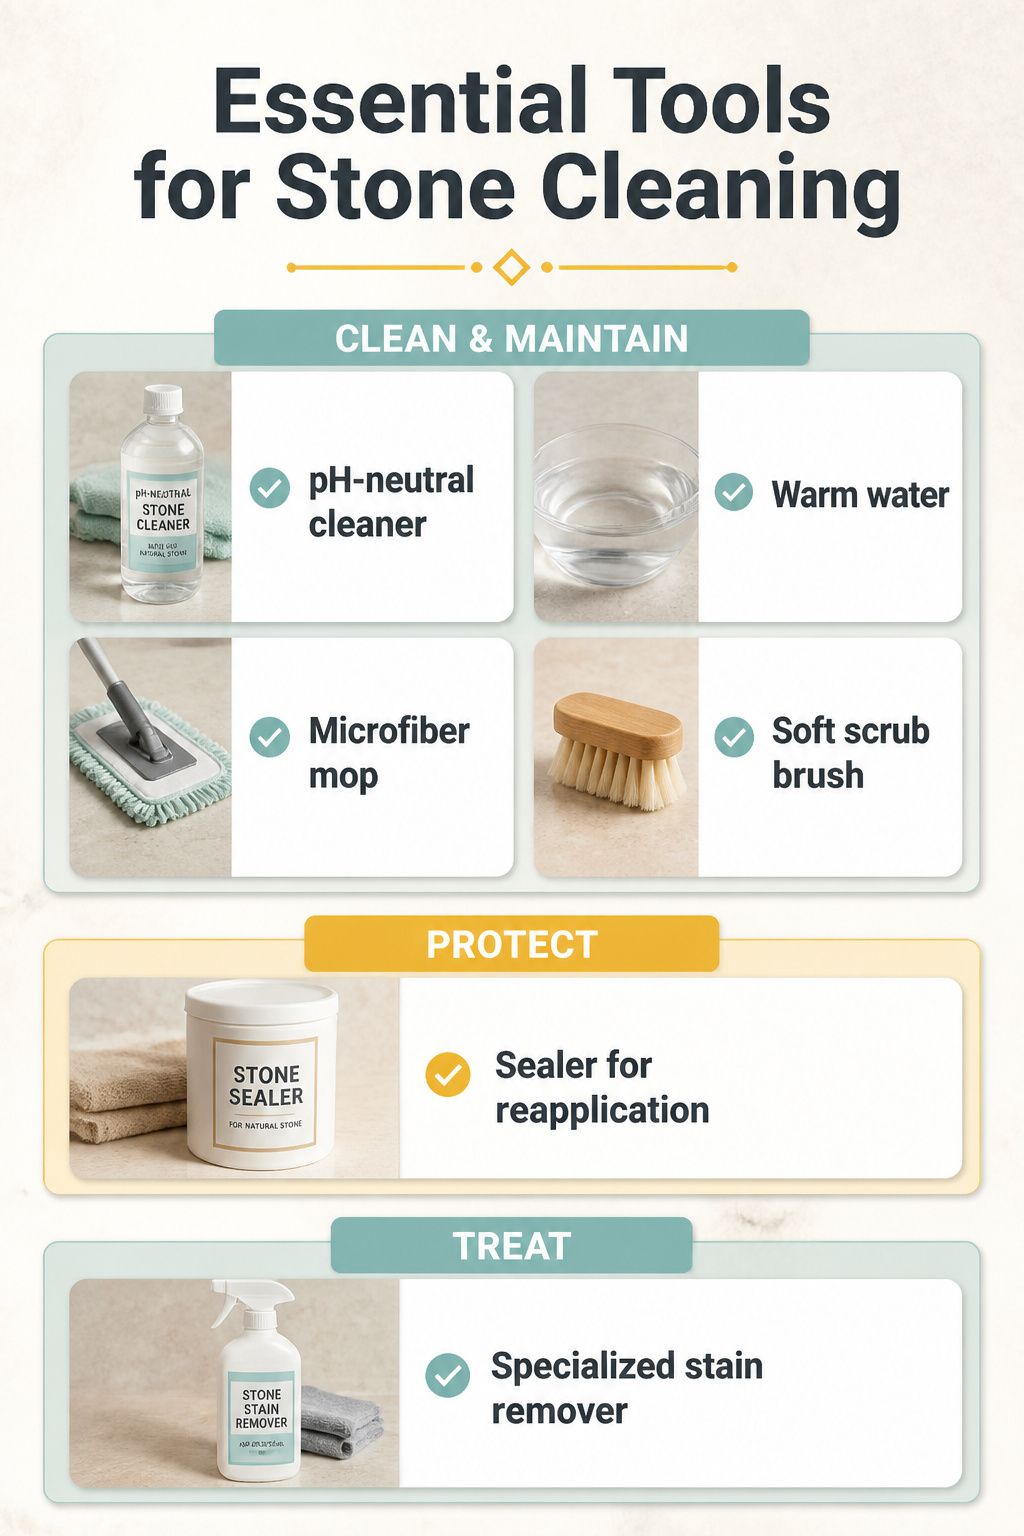
The right tools make stone cleaning simple, but the wrong ones will cost you a floor.
No vinegar, no lemon juice, no bleach. Anything acidic eats calcium carbonate in marble, limestone, and travertine, leaving dull, cloudy spots that don’t buff out. Anything too alkaline strips the sealer. Skip the "all-purpose" cleaners too. Most contain mystery acids or bases that aren’t labeled for stone.
Here’s what belongs in your supply closet:
- A pH-neutral cleaner explicitly marked safe for natural stone. Some brands also maintain the protective sealant while they clean.
- Warm water, used carefully: damp-mop near-dry, never flood the stone.
- A microfiber mop; string cotton mops that wring out almost dry are acceptable if that’s what you have.
- A soft brush for gentle scrubbing when a mop isn’t enough.
- Sealer for periodic reapplication, plus a specialized stain remover for the spots that set in anyway.
I keep my stone floor mop locked up, literally. Once a week is plenty. Daily mopping with too much water is the fastest way to a stained, dirty-looking floor, because stone absorbs what sits on it.
One last note: milk gets mentioned for historic stone floors, and the casein can give smooth, fine-grained stone a soft polish. It’s situational, though. On absorbent or damp stone, you’re trading one stain risk for another.
Cleaners and Methods Compared
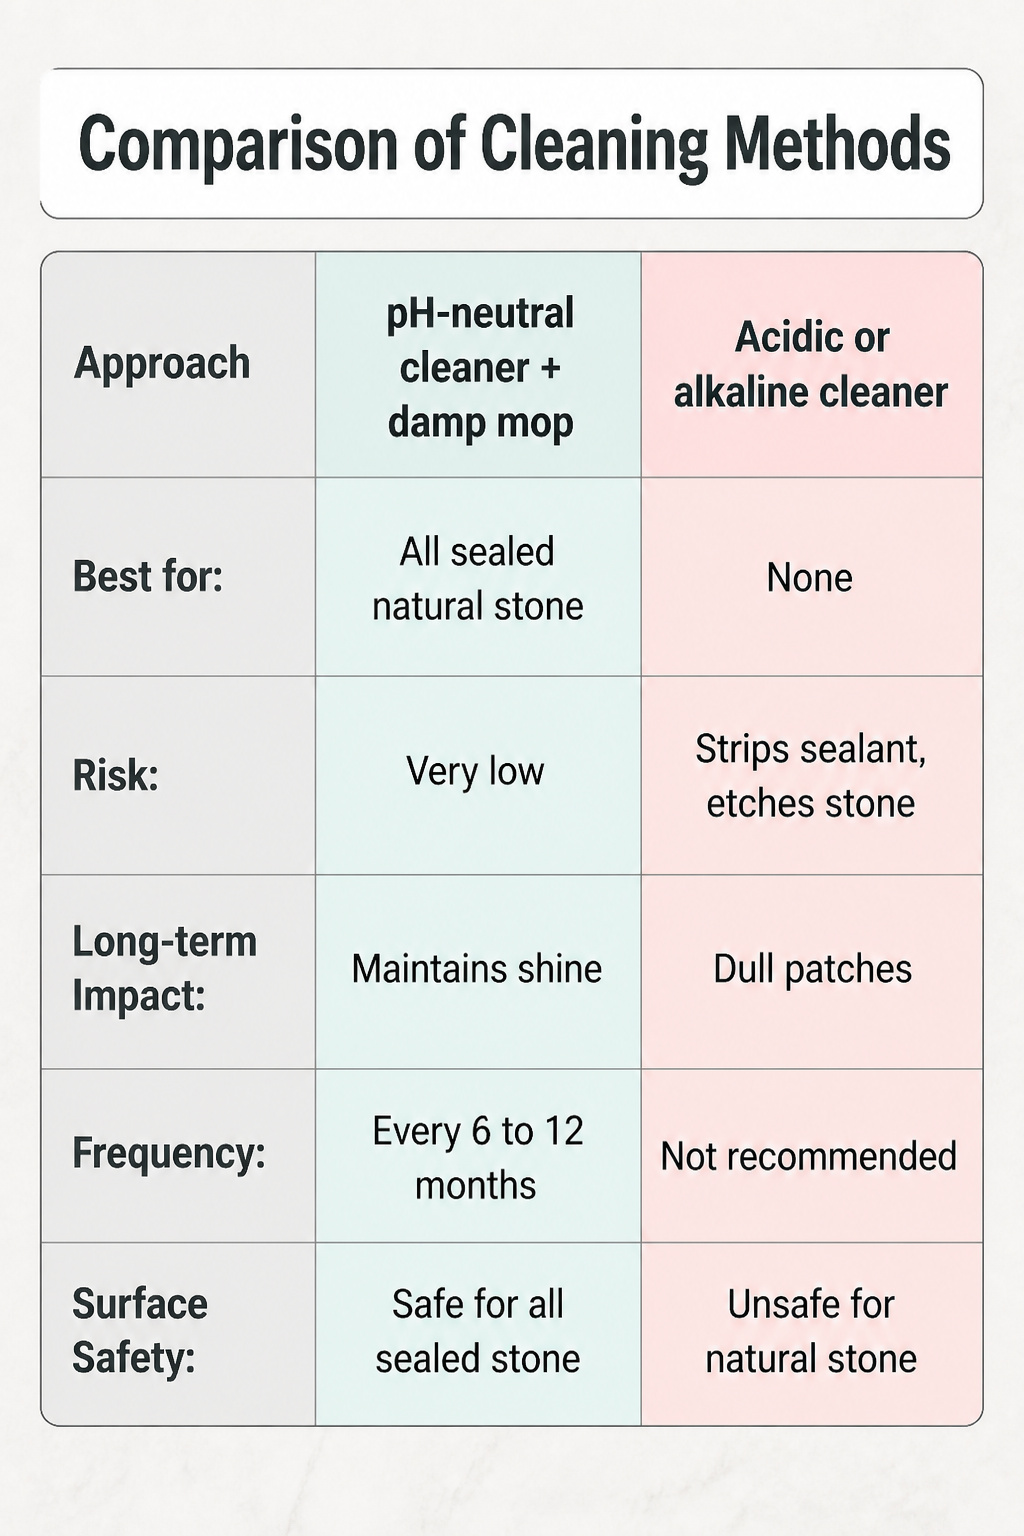
pH-neutral cleaners are the only safe bet for natural stone. Acidic ones, vinegar, lemon, or anything with bleach or ammonia, will eat through sealant and etch the surface into dull patches. I learned that the hard way with a bottle of all-purpose cleaner and a limestone bathroom floor.
Steam mops are another trap. The heat and pressure strip sealant and let moisture seep in where it should not go. A damp mop with a pH-neutral stone cleaner, wrung out near dry, does the job without the damage.
| Approach | Best for | Risk |
|---|---|---|
| pH-neutral cleaner + damp mop | All sealed natural stone | Very low |
| Acidic or alkaline cleaner | None | Strips sealant, etches stone |
| Steam mop | None | Destroys sealant over time |
How often you seal depends on the stone and the traffic. Marble and limestone in a busy kitchen might need attention every six to twelve months. A lightly used slate entryway can go two to three years. The test is simple: water beading on the surface means the seal is holding; soaking in means it is time.
Daily Maintenance
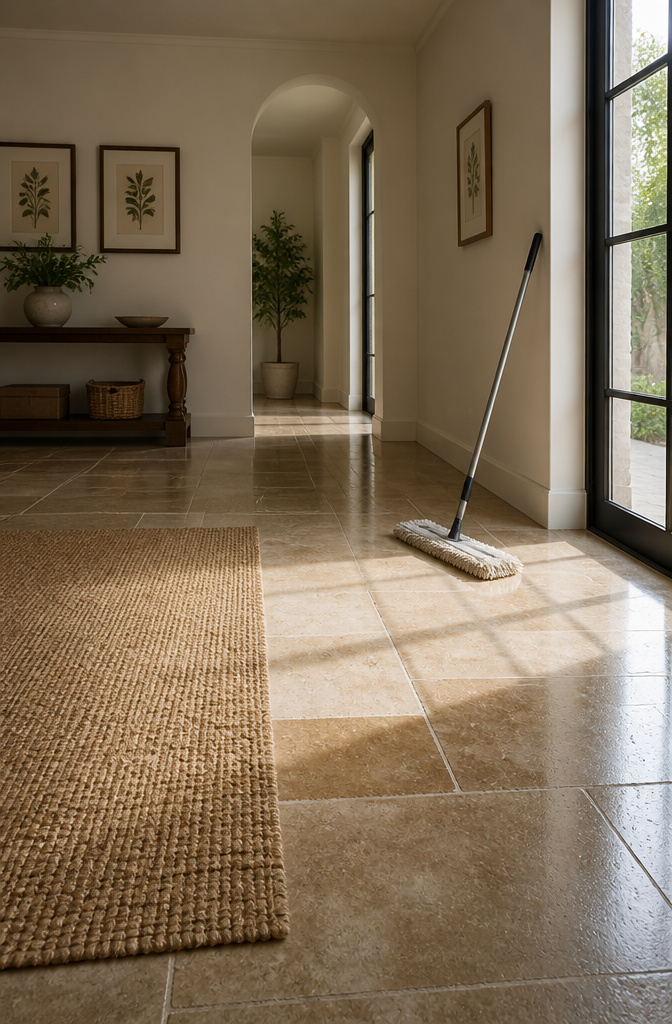
A dry microfiber mop run across the floor each evening takes about three minutes and saves the finish from the grit that acts like sandpaper underfoot. I keep mine by the door so the habit actually sticks. Stone hides daily dirt better than you’d expect, thanks to the natural variation from tile to tile, but that forgiveness works against you too. The debris is still there, still scratching, even when you do not see it.
Vacuuming works in place of sweeping if you use the soft brush attachment and wait for mud to dry first. Wet dirt smears into grout and spreads rather than lifts. For mopping, a pH-neutral cleaner made for natural stone is the safe choice, and less is more here. Excessive mopping wears the sealant faster and risks discoloring grout over time. I skip the steam cleaner entirely; the heat degrades the sealant and buys you a resealing job sooner than the calendar says you should need one.
Stone Types and Specific Care

Marble, limestone, travertine, and granite do not wear the same way. Porosity and hardness are what separate a quick wipe-up from a permanent stain. Limestone sits on the soft, absorbent end of the range; a splash of wine or lemon juice etches fast if it sits. Marble follows close behind. Granite and quartzite are harder and denser, so they buy you more time, but they are not immune. Hydrofluoric acid, found in some rust removers and toilet bowl cleaners, attacks even granite by going after the silicates.
Sealing helps, though the word is slightly misleading. The products sold as sealers are really impregnators; they repel rather than block, and they make stone more stain-resistant, not stain-proof. Some stones do not need sealing at all, so checking with your supplier beats guessing. In food prep areas, the sealer itself needs to be non-toxic and rated safe for that use. The right product matched to the right stone type is what keeps a weekend cleaning project from turning into a floor replacement.
Frequently Asked Questions
Can I just use vinegar and water on my marble floors?
No. Vinegar is acidic, with a pH around 2 or 3, and it will strip your sealant and etch the stone into dull, cloudy spots that do not buff out. Stick to a pH-neutral cleaner marked safe for natural stone, and still run a patch test behind a door or under a rug before you cover the whole floor.
How often should I seal stone floors?
Most kitchens, hallways, and living areas can go three to five years between resealings. Bathrooms and other humid spaces usually need attention sooner. Check with the water drop test: if water beads on the surface after fifteen to thirty minutes, your sealant is still holding; if it sinks in and darkens the stone, you are overdue.
What’s the best way to clean grimy grout lines between stone tiles?
Use a soft-bristled brush with your pH-neutral stone cleaner, or make a paste from baking soda and water. Scrub gently, rinse well, and watch the stone surface itself so you do not scratch it. Avoid harsh acidic grout cleaners; they damage the stone surrounding the grout.