
Moisture is what causes most paint to bubble, but only if the wall was already damp when the roller went across it or stayed wet after cleaning. A moisture meter reading that comes back high means waiting; painting over damp plaster costs a full do-over, not just a weekend. I learned the hard way on a bathroom ceiling where I’d wiped the worst spots but skipped the greasy corners near the exhaust fan, and six months later thumb-sized bubbles appeared exactly where the film had lingered.
Moisture Issues
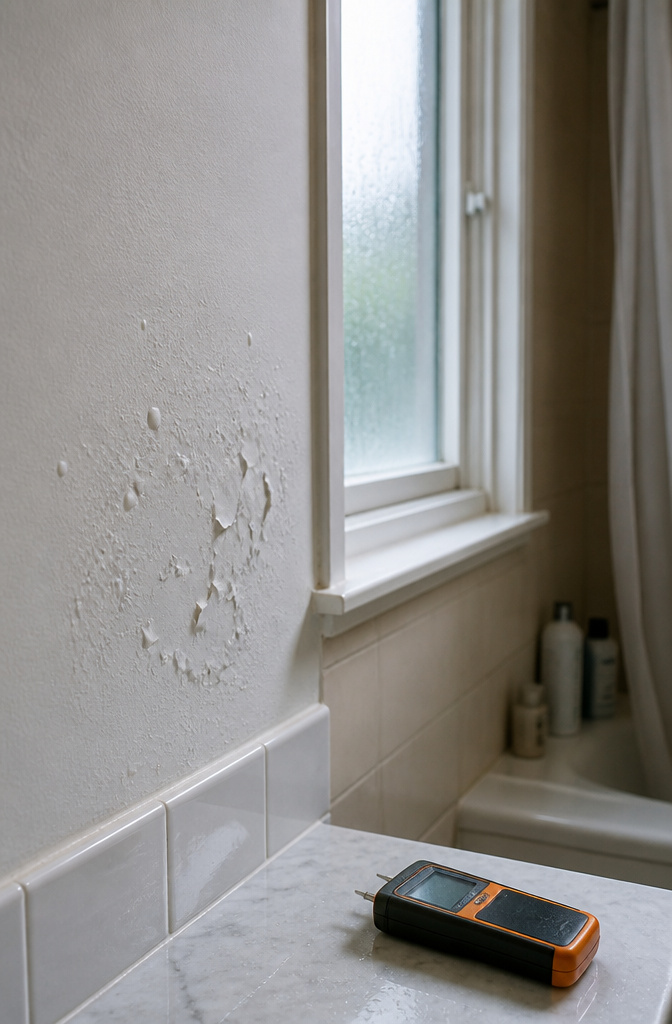
Moisture is what causes most paint to bubble, inside or out. Water droplets from a leak, humidity that lingers after a shower, or condensation against an exterior wall all soak into the surface and create pockets between the paint and what’s underneath. Excess moisture makes the paint lose adhesion, so it lifts in blisters that look worse as more water pushes through.
Bathrooms and kitchens take the worst of this because dampness is a regular event there, not a one-off spill. A window left shut during cooking, a vent fan that stopped working, or simply a house with tight air sealing and no dehumidifier can leave enough humidity in the air to trap moisture inside wall cavities. Outside, rainwater seeps into exposed wood end-joints the caulking missed. Any painted surface that was damp when the roller went across it, or that stayed wet after cleaning, is a candidate for bubbling a day or two later.
A moisture meter is the tool that tells you whether a wall is dry enough to paint. Press it against the surface, especially if the wall backs onto a bathroom or if you have had any plumbing work nearby. If the reading is high, wait. Letting the drywall dry completely costs a weekend; painting over damp plaster costs a do-over.
"The most common reason for bubbling paint… is too much moisture exposure, resulting in a loss of adhesion."
Fixing the leak or running that vent fan until the mirror clears is what makes the repair stick. Paint never seals moisture out; it only seals it in.
Surface Preparation Problems
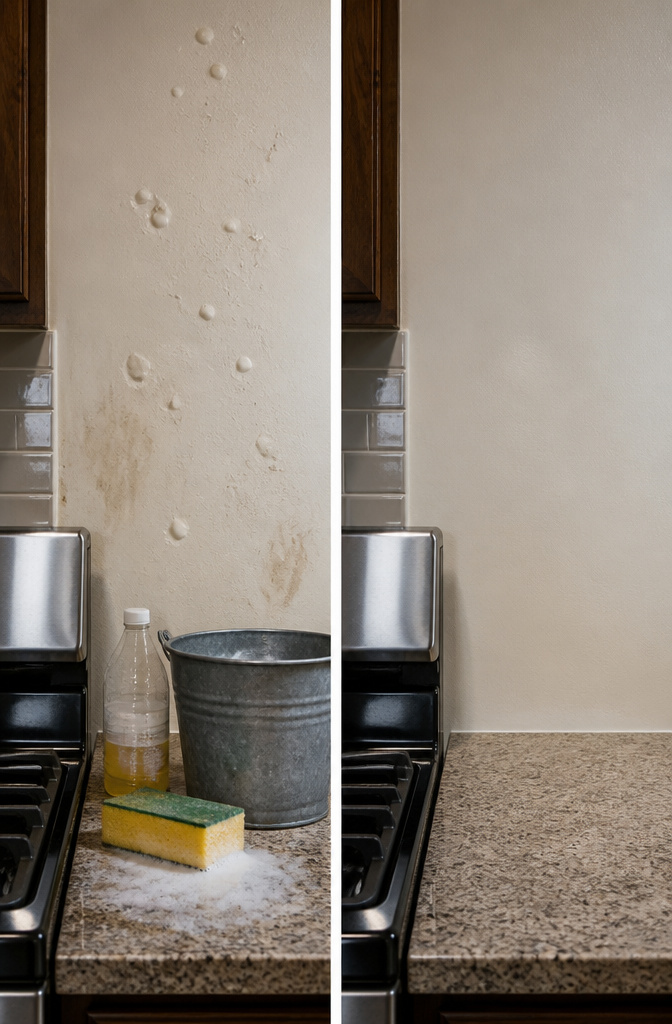
Paint needs something clean to grab onto. Grease from cooking, handprints near doorways, or even leftover dust from drywall repairs create a film that latex and oil formulas can’t bond with properly. Surface contamination with oil, wax, or silicone is one of the most common culprits behind blistering, and washing with detergent and hot water followed by a solvent cleaner is the fix that actually works.
I learned this one the hard way on a bathroom ceiling where I’d wiped down the worst spots but skipped the corners near the exhaust fan. Six months later, thumb-sized bubbles appeared exactly where the greasy film had lingered. Water alone doesn’t cut it; detergent breaks the bond, and the solvent step removes what detergent leaves behind.
The surface also has to be dry. Painting over lingering moisture traps water under the new coat, and that trapped water will push upward as it evaporates. Let walls dry completely after cleaning, not just until they look dry. In humid months, that waiting period stretches longer than the afternoon you’d planned.
Temperature Effects
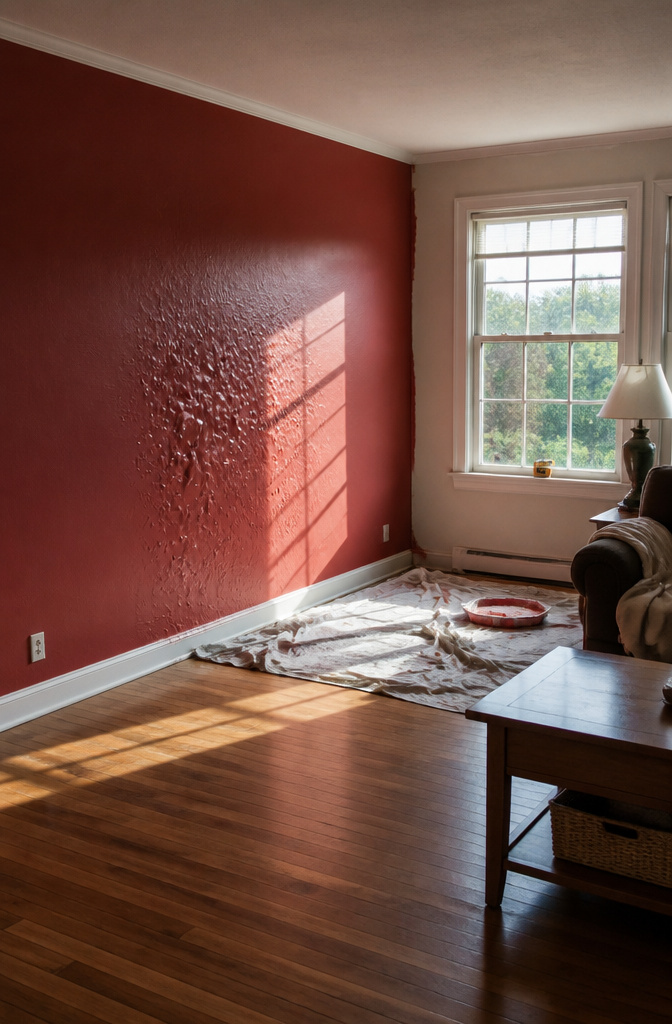
Paint that hits a hot wall in direct sun can set on the surface before the solvents underneath have anywhere to go. The top film turns into a seal, trapping moisture and air that eventually push up into bubbles on wall when painting. I have seen the same thing happen on interior jobs where afternoon sun pours through unshaded windows onto a patch I finished an hour before.
The window for avoiding this is fairly tight. You want the air temp somewhere between 50°F and 85°F while you are rolling or brushing, and you want the surface itself out of direct light. On exterior jobs that means starting east-facing walls early and west-facing ones late, never chasing the sun across the siding. Indoors, pull blinds or wait for an overcast day if the room gets cooked by south-facing glass.
Temperatures above 85°F do not just dry paint fast; they dry it unevenly. The surface skin tightens while the coat underneath is still liquid, and that tension is what separates the two layers. For a weekend project with maybe four hours to spare, waiting for a cooler Saturday costs nothing compared to scraping and repainting the following weekend.
Incompatible Paints
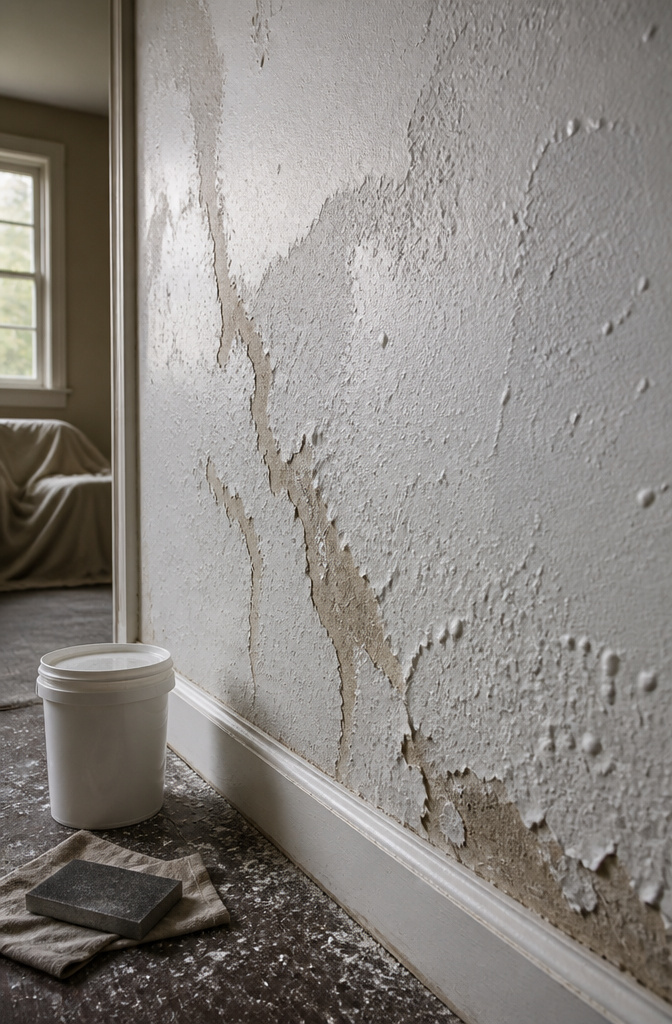
Oil and latex paints simply do not bond to each other, and skipping the prep step between them is one of the fastest routes to a wall full of bubbles. The compounds in oil-based and latex paints cure differently; one hardens through oxidation while the other dries by water evaporation. That chemical mismatch means oily paint applied directly over latex, or latex over oil, peels upward rather than gripping the surface beneath it.
The fix is not complicated, but it is non-negotiable. Sand the existing paint until the surface feels uniformly dull, clean it thoroughly, then roll on a transition primer before switching paint families. Two coats of the new paint follow. I have learned to swallow the extra hour of sanding up front. The weekend you save yourself is worth it.
Improper Application Techniques
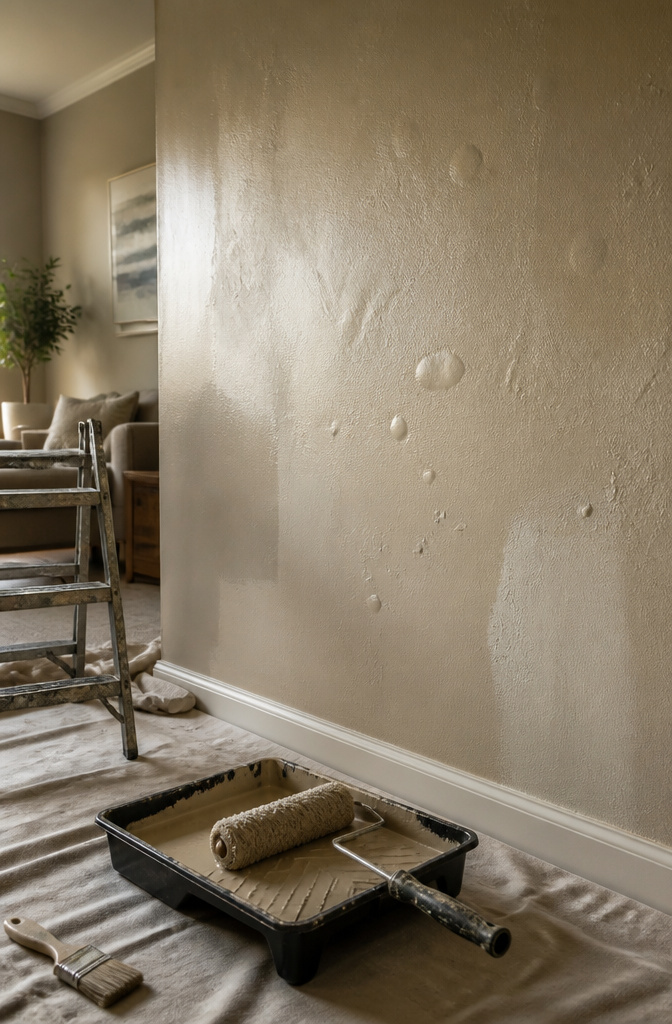
The wrong tool for your surface is usually where the trouble starts. A roller with a nap that’s too long or too short for your wall texture pushes air under the paint instead of laying it down smooth. I’ve made the classic mistake of pressing too hard, thinking it’ll speed things up, and watched bubbles bloom across a wall I had to sand back down.
Loading the brush until it drips, or rolling so fast the cover spins, whips air into the coat. Thick layers feel efficient but they trap that air inside where it can’t escape cleanly, so it rises as the paint cures. The surface seals over the top and you’re left with blisters.
Better to work in even, thin coats with gentle pressure. Let the tool do its job rather than forcing the paint to cover. If the first coat looks patchy, that is normal: a second thin layer after the proper drying time fills it in without the bubbles a heavy layer would bring. Aim for temperatures between 50°F and 80°F so the paint can level and release air before it skins over.
Skipping Primer
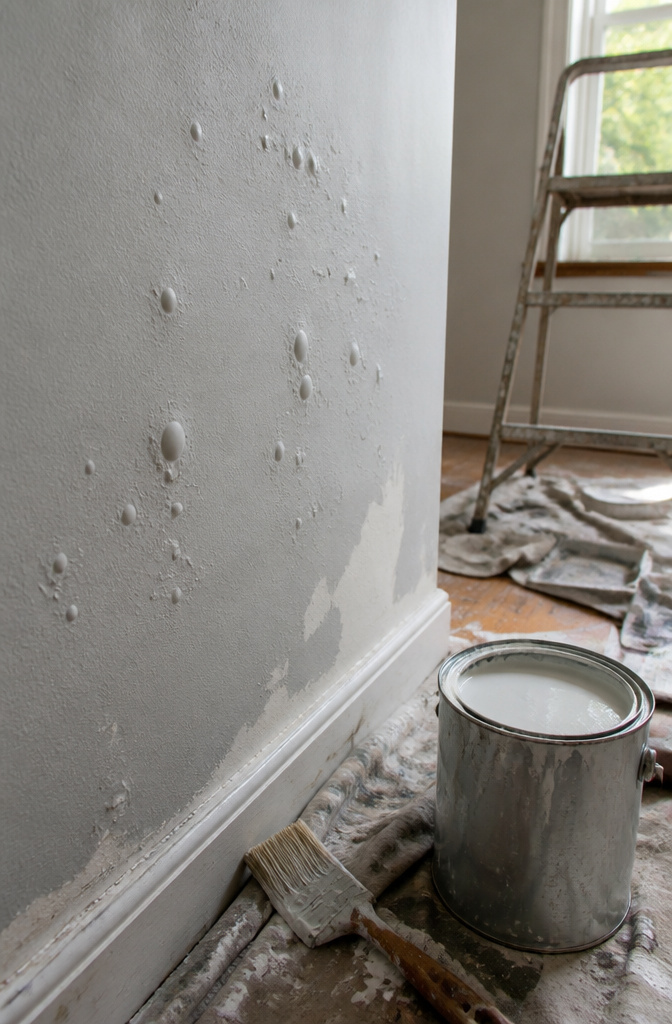
Primer seals the surface and gives paint something to grip. Skip it, especially on fresh drywall or patched spots, and the coat you roll on sits on top instead of bonding in. Porous areas soak up moisture from that new paint; joint compound is thirsty in exactly the wrong way. The result is bubbling where adhesion fails first, usually within days or weeks. I’ve learned to treat primer as part of the patch, not an optional step before color. For problem walls that have blistered before or feel chalky, Zinsser Gardz is what I reach for. It penetrates and seals without the heavy body of traditional primers, which matters when you’re working over old repairs or uneven texture. One coat locks down the surface so the next layer of paint actually stays put.
How to Fix Bubbling Paint
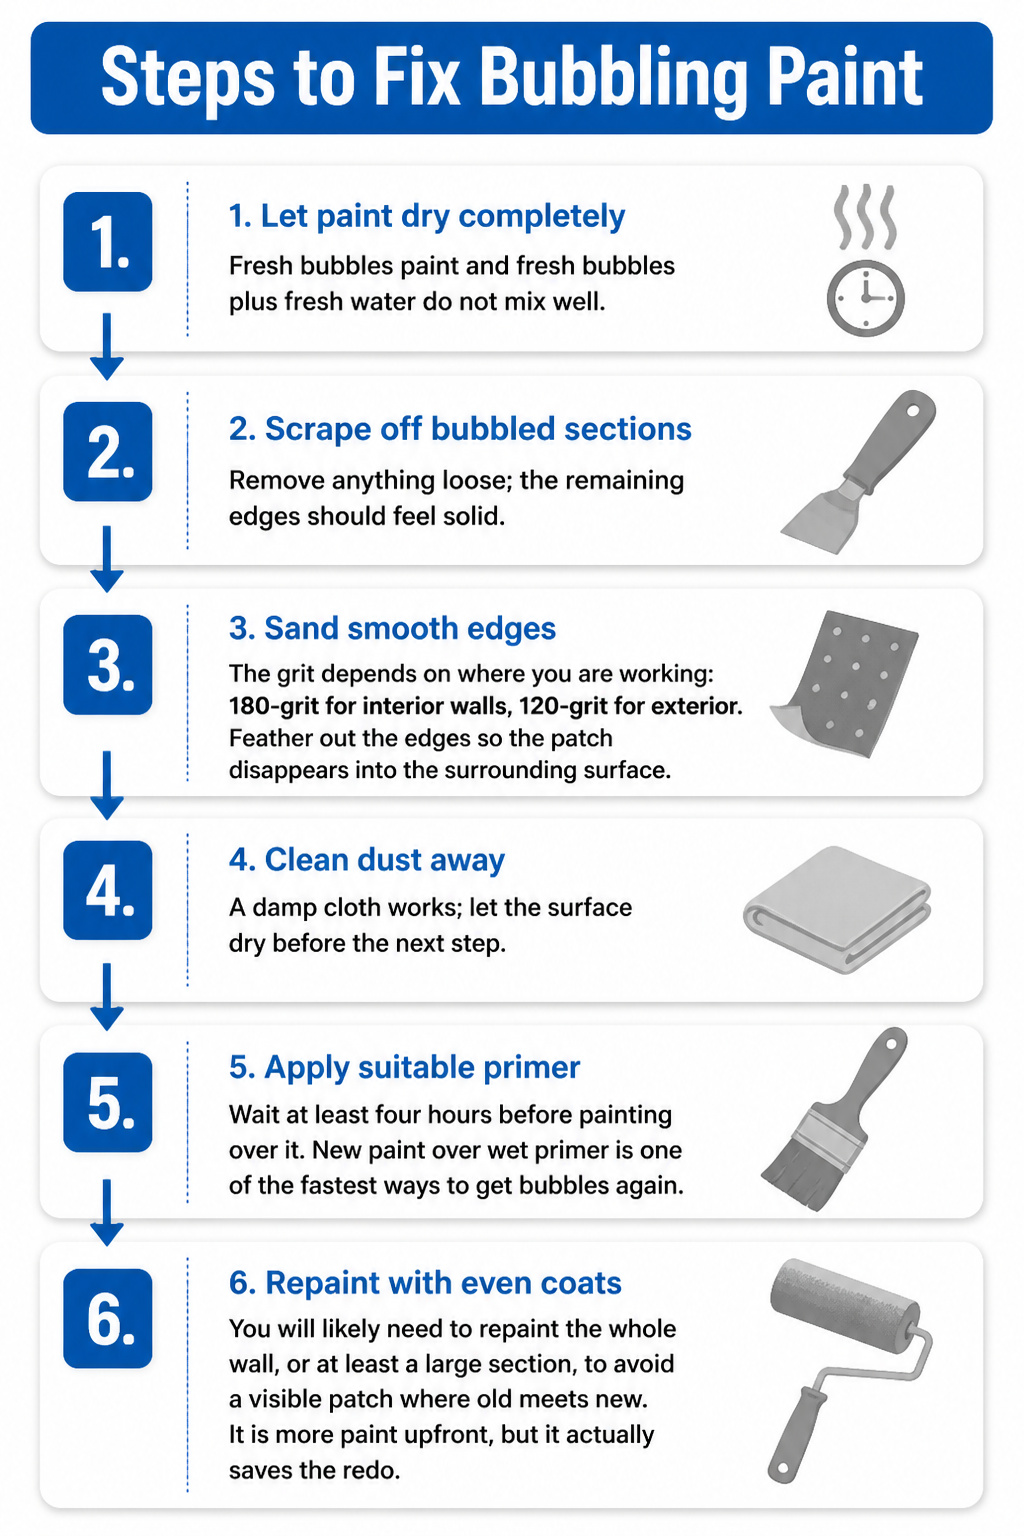
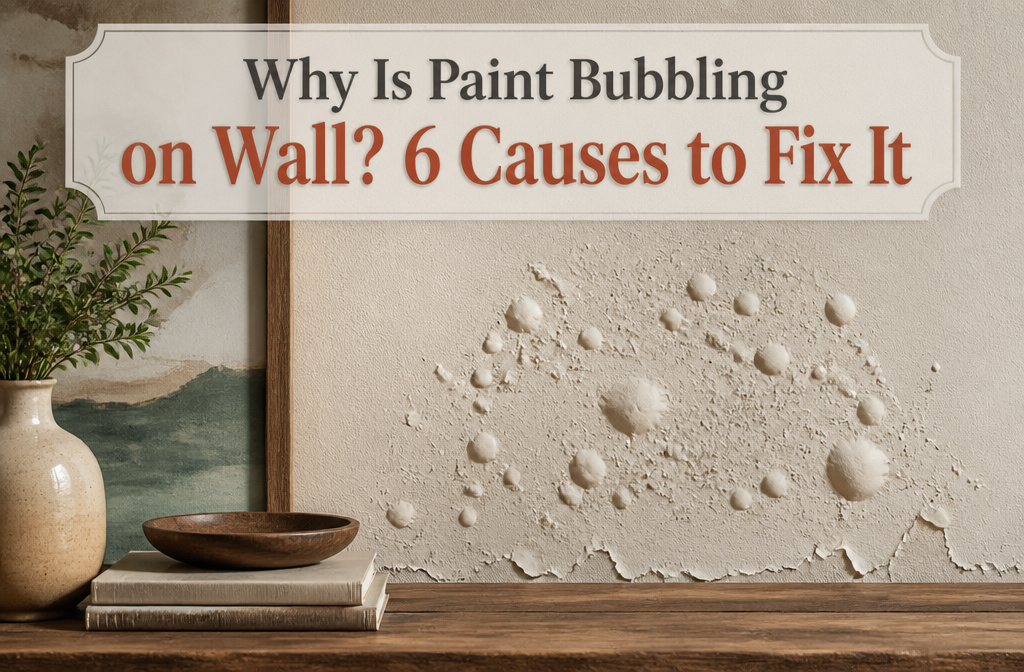
Bubbling paint is not a cosmetic fix you can splash over. The underlying cause has to be resolved first, whether that is moisture, heat, or a dirty surface. Once it is, the repair itself is straightforward.
- Let the paint dry completely. Fresh bubbles paint and fresh bubbles plus fresh water do not mix well.
- Scrape off the bubbled sections with a paint scraper or putty knife. Remove anything loose; the remaining edges should feel solid.
- Sand smooth. The grit depends on where you are working: 180-grit for interior walls, 120-grit for exterior. Feather out the edges so the patch disappears into the surrounding surface.
- Clean the dust away. A damp cloth works; let the surface dry before the next step.
- Apply a suitable primer, and wait at least four hours before painting over it. New paint over wet primer is one of the fastest ways to get bubbles again.
- Repaint with one to two even coats. You will likely need to repaint the whole wall, or at least a large section, to avoid a visible patch where old meets new. It is more paint upfront, but it actually saves the redo.
Prevention Checklist
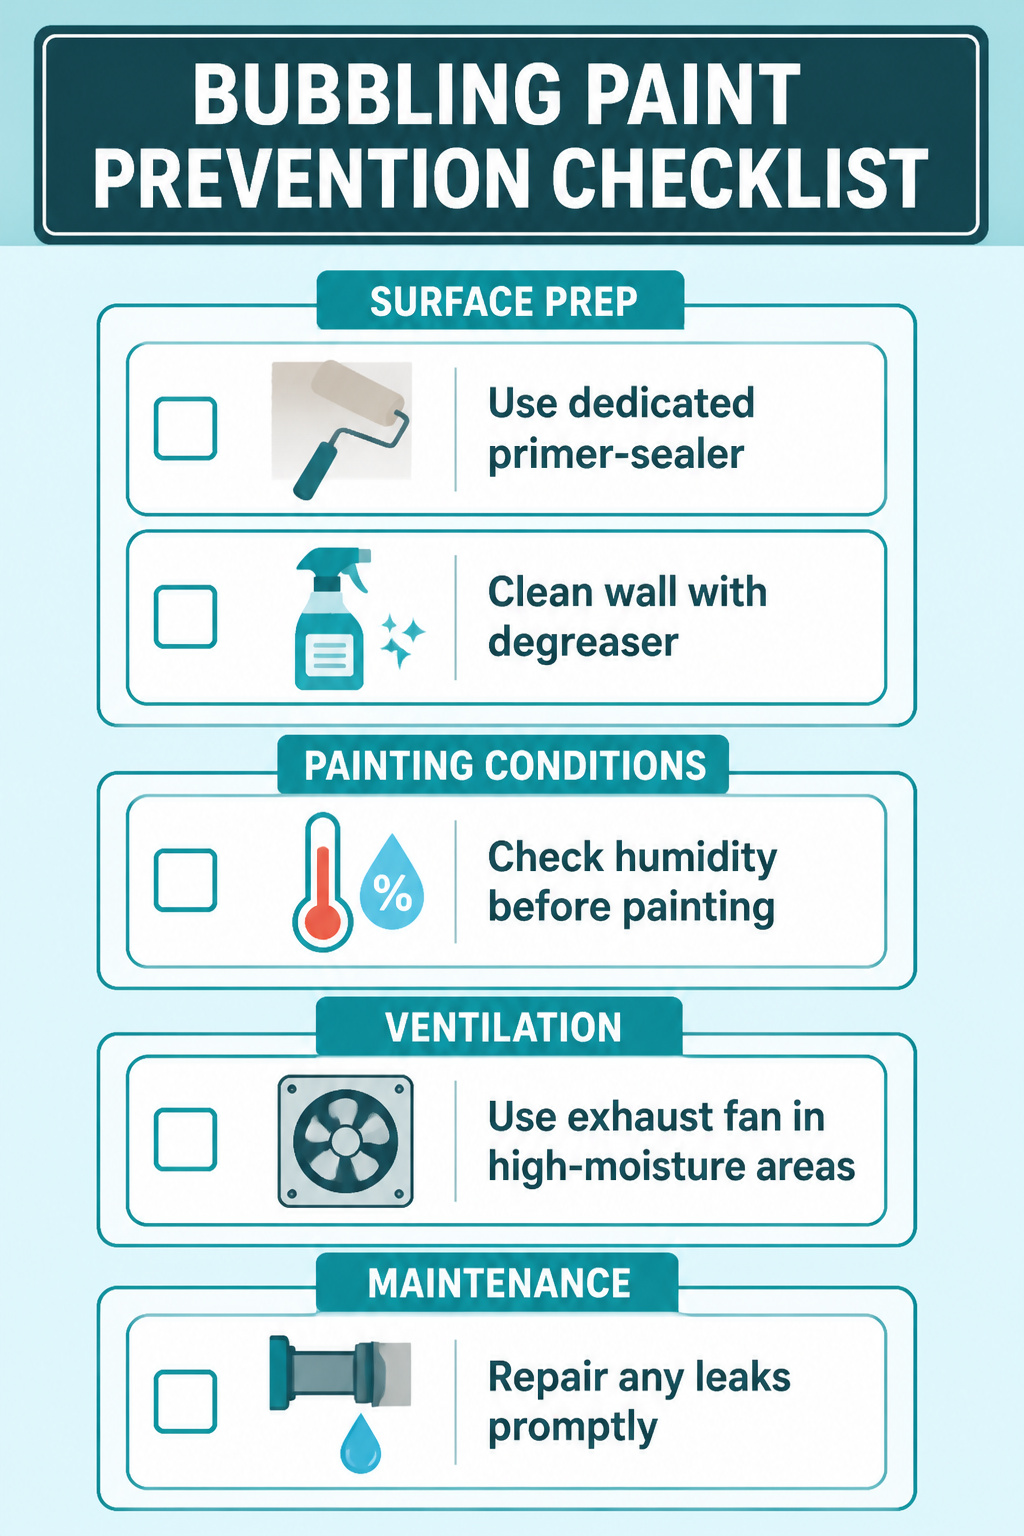
Surface prep is where prevention actually lives. I used to think primer was optional on already-painted walls, but bare plaster and patched areas need a dedicated primer-sealer or you’re trapping vapor behind every coat. Clean the wall with a degreaser if it’s a kitchen or bath, then let it dry completely. The water you can’t see matters more than the water you just wiped off.
Paint mid-morning on a dry day, not the afternoon storm is rolling in. Extreme heat or humidity lets the top layer skin over before solvents underneath have escaped, and that trapped vapor will push its way out eventually. If you’re working a bathroom or basement, an exhaust fan or vent isn’t a nice-to-have; running it during and after painting changes whether the job lasts two years or ten.
Maintenance beatsdo-overs every time. A small leak behind the toilet or a window that weeps in winter will find your paint layer eventually, so fix damp walls early and keep air moving in high-moisture rooms. The extra hour of prep is the whole difference.
When to Call a Professional
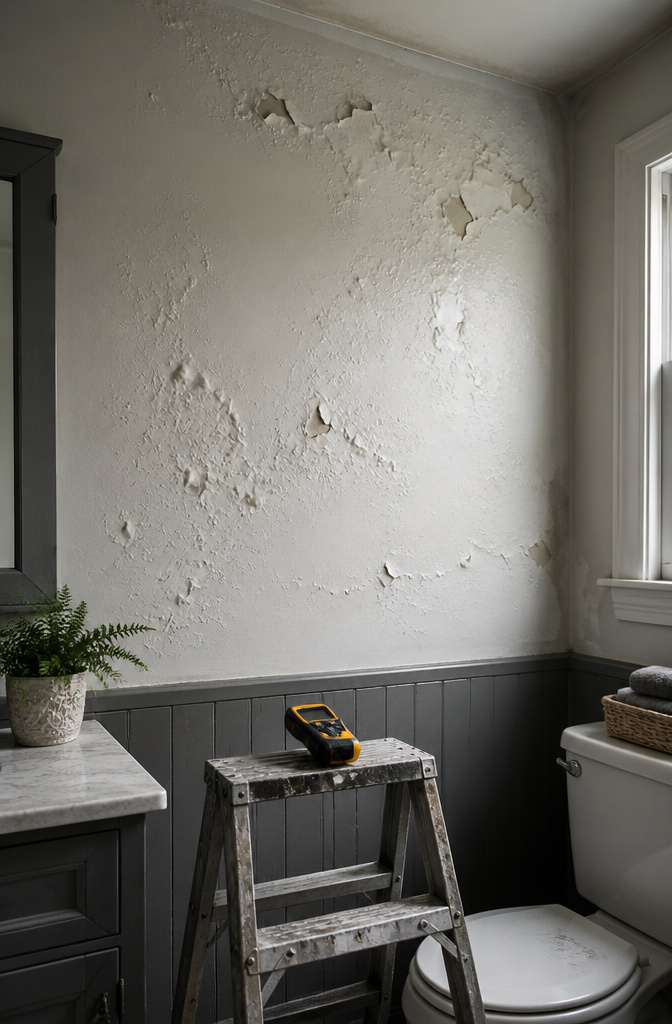
Most bubbling is surface-level and fixable over a weekend, but bubbling that keeps coming back is telling you something else entirely. I have scraped and repainted the same bathroom ceiling twice before admitting the exhaust fan was not doing the job and the real problem was moisture trapped behind the wall.
Location matters here too. Bubbling near ceilings or baseboards, especially in bathrooms or basements, often points to a leak or seepage that paint cannot seal. Steam from showers, poor ventilation, water intrusion near flashing: these are structural or environmental issues, not bad brushwork. A second or third round of DIY repair on the same spot usually means the symptom is being patched while the cause keeps working.
At that point, a professional can assess whether the fix is a better fan, a dehumidifier, or something that involves a contractor who handles drywall or roofing. It costs more than a quart of paint, but so does tearing out moldy sheathing six months later. I still handle small bubbles myself, but I have learned to quit while I am behind.
Frequently Asked Questions
Why is paint bubbling on wall?
Paint bubbles when moisture, heat, or poor adhesion forces the film to lift away from the surface underneath. Water trapped inside wall cavities, grease left from cooking, or a hot afternoon sun causing the top layer to skin over before solvents escape all create the pressure that pushes paint into blisters. The most common trigger is excess moisture, whether from a leak, humidity after a shower, or rain seeping into uncaulked wood joints.
How do I fix bubbling paint?
Let the damaged area dry fully, then scrape off every loose flake with a putty knife or paint scraper. Sand the edges smooth with 180-grit paper on interior walls or 120-grit outside, wipe away dust, and brush on a primer suited to the surface. Wait at least four hours before applying one to two thin finish coats; you will usually need to repaint a large section or the whole wall to hide the patch line.
Can I paint over bubbling paint?
No, fresh paint over bubbles traps the original problem underneath and guarantees the blisters return. You must scrape away the failed film, resolve whatever caused it, whether that means fixing a leak, cleaning grease, or sanding incompatible layers, then prime and repaint. Skipping these steps turns a two-hour repair into a repeat job within weeks.
What causes paint to bubble after drying?
Bubbles that show up days or weeks later almost always mean moisture or solvents were still escaping after the surface looked hard. Latex paint exposed to shower steam too soon, oil paint curing over damp drywall, or a thick coat that sealed over wet primer all let vapor keep pushing upward until the film blisters. Heat speeds this up by forming a skin that locks the problem underneath.