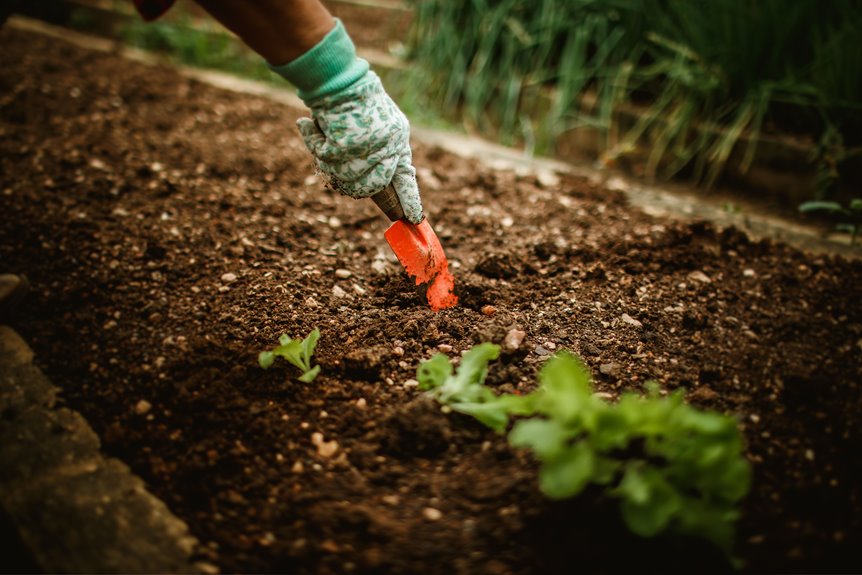

I’ll start by adding organic matter: compost, leaf mold, worm castings. Work about an inch lightly into your topsoil twice a year. Get your soil tested for around $15 to check pH and nutrients, then balance things with lime or sulfur if needed. Skip the rototiller entirely. Instead, aerate compacted spots with a garden fork, creating air pockets without destroying soil structure. Top it all with mulch, letting earthworms do the labor. This approach builds soil that sustains productivity season after season.
Add Organic Matter First to Improve Garden Soil Structure
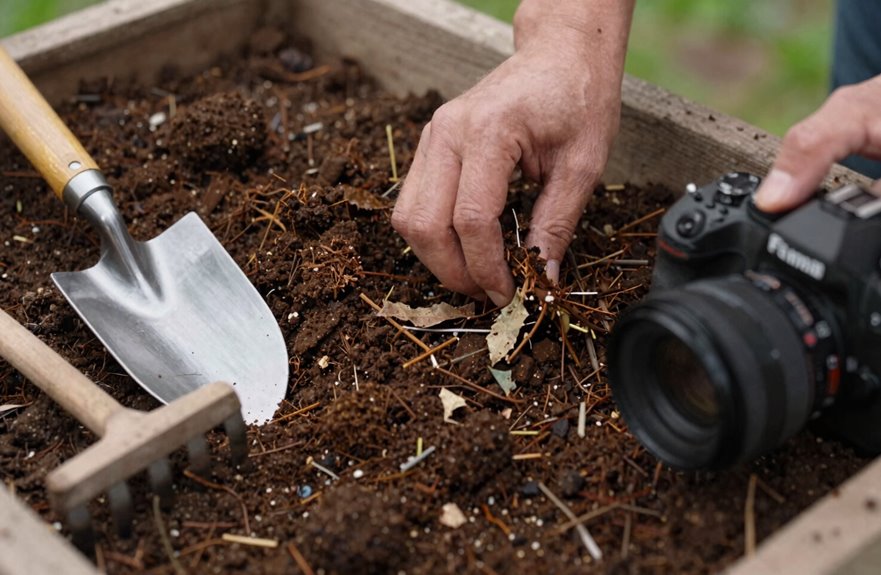
Want to know the fastest way to transform your garden soil. Add organic matter, and I’m talking about the good stuff: compost, leaf mold, decomposed leaves, worm castings. It’s the single most important move you can make.
I aim for about an inch of amendment twice yearly, lightly worked in. Organic matter fixes both heavy clay and sandy soils, creating pockets for air and water. Your soil structure improves, soil drainage gets better, and roots develop more extensively.
I also use mulch and finished products like mushroom compost. Earthworms and microorganisms do the labor, pulling nutrients deeper. This requires adding organic matter regularly, building soil health season after season. You’ll see measurable improvements in soil quality within a few months of consistent application.
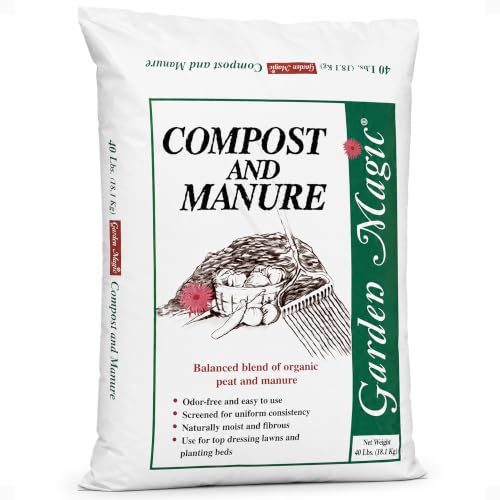
Organic Compost Blend: Enhance the nutrient content and soil quality of lawns and raised garden beds with this organic blend, promoting healthy plant growth and soil vitality

Feed the soil not the plants - stimulate microbial activity in your soil and boost probability of success with all types of plants… like composting but faster

Nutrient-Rich Organic Compost for Healthy Soil: Support stronger plant growth with this premium organic compost made from dairy cow manure. This all purpose soil amendment helps replenish essential nutrients often depleted after harvests, making it ideal for vegetable gardens, fruit trees, flowers, lawns and container plants.
Get Your Soil Tested After Amending
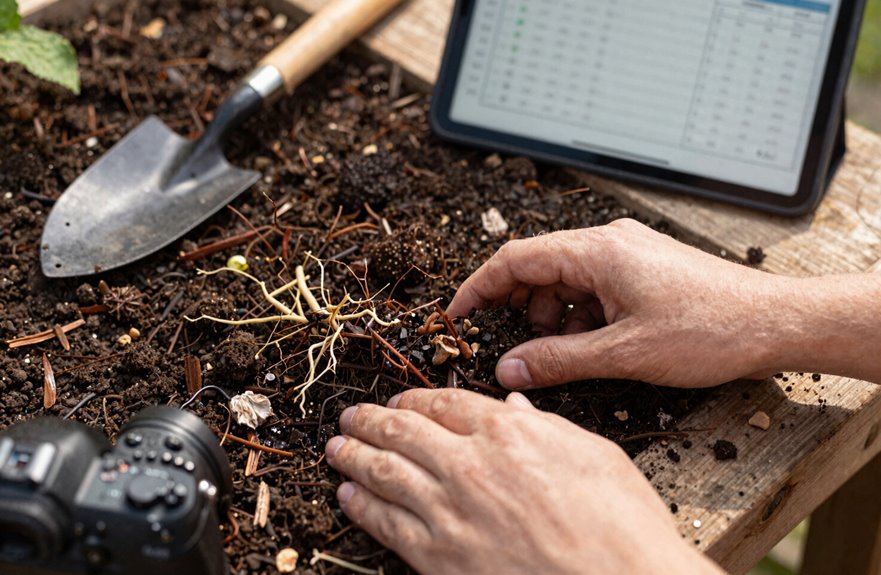
So you’ve added that organic matter. What comes next? Post-amendment testing is where you get real results. I grab a soil test from my county extension service. It costs about $15, and the results give me exactly what I need.
Here’s what I’m tracking after amending:
| What I’m Checking | Why It Matters | What I’ll Adjust |
|---|---|---|
| pH balance | Keeps micronutrients available | Lime or sulfur rates |
| Nutrient availability | Fuels plant growth | Fertilizer rates |
| Drainage | Prevents root rot | More organic matter |
| Soil structure | Holds water right | Practice changes |
That organic matter shifts things. Guessing wastes money, and your plants suffer for it. A quick soil test tells you exactly which soil amendments you need so you can adjust everything accordingly.

Earth Worm castings from Mother Earth provide the best soil amendment for anything indoors or outdoors, including vegetables, herbs, flowers and houseplants. Pure USA Vermicompost, so there's no burn or odor.

SUPERCHARGE YOUR GARDEN: Elevate your plants' growth with premium organic Brut Worm Castings. Our certified organic formula guarantees optimal nutrition for your indoor and outdoor plants.

NO GLOVES NEEDED – 100% NATURAL, ORGANIC EARTHWORM CASTINGS: Obtained from earthworms, worm castings are an excellent source of micro-nutrients that are essential to growing plants such as potassium, nitrogen, and phosphorus, all of which are key for plant growth and development. Worm castings naturally enrich dirt and plant roots and safe to use anywhere so no gloves needed during application. Neutral pH (7 pH).
Aerate Compacted Beds Without Tilling
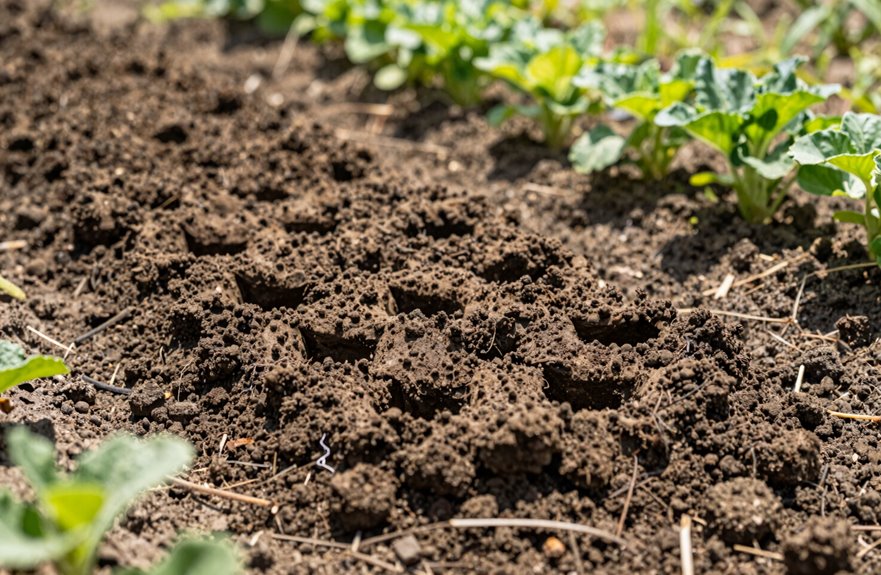
If your soil is packed down like a dirt road after rain, you don’t need to fire up the tiller to fix it. Grab a garden fork, sometimes a broadfork, and gently loosen that compacted soil to create passages for air and water. This doesn’t require full turnover, just enough aeration to improve soil structure.
Then work in 2–4 inches of organic matter, usually compost, right into the top few inches. It feeds soil biology, keeps that pore space open, and builds real soil structure. Add worm castings too for slow release nutrients suited to no-till care.
Finally, top-dress with more compost and mulch. This prevents re-compaction and keeps your garden bed fluffy while protecting your work. Your soil stays loose, alive, and ready to grow.

🌳 SUPPORT YOUR FIDDLE LEAF FIG'S GROWTH - Give your fiddle leaf fig plants (Ficus lyrata) the ideal growing environment with this professional soil mix designed for strong root development and healthy leaf growth. This premium ready-to-use potting soil enhances nutrient absorption, supports fertilizer efficiency, and promotes plant stability. Perfect for indoor houseplants and container gardening, helping your fiddle leaf fig thrive with lush foliage.
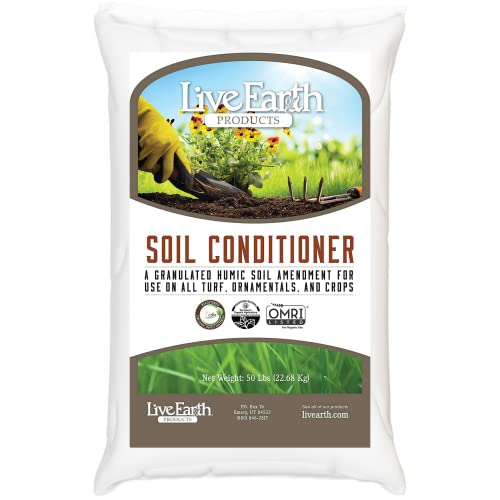
Premium, Organic, Soil Amendment: Rich in fulvic & humic acids plust trace minerals help improve soil health. Simply shake into soil and water after application for flourishing lawns, vegetable gardens, trees, shrubs, and flowers
Protect Bare Soil With Cover Crops and Mulch
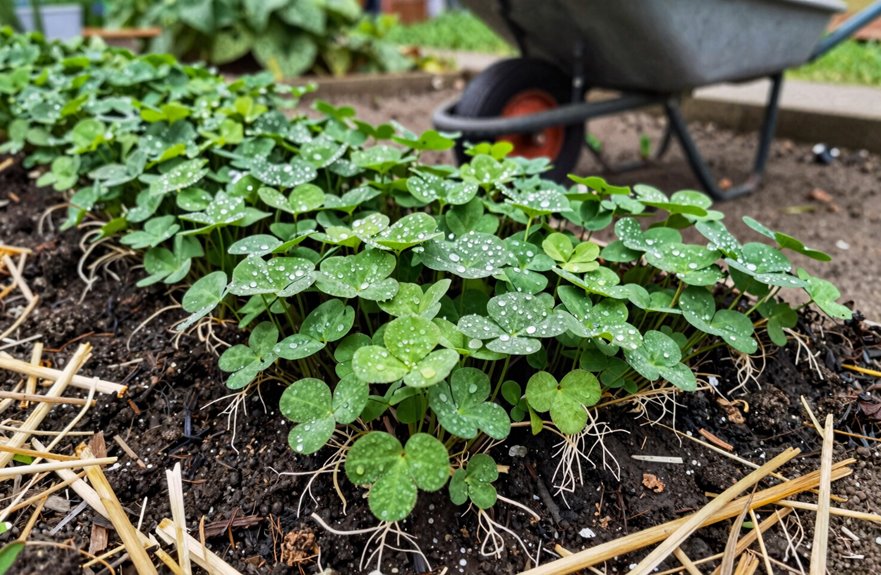
Once the growing season winds down, I don’t leave my beds naked through winter. I throw on a cover crop, usually something like clover or winter rye, and it works hard while I’m inside drinking hot cocoa. Those roots grab the soil, stopping erosion in its tracks, and come spring I’ll compost under tilling for a soil organic matter boost. But maybe you’re not into tilling. No problem. I pile on mulch instead: straw, shredded leaves, bark, whatever organic mulch materials I’ve got. Three to four inches locks in soil moisture, keeps roots cozy, and builds protection while I wait. Shredded leaves are my broke-gardener special, and they work. Either way, your soil stays fed and protected through the dormant season.
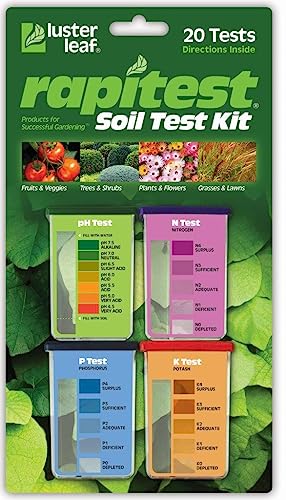
Quick, at home results for Soil pH, Nitrogen, Phosphorous and Potash Innovative and inexpensive soil test kit features an easy-to-use capsule system and patented color comparators

KNOW BEFORE YOU GROW | Grow the healthiest, sustainable lawn and garden with the most accurate and easy to use professional soil test kit on the market

Comprehensive Soil Analysis: Liquid soil test kits offer a comprehensive analysis of essential soil parameters, including pH, ammonia, nitrogen, phosphorus, and potassium. Having all these measurements in one kit provides a holistic understanding of the soil's fertility and health.
Balance pH and Add Missing Nutrients
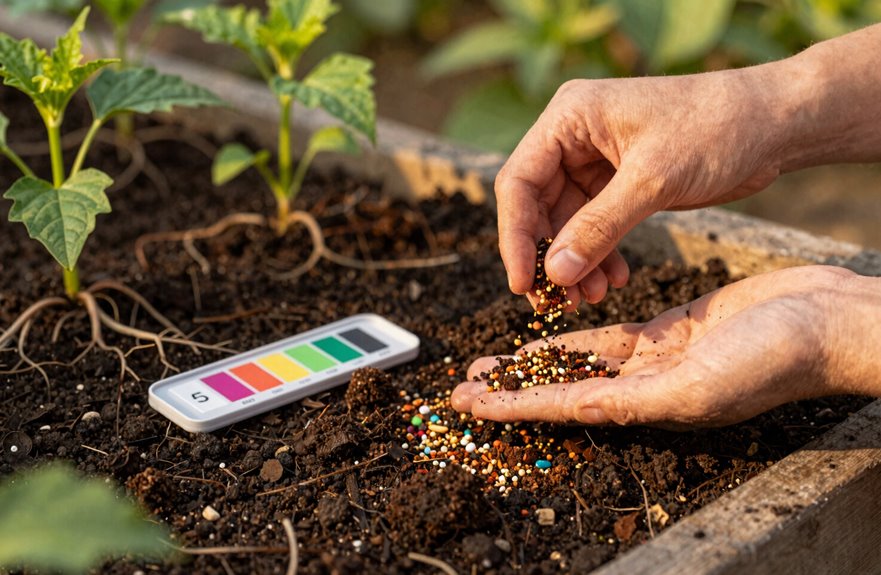
Before I dump anything into my beds, I grab a soil test because guessing at pH is like baking without measuring, and I’ve burned enough cookies to know better. Soil pH directly controls nutrient availability, and most of my plants want that sweet spot around 6.0-7.0.
If my soil test shows I’m too acidic, I spread lime. Too alkaline? Sulfur’s my fix. I follow those numbers, not my gut.
Then I tackle what’s missing. Bone meal pumps phosphorus, blood meal delivers nitrogen, and Epsom salt handles magnesium when the test says I need them. I layer in compost and other organic amendments to wake up the microbes.
I’m re-testing next season. Soil changes, and I change with it. This cycle of testing and adjusting keeps nutrient levels aligned with what my plants actually need.

Includes 10lb block of Back to the Roots compressed Coconut Husk Mulch that expands to over 2 cubic feet of mulch. Use it for gardens, raised beds, pet bedding and more

100% Natural Expanding Mulch Medium - Made from natural coconut husks, Plantonix Coco Chips create a protective mulch layer for outdoor plants, raised beds, flower gardens, trees, shrubs, and container plants. Coco husk chips are perfect for tropical plants, orchids, and outdoor gardens where it’s important to retain moisture throughout the growing season.

100% Organic & Peat-Free: Our organix mulch mix is 100% organic & peat-free. Peat is one of Mother Nature’s most important stores of carbon. Instead of imported peat, the base of our soils is made from upcycled plant matter or wood fines from the United States!