
I’ll walk you through making your own pendant light start to finish.
First, grab a waste basket or bowl you love, plus a cord set, socket, polarized plug, and strain relief, about $38 total.
Drill a center hole using a paper template, then thread the socket through and secure it with shade rings.
Wire hot to brass, neutral to silver, test with a multimeter, and you’ve got light.
Stick with LED bulbs; they keep things cool and safe.
Several smart tricks exist for getting that shade perfectly level and picking materials that won’t warp or tilt, which I’m about to break down for you.
Make a Waste Basket Pendant for Under $40
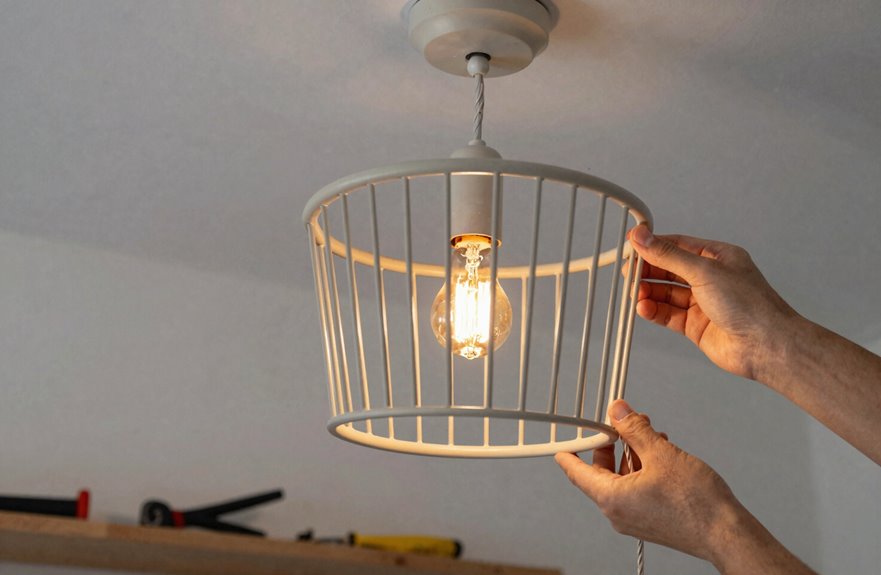
Why spend a fortune on trendy lighting when you can make a waste basket pendant for less than a nice dinner out. This project transforms something you’d normally toss into the centerpiece of your space for under forty dollars.
Start with any waste paper basket that appeals to you; woven plastic, metal, or whatever fits your style. Mark the center, trace your socket, and punch through so the threads grip tight. Thread it through, lock it with shade rings, and you’ve got a pendant light that’s completely unique.
To personalize it further, embroider woven baskets, doodle on plastic ones, or drill patterns in wood shades. The same technique works with serving bowls as well.

【Vintage Style】 The industrial pendant light kit combines modern and vintage styles with a retro design. The pendant light socket makes it a perfect decoration for the living room, bedroom, dining room, kitchen, office, porch, warehouse, barn, hallway, bar, stairway, kitchen, corridor etc.

1. PLUG IN PENDANT LIGHT CORD: Farmhouse hanging light kit with E26/E27 socket, perfect for your DIY home decor lighting, simple and portable

UL Certified & Sturdy: Crafted from premium PVC, Zarnicy pendant light cord is durable, heat, and corrosion resistance for long-lasting use. Rest assured of this pendant light kit that is UL certified; Please avoid using bulbs over 60W to prevent overheating
Gather Your Materials and Tools
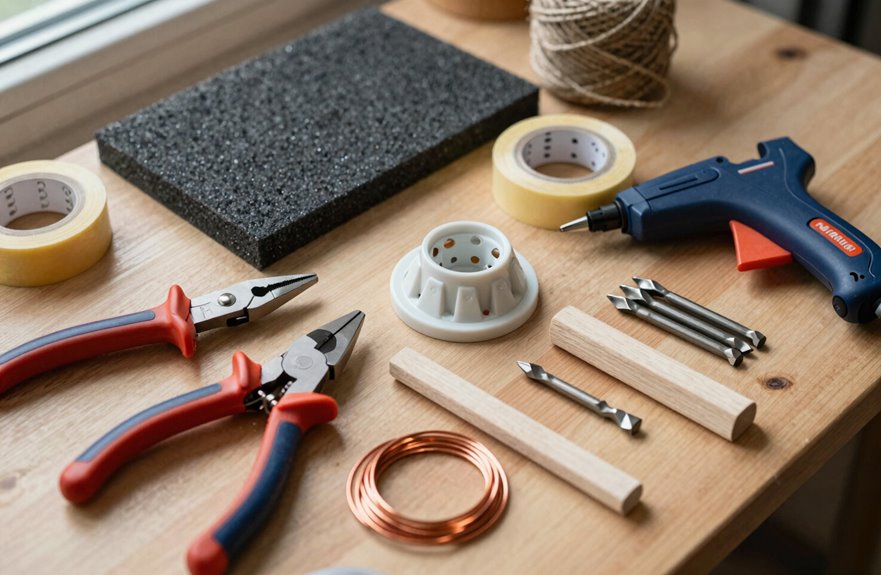
I’ve got everything I need laid out on my workbench. Gathering materials for your pendant light means joining a whole community of DIYers who’ve been exactly where you are, staring at parts and ready to make something real.
The tools are laid out, the community is with you, and it’s time to make something real.
Here’s what we’re working with:
- Shade, cord set, socket pieces, polarized plug, strain relief, and that white phenolic socket with shade ring
- LED or CFL bulbs. Low heat keeps your shade safe.
- Drill, bits, grip mat, clamps, and safety glasses (required).
- Soldering iron optional, but handy.
I punched my hole centered with a pattern, nice and clean. Total materials cost me about $38, or $84 with soldering gear. This project delivers solid results for the investment.

GOOD QUALITY:The E26 Medium Screw Light Holders are made of high-quality bakelite and plastic, fitting all E26/E27 light bulbs. They are safe enough for DIY decoration.

Ideal for E26/E27 screw type light bulbs.

This short, keyless, phenolic socket has a medium base (E26), which is sometimes referred to as Edison or standard base, and includes a threaded shade ring.
Review Pendant Wiring Safety Basics
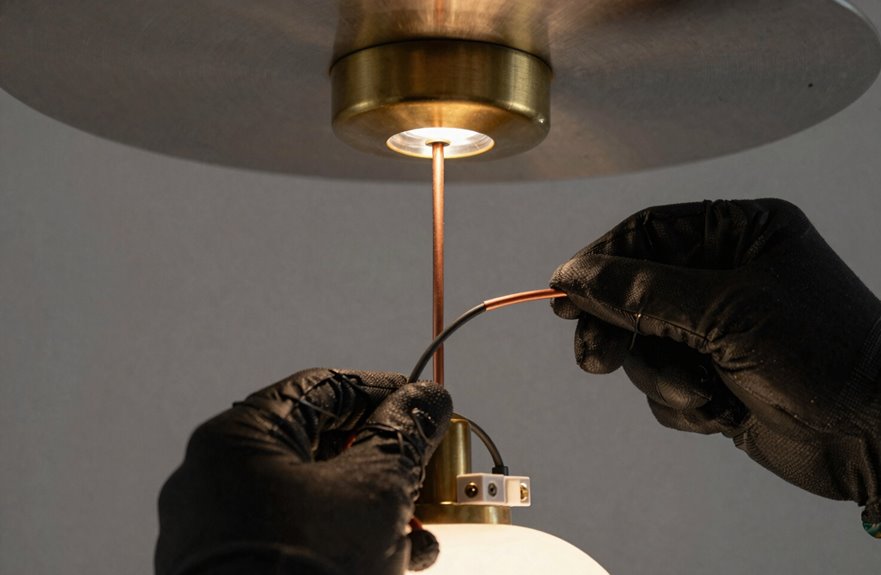
I know wiring sounds scary, but it’s really just about respecting the basics. Before touching anything, always identify your hot wire from your neutral. Mixing these up causes electrical shock or equipment damage. Test everything with a multimeter before plugging in. Guessing with electrical connections creates unnecessary risk.

Brass plug blades and connector contacts for maximum conductivity

Straight blade polar plug - black

Item Package Dimension: 5.55L x 2.60W x 1.06H inches
Electrical Safety Fundamentals
Where do you start with wiring something you’re going to hang over your head? Electrical safety comes first, always. Wiring and grounding basics aren’t complicated once you understand the fundamentals.
Here’s what you need to know:
- Test connections before plugging in, and use your multimeter to check everything’s solid.
- Hot goes to brass, neutral to silver. Match socket terminals too, no guessing.
- Crimp a strain relief below the socket so nothing gets yanked loose.
- Strip about 5/8 inch, thread your shade parts, reassemble tight, then test again.
Check your switch placement so cords don’t snag. Follow these steps carefully. You’ll have a pendant fixture that is both safe and reliable for overhead installation.
Wire Identification Methods
The right tools make wire identification straightforward. Grab your voltage tester first. Never skip this step, and always test before touching anything live. Hot and neutral look alike sometimes, but they are not the same, and mixing them up creates serious safety hazards.
Strip about 5/8 inch of insulation to get a solid connection without removing too much. Brass gets hot, silver gets neutral. Say it out loud to avoid mistakes. Add a strain relief crimp below the socket because tension degrades connections. Test continuity, check your insulation, then plug it in. This ensures safe, reliable work.
Pick Your Shade: Baskets, Bowls, and Beyond
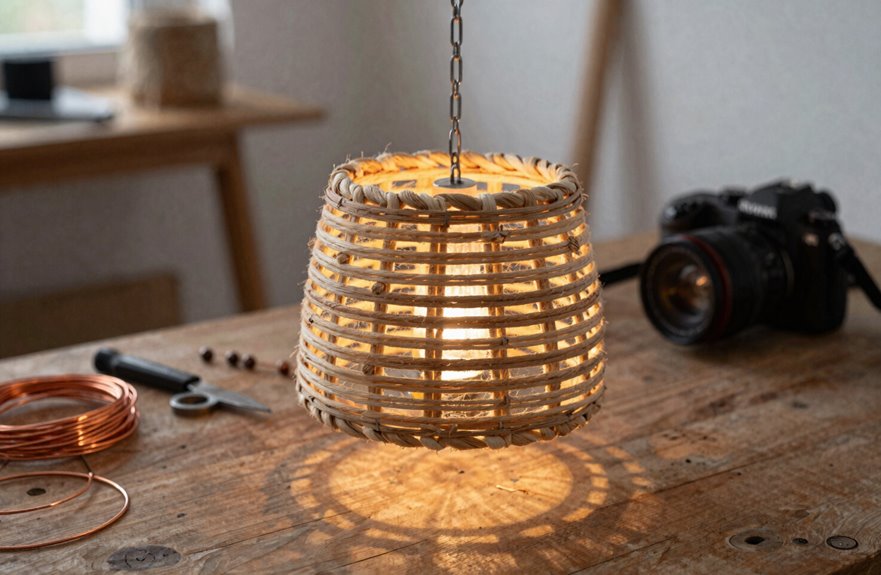
Why limit yourself to store-bought shades when almost any container can become something incredible. Basket pendant lighting transforms a room, and here are the best shade options:
- Natural fiber waste baskets – gorgeous texture, budget-friendly
- Wood baskets – warm and rustic
- Plastic baskets – lightweight, colorful, and forgiving
- Hammered metal bowls – faux Dixon glamour
Thread the socket through the centered hole, secure it tight with shade rings, and create an instant custom fixture. For natural fibers, double up on rings to prevent tilting. Hammered metal bowls need a clear 40W bulb to sparkle properly. Low-heat LEDs or CFLs keep things safe in wicker or plastic containers. Your space, your rules, your pendant lighting design.

Sturdy Aluminum Material -Metal does not be warped/melted due to heat.Replace the plastic rings that came with the light fixture,the aluminum construction provides extra durability
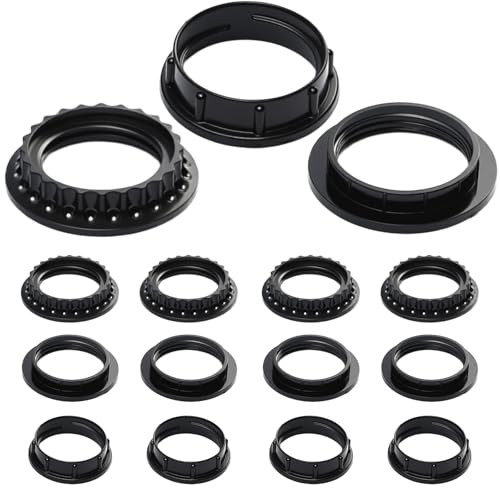
[ULTIMATE HOME VALUE PACK] Maximize your budget. Get 15 premium retaining rings (5 of each of the 3 styles) for a fraction of the cost of multiple small packs. Perfect for upgrading your current 3-light or 4-light bathroom vanity while keeping reliable spares on hand for future fixes.

【UL Listed】Maximum power rating: 250W, 250V, UL certificated, safe to use. The outer of light socket is made of high-quality phenol formaldehyde plastic material and comes with an aluminum socket interior that is solid, making it resistant to heat, flame and corrosion. This is a high-quality medium base socket replacement for lamp fixtures.
Drill Perfect Center Holes in Any Material
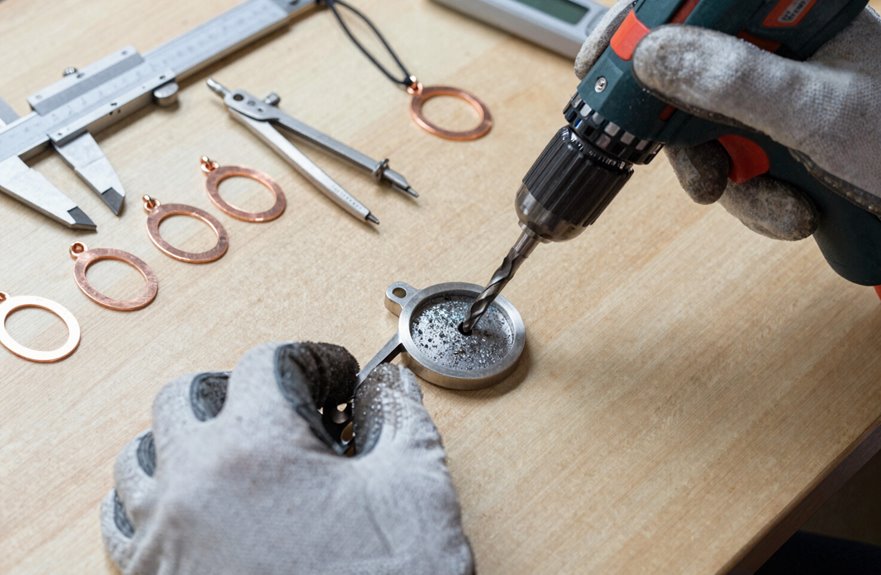
How do you get that socket sitting perfectly straight every single time? It all starts with nailing those center holes from the beginning.
First, I measure my diameter, find the radius, and mark that center point precisely. I make a paper template to transfer the exact spot onto whatever material I’m using as my drilling guide.
Then I clamp everything down tight on a grip mat or jig, sometimes adding V-shaped supports so nothing shifts mid-drill. I go slow to manage heat, and if I’m using Edison bulbs, I’ll add escape holes for cooling. Safety glasses on, hole saw with pilot bit engaged, and I drill through steady with clean, precise results.
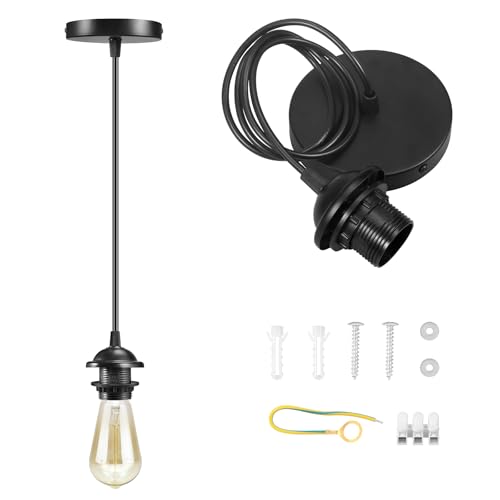
1. DIY PENDANT LIGHT KIT: Vintage hanging light kit with E26/E27 socket, perfect for your DIY home decor lighting, simple and portable

1. PLUG IN PENDANT LIGHT CORD: 3-Light Farmhouse Hanging Lights with Plug in Cord, easy to adjust hanging lamp length, perfect for your DIY home decor lighting, simple and portable

1. CEILING PENDANT LIGHT KIT: Vintage hanging light kit with E26/E27 socket, perfect for your DIY home decor lighting, simple and portable
Wire Your Socket Hot and Neutral
I’ll help you wire your socket hot and neutral. First, strip 5/8 inch of insulation off each wire, then thread that ring over the cap before you connect anything. Skipping this step means you’ll need to disassemble the connection later. Connect the hot wire to the BRASS terminal and the neutral wire to the SILVER terminal. Reversing these connections creates a shock hazard.

Sturdy and Durable - plug in pendant lights cord hanging lamp kit with E26/E27 Lamp Base. All parts of this plug-in pendant lamp are high-quality, it's meets UL standards and ensures your safe use. 6ft long from in-line On/Off Switch to the plug.

Elevate your charm or pendant collection with this versatile cord, designed with a narrow clasp to easily fit most pendant bails. Made from soft, pliable material, this lightweight yet durable cord ensures both strength and comfort.
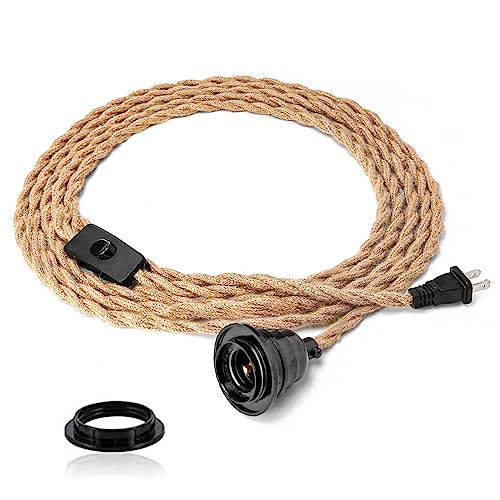
【Retro Style】Hanging Light Kit Pair with a 15-foot hemp rope cord in vintage bohemian style. Add a retro lampshade to the hanging cord for seamless integration into traditional and industrial interior designs, infusing the space with nostalgic charm.
Identifying Hot Wire
Where exactly do you connect each wire so you don’t accidentally create a fire hazard? Wiring polarity matters. Here’s my quick checklist for identifying your hot wire:
- Look for the brass terminal—that’s where your hot wire lives, always
- Check your cord: the hot conductor ties to brass, and that’s your golden rule
- Strip 5/8 inch of insulation, then connect that hot lead to the socket’s hot side before reassembling anything
- Double-check your work, because verifying hot and neutral orientation keeps everyone safe
Test those connections before you plug in. Wiring polarity correctly prevents electrical hazards and ensures safe operation.
Connecting Neutral Wire
Now that I’ve got my hot wire sorted, I’m ready to tackle the neutral side. I strip 5/8 inch of insulation, thread that shade ring over the cap, and get cozy with my terminals. The neutral goes to silver, hot to brass. I’m consistent with this wiring, socket to plug to switch, and I don’t mess around.
I’m crimping that strain relief below the socket so my connections don’t yank loose. I’ve learned the hard way that this step prevents failures.
Before I plug anything in, I’m grabbing my multi-meter and testing continuity to verify that this neutral wiring is tight and secure. Doing this work safely and correctly ensures that the fixture will function reliably.
Add Strain Relief to Protect Your Connections
Strain relief is an essential component of any pendant light. This small piece keeps your cord locked tight where it meets the socket, preventing electrical connections from being yanked or stressed when someone bumps the shade. Without it, you risk frayed wires and unstable connections.
To ensure proper strain relief installation:
- Pick the right style: cone-shaped for 2-wire cords, set-screw for round ones
- Slide it onto the cord before you wire anything
- Crimp or tighten it firmly below the socket so nothing shifts
- Give a gentle tug to confirm it’s gripping tight
Your pendant can sway, spin, or support a heavier shade without compromising safety when strain relief is properly installed. This step prevents damage to your electrical connections and extends the life of your fixture.

Ideal for E26/E27 screw type light bulbs(LED/ Halogen/ CFL Light Bulb lamp).

GOOD QUALITY:The E26 Medium Screw Light Holders are made of high-quality bakelite and plastic, fitting all E26/E27 light bulbs. They are safe enough for DIY decoration.

【Main Feature】 This E26 /E27 light socket is made from bakelite with a metal core, making it resistant to heat, flame and corrosion. Equipped with threaded cable grips for locking and protecting wires, which makes it more stable for hanging and look better.
Install the Plug and Test Before You Hang
Why risk a shock on installation day when I’ve already done the hard part? I’m finishing my custom wiring with a 5/8 inch strip on each wire, hot to brass and neutral to silver, then I clamp that strain-relief tight. I’m prioritizing safety testing first. I grab my multimeter, check continuity, and confirm my connections are right before anything touches a live outlet. I mount my line switch where I’ll actually reach it, test that too, and I keep my hands clear of sharp edges while I work. No gloves near drills, no guessing with power. Once everything checks out clean, I’m ready to plug in and see my pendant glow. This means I’ve built something that actually works.

Widely used: for Makita various models and other power tool power cord repair,rubber strain relief as well (please check the connector)

High impact-resistant thermoplastic housing with finger-grip grooves
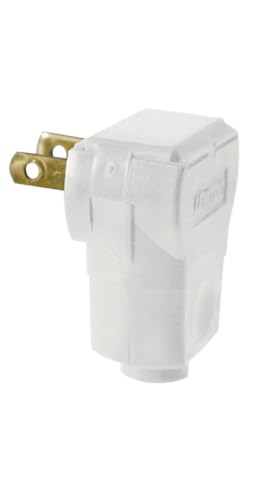
Brass plug blades and connector contacts for maximum conductivity
Position Your Line Switch for Easy Reach
Where exactly am I going to flip this thing on and off every day. I need to think this through before finishing, or I’ll be reaching too far every single night.
Switch placement process:
- Measure arm’s reach from where the pendant will hang, then mark that spot on the cord, following Step 18 for comfortable positioning.
- Wire the switch between the plug and socket so one click cuts power to the whole pendant without crawling behind furniture.
- Decide between inline or wall-mounted before plugging in. The inline option keeps things sleek without extra boxes on the wall.
- Check that nothing blocks strain relief or tips the shade, then use a multimeter to test that the hot line interrupts cleanly.

STOP LOOSE, WOBBLY LAMPSHADES FAST – Replace missing or cracked socket rings to hold your shade securely on threaded lamp holders. Ideal for quick repairs on pendant lights, chandeliers, vanity lights, and table/floor lamps—so your shade sits straight and stable again.

[Design] These 14k gold plated teardrop earrings feature an intricate filigree pattern of geometric lines forming a hollow mesh structure. The filigree earrings design creates dimensional visual interest while maintaining an airy, lightweight feel perfect for everyday earrings

【Premium Journal Notebook Bulk Set】: This value pack includes 5 distinct vintage-style journals in assorted colors (Light Brown, Coffee, Lake Blue, Khaki, Red-Brown). Each refillable leather diary features a high-quality PU leather cover with a soft, luxurious feel and embossed design, making it a durable and stylish companion for daily use
Assemble Your Waste Basket Pendant
I’ll walk you through getting that waste basket ready, then we’ll lock everything together. First, you’ll want to prep the shade by center-punching your hole, tracing it clean, and ensuring the socket sits exactly where you want it. During final assembly, thread the socket through, slip those shade rings on from inside, and sandwich everything tight so your basket stays balanced and structurally sound.

【Vintage Hanging Light】A plug-in vintage-style hanging light with a modern industrial look. No hardwiring needed — just plug and hang. Ideal for renters, DIY projects, or stylish makeovers without hiring an electrician.

FEATURE: Different feature from the conventional ceiling canopy, the conventional one has two holes on the surface, which need to be aligned before fixing, our ceiling canopy has holes on both sides, which is easier to install than standard canopies.
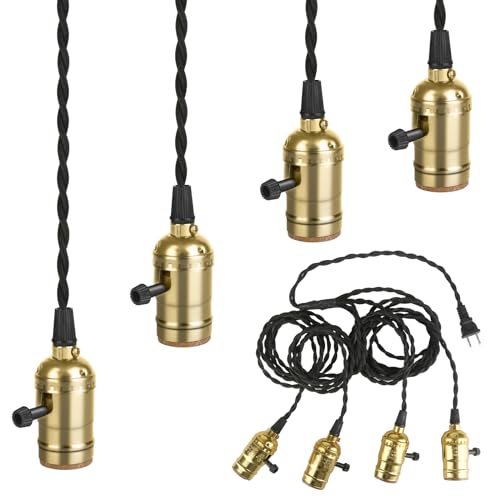
【Vintage Hanging Light】A plug-in vintage-style hanging light with a modern industrial look. No hardwiring needed — just plug and hang. Ideal for renters, DIY projects, or stylish makeovers without hiring an electrician.
Shade Preparation Steps
How do you turn a waste basket into something that hangs from your ceiling and looks legit? We’re prepping that shade so it feels like it belongs in your space, not like a craft project gone wrong.
Here’s my go-to process:
- Find your shade’s center, measure the socket, and mark where that hole needs to go. Balance is everything here.
- Drill slow and steady with safety glasses on. Nobody wants a cracked basket or an eye full of fiber.
- For natural fiber shades, add that extra shade ring inside to sandwich those loose threads so nothing frays.
- Thread your socket through the hole, slide those shade rings on from inside, and double-check it sits level.
Take your time measuring. A wonky hole throws off the whole vibe, and you’ll end up with a fixture that looks unfinished rather than intentional.
Final Assembly Process
Once you’ve got your shade prepped and your parts lined up, the real work starts. Put this together so it actually works and doesn’t look like a science fair project.
I grab my waste basket shade, cord set, socket, shade rings, and the rest, about $37.75 total, not bad for a custom pendant light. First, I mark the center, trace my socket circle, and cut that hole clean. Then I thread the socket through, sandwich the shade with those rings inside to out. Natural fiber baskets need an extra ring so nothing tilts or wobbles later.
Don’t skip the safety steps. Wire hot and neutral, hook up that polarized plug and line switch, then test everything with your multimeter. This final assembly is where your DIY pendant light actually becomes functional.
Build a Faux Dixon Metal Pendant on a Budget
If you’ve ever wanted those gorgeous hammered metal pendants from Tom Dixon but balked at the $400+ price tag, there’s a solution. Build a faux Dixon pendant light for about forty bucks.
Here’s what you’ll need to grab:
- A hammered metal serving bowl (thrift stores are goldmines for these)
- Black phenolic socket, cord, plug, and strain relief
- Primer and matte paint for that finished look
- Two shade rings to sandwich your bowl securely
Drill a hole in the bowl’s center slowly, then thread the socket through. The rings clamp everything tight, inside and out. Wire it up, add tape to stop fraying, and you’ve got designer vibes for lunch money. Skip the soldering kit and you’re still under $45.
Paint, Pattern, or Perforate Your Custom Shade
I love getting my hands on the shade at this stage, because it’s where your pendant becomes personalized. I’ll walk you through paint finishes first: matte, metallic, or aged brass. Then we’ll tackle pattern design, whether you’re sketching freehand with markers or mapping out drilled holes for starry light effects. I’ve tested enough templates to know how to keep your spacing straight without overcomplicating things.
Paint Finishes Guide
Because your shade is basically a blank canvas hanging from the ceiling, paint, patterns, or perforations can completely transform it. Creating something uniquely yours makes the process worthwhile.
Here’s how to tackle finishes:
- Spray paint matte or metallic finishes, matching yarn or hardware for a cohesive look
- Drill perforations in metal or wood to guide light, always wearing safety glasses and clamping tight
- Clean every edge after cutting, because nobody wants sharp surprises or sloppy burrs showing
- Try embroidery on woven baskets or permanent markers on plastic. Anything goes.
Don’t aim for perfection. Your quirks make it special. Once it’s hanging, you’ll experience genuine satisfaction every single time you flip the switch.
Pattern Design Techniques
The real fun starts when you stop seeing your shade as just a cover and start treating it like your personal project. Grab a compass and map out a perforation pattern. Three-quarter inch spacing keeps things tidy, and the light will dance through beautifully. Take your time with the drilling. Clamp your shade tight, wear safety glasses, and go slow. For woven baskets, add an extra ring before threading the socket. This prevents that annoying tilt later. Embroider natural fibers or drill wooden shades for controlled glow. You’re not just making a light; you’re crafting your pattern. Join the club of DIYers who actually finish and love their custom shades.
Hang Your Shade Level and Safe
Once you’ve got your shade ready, the real work begins. Getting it hung level and secure transforms the fixture from a DIY project into a professional installation. This requires a centered shade, proper safety measures, and correct assembly.
Getting it hung level and secure transforms the fixture from a DIY project into a professional installation.
- Center that socket by measuring, tracing, and center-punching so your shade sits level without movement.
- Thread the shade ring onto the socket from inside, then add a second ring to secure everything tight.
- Sandwich natural fiber baskets with an extra ring if needed, since these materials tilt when weight becomes unbalanced.
- Crimp that strain relief below the socket so your shade weight doesn’t pull connections loose.
Thread the socket through, slide rings on, and tighten to sandwich the components. Your shade will be locked in, level, and functional.
Pick Bulbs That Stay Cool and Look Good
Why risk a scorch mark or worse when picking the right bulb is this easy? I choose low-heat options for pendant lights. LED or CFL keeps things safe, regardless of the shade you’re using. If you’re building the No. 1 Waste Basket Pendant, grab a 40W Clear Globe bulb. It looks sharp and stays cool.
Here’s what I match up:
| Shade Material | Bulb Type | Why It Works |
|---|---|---|
| Natural fiber baskets | LED or CFL | No scorching, even with embroidery holes |
| Faux Dixon/metal bowls | Low-watt LED | Handles heat, fits drill size perfect |
| Any DIY shade | Under 40W equivalent | Safe wattage, long life, great glow |
I always check that my shade top hole stays centered too. This lets the socket pass clean through without tilting. Get bulbs right, and your pendant lights shine safely.