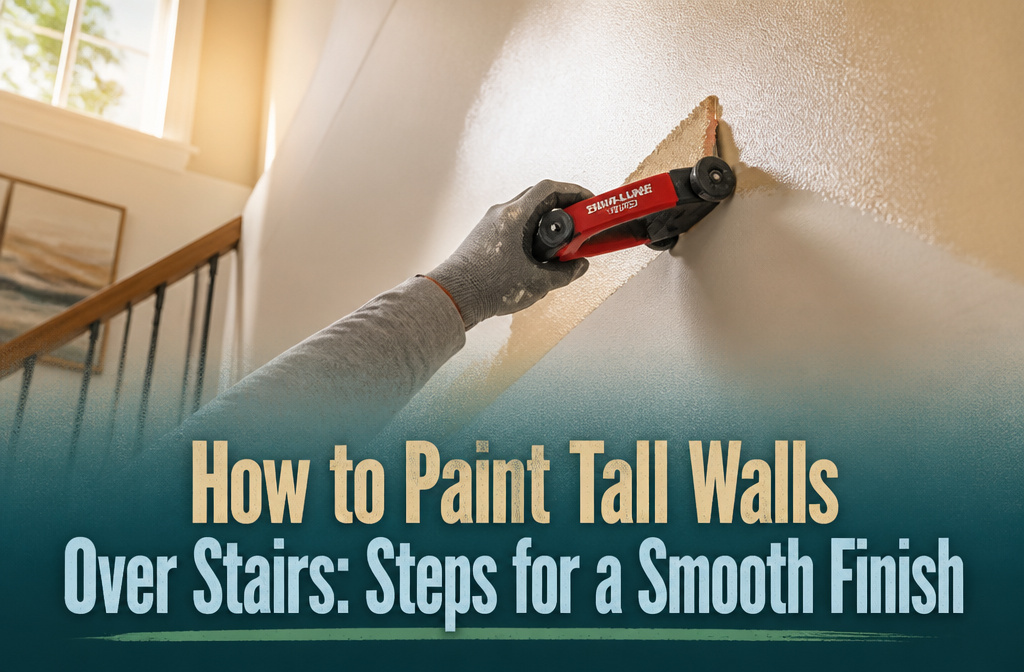

A smooth finish on a stairwell wall takes roughly a full day and a $5 Shur-Line Pro edger, not rented scaffolding or a ladder balanced on treads. Most people get the ceiling line wrong by rushing it, forcing speed until paint blobs land where the roller cannot clean them. The edger buys you a margin only if you disengage its wheels while loading, then re-engage before you move.
1. Preparation

Clear the stairwell first. I’ve seen paint jobs ruined because a corner of drop cloth got shifted underfoot halfway through, so take everything off the walls and sweep the steps before you cover them. Drop cloths go on the stairs, the landing below, and any exposed floor. Tape off the stringers, baseboards, and banister. One person I read about swears by Quick Mask Poly with Tape for railings because it’s thin enough to paint behind and self-adheres.
Dust the walls and corners with a cloth on your extension pole. Ten to 10 to 15 minutes is all this takes, but the cobwebs up there are real and they’ll show through fresh paint if you skip it.
2. Cutting in the Ceiling

A paint edger on an extension pole is the tool that keeps both feet on the stairs while you work the ceiling line. The Shur-Line Pro with a pole hole runs about $5, and the whole setup beats renting scaffolding for a one-afternoon job.
The brush-on-a-pole method works too if you’ve got steady hands. Professional painters do this freehand: load an angled brush, tap the excess, and cut in from the floor. My own hands aren’t that steady, so the edger is what I reach for.
Load the pad carefully, centering paint to avoid drips. Disengage the wheels while loading, then re-engage before you move along the ceiling. Go slowly. The work isn’t quick, and forcing speed is how paint blobs end up where your roller won’t reach them clean.
Press one edge, then the other, working the corner in two passes rather than one. You’ll still need to roll close to the top afterward, but a good cut-in gives you a inch or two of safety margin so you won’t bump the ceiling with the roller and create a patch job you didn’t plan on.
3. Cutting in the Walls

A paint edger on a pole will reach where a brush cannot without your feet leaving the floor. The Shur-Line Pro version runs about $5 and threads onto any extension pole, so your upfront tool cost stays under $10.
Load the pad sparingly. The edger works clean only when you do not overfill it, which is the mistake that defeats most first-timers. Work the top edge where wall meets ceiling in two-foot sections, steadying the pole against your body rather than swinging it freehand. Corners take a brush on a pole, or you skip them and come back with a hand brush from the stair treads you can safely reach. Either way, block out roughly 1.5 hours for this step on a standard stairwell. The time buys you clean borders that let you roll fast and loose without fear.
4. Rolling the Walls

A roller on an extension pole is what makes the main wall area possible from the floor. Work top to bottom, shortening the pole as you move down and letting gravity do the pressure work for you instead of your shoulders. Expect roughly 1 hour of rolling time for an average stairwell wall, though stair geometry slows things down more than open floor space.
The steps themselves interrupt your path, so you’ll angle the roller from the landing above, the tread below, and wherever the stairs let you stand square to the wall. That means stopping to reposition more often, but it beats stretching from a ladder rung or overbalancing to reach a corner. Keep the pole angled so you can see the edge of wet paint and avoid pushing roller texture into the ceiling, which is a ceiling-painting job you did not sign up for. If the stairwell narrows at the bottom, crouch lower or let the pole do the reaching. The paint goes on the same as any wall; your body placement is what changes.
5. Touch-up

Once the first coat is dry to the touch, which takes about four hours with most interior latex, the real inspection begins. Tilt a work light against the wall at a low angle; shadows will show you exactly where the roller left thin coverage, especially along the cut-in edges where brushwork meets rolled paint. Those transitional bands are almost always where a second coat saves the finish. A single coat rarely hides the old color completely on stairwell walls, partly because the awkward angle of the work makes even coverage harder to achieve than in a standard room. If you spot splotchy areas or any color from underneath showing through, roll a second coat the same way you did the first: start high with a full roller and work downward as the nap empties. The second pass usually takes longer than the first one did, closer to four and a half hours, because you are also evening out what the first coat missed. Plan the whole day for this, not an hour here and there; breaking up the work between sessions risks lap marks where wet paint meets dry.
6. Cleanup

Clean up while the paint is still slightly tacky, not fully dry. Wet edges lift off trim easier, and you will feel right away if a spot needs one last touch before you move everything.
- Run a damp rag along every baseboard edge right now. Any rolled splatter that has not dried wipes off in two seconds; in the morning it is a half-hour job with your fingernail.
- Pull tape at a 45-degree angle, slow and steady. If it starts tearing, score the seam with a putty knife rather than yanking harder.
- Wash brushes in warm water with a drop of dish soap, working from the ferrule outward. A clean brush keeps its shape for years; paint dried near the metal wedge ruins it permanently.
- Pour unused paint back into the can before it skins over. Strike the lid flat with a mallet so the rim stays clean and the seal holds.
- Fold drop cloths inward, paint side to paint side, then carry them out without brushing high-traffic walls. A little dust from the cloth is nothing compared to a wet smear on a switch plate.
- Vacuum the stairs last. Sawdust from cutting in settles into carpet pile and tracks through the house on socks for days if you skip it.
Tools and Supplies
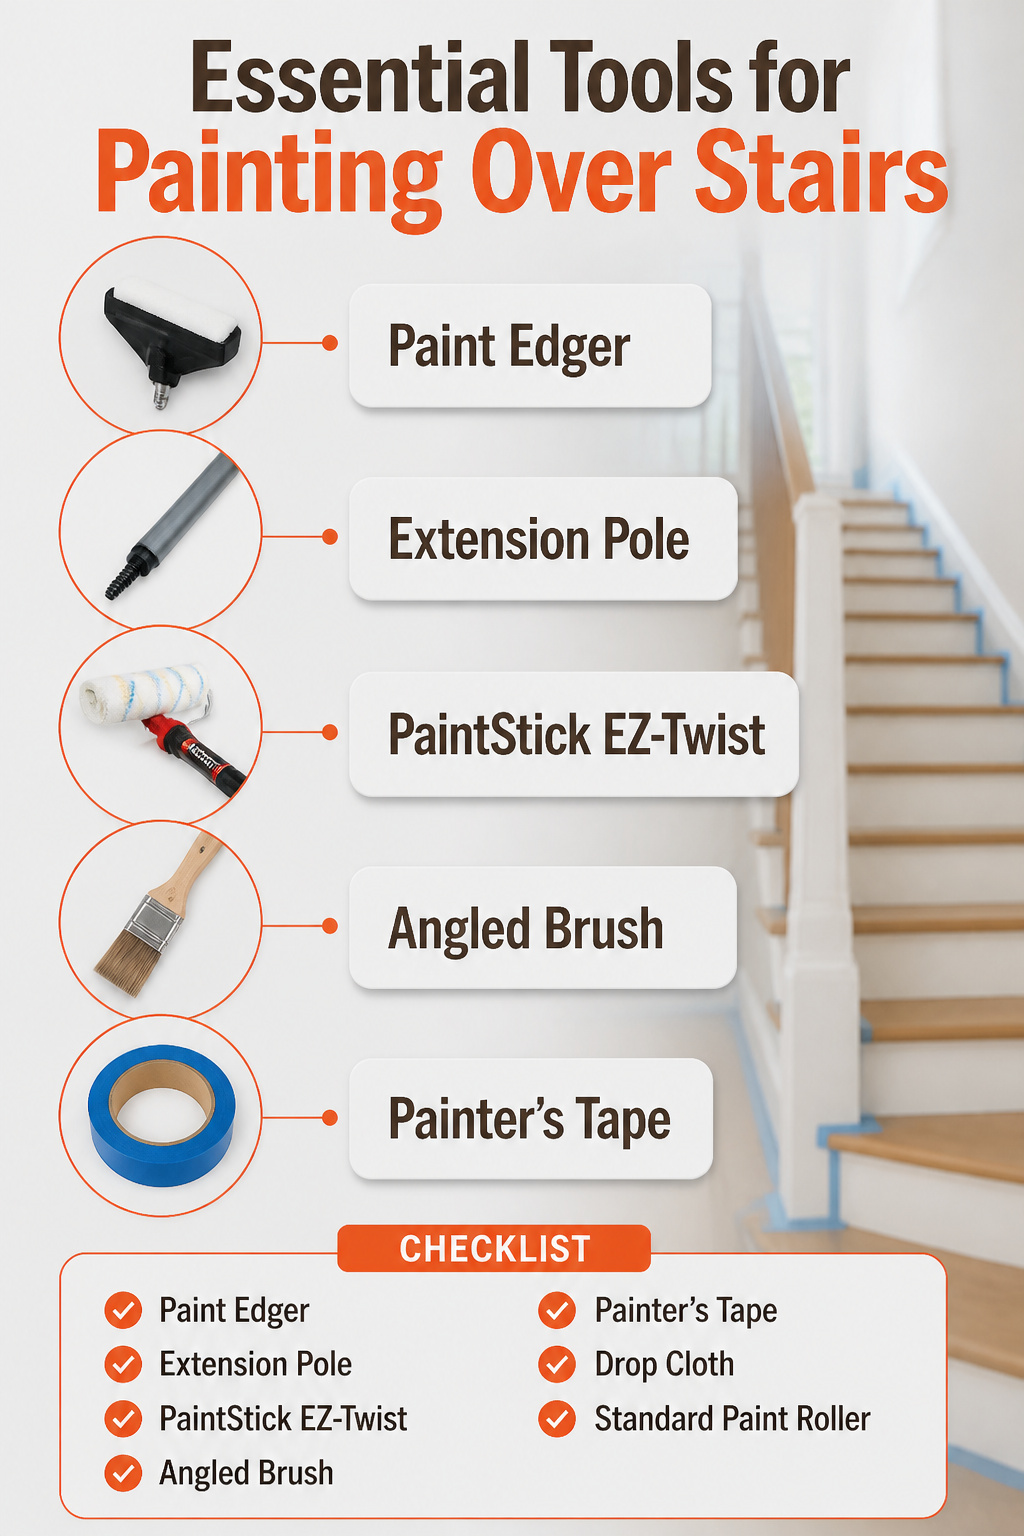
The right tools keep you off a ladder and on solid footing while you work overhead.
A paint edger sits at the top of the list. The Shur-Line Edger Pro has a hole for an extension pole, so you can cut in corners and ceiling lines from the staircase itself. Load it lightly with paint to avoid drips. An extension pole, any pole with a screw end, screws into the edger or a roller frame; even a broom handle works, though a proper extending pole saves your arms and back on the rolling passes.
For the open wall areas, the PaintStick EZ-Twist loads paint through a tube straight from the can. Twist the handle to feed the roller. You skip the tray, you skip constant dipping, and you keep both feet on the stairs.
For supplies you already know: a drop cloth, an angled brush for any hand-cut spots the edger cannot reach, a standard paint roller for touch-up, and painter’s tape to mask the stair railing and any trim you are not painting.
Safety Considerations

A ladder on stairs is a physics problem most of us are not equipped to solve. The legs sit at different heights, the base wobbles on the treads, and every reach shifts your weight toward empty air. That is why extension poles and paint edgers exist for this exact job. An extension pole lets you roll the wall while both feet stay on the landing below. A paint edger, like the QuickPainter Pad or a short-handled angled brush, handles the cut-in along ceilings and corners without bringing a ladder into the stairwell at all.
Some cutting in still needs a ladder, especially tight corners above the stairs themselves. One ladder beats scaffolding, but even one ladder on stairs asks you to balance while looking up, which changes where your body weight goes. If you are not steady with heights, or if the wall sits above a long open run, the professionals have a point.
"If you’re not comfortable with ladders or heights, this is likely not the best DIY project for you."
That judgment matters more than any height number. Sources mention 10 feet as a point where specialty tools matter, but comfort and balance are the real thresholds. Hire out if either one is off.
Cutting in Techniques

The ceiling line above a staircase is where most paint jobs go sloppy, so it pays to slow down here. I use a short-handled, angled sash brush for the two-inch band along the top edge. The shorter handle gives better control when you are reaching upward or across your body, and the angled tip lets you work right into the corner without brushing the ceiling.
Load the brush, then tap it lightly against the inside of the can. Too wet and paint will track onto the ceiling; too dry and you will feather the edge trying to cover. The coat should be full enough to flow but not enough to drip down your wrist while you work overhead.
For the edges along the stair trim, the choice is brush versus edger. A hand pad edger on an extension pole lets you stay off the ladder for longer reaches. The $5 Pro Shur-Line style clips to a standard pole and runs on small wheels that keep the pad a fixed distance from the trim. Disengage those wheels when you dip the pad, though. Roll it across the top in slow passes, and do not overload it. An overloaded pad will spit paint down the wall faster than you can catch it.
The edger saves ladder moves, but it does not win everywhere. Corners need two passes with pressure shifted to one side, then the other, to get full coverage. Edges meeting the stair trim come out cleaner with a brush, where you can vary pressure and angle by hand. If the stair wall has no side trim and you are painting right against the tread, tape the step edge and cut in with the brush. The tape buys a margin for error the edger does not give you.
Frequently Asked Questions
How do I safely paint tall walls over stairs?
Use extension poles and paint edgers so both feet stay on solid ground. A paint edger on a pole handles ceiling lines and corners, while a roller on an extension pole covers the open wall areas. Avoid ladders on stairs whenever possible; the legs sit at different heights and the base wobbles on treads.
What tools do I need to paint high walls?
You need a paint edger, extension pole, roller, and drop cloths. An angled brush helps with spots the edger cannot reach, and painter’s tape protects railings and trim. The PaintStick EZ-Twist loads paint through a tube so you can skip the tray and keep both feet on the stairs.
How long does it take to paint tall walls?
Plan roughly 1.5 hours for cutting in the edges of a standard stairwell, plus about 1 hour for the first rolling pass. The second coat usually takes longer, closer to four and a half hours, because you are also evening out thin spots from the first coat. Add prep time for cleaning, masking, and dusting the walls.